Onboarding and Support Programs
This chapter contains a brief description of the Managed Backup onboarding service and support programs and covers the following topics:
Onboarding
We offer professional onboarding to prepare your backup environment for production use and give you confidence in your backup and restore processes. The onboarding service includes the following:
- Configuration of backup settings based on industry best practices as determined by our experts’ knowledge. Coverage includes configuration of cloud storage, backup plans, retention policies, remote deployment, notifications, and reports
- Testing for backups and restores
- Answering any additional questions you may have to keep your Managed Backup Service subscription organized
The onboarding service includes at least five screen-sharing sessions to set everything up correctly to help you avoid common errors and save your time and money.
Support Programs
All customers with an active maintenance agreement in effect, regardless of their program, are entitled to contact Support to open a case via email or through the Support portal.
MSP360 offers the following support programs:
- Evaluation Support: Available for the first 30 days while you are evaluating our software. The Evaluation Support program is available Monday through Friday, from 8 AM to 5 PM, and provides technical support by phone, web, or email to customers with a valid trial license during the official evaluation period.
- Standard Support: Available Monday through Friday, from 8 AM to 5 PM. The Standard Support program provides software support services along with product upgrades and updates.
- Premium Support: Available for purchase, the Premium Support program provides 24x7x365 software support services along with product upgrades and updates. Premium Customer Support is available 24/7 to Managed Backup customers and provides faster response times regardless of case priority. Premium Support customers receive prompt attention. For high-priority disaster recovery cases, a support engineer first determines the root cause of the issue and performs a QA analysis, followed by a remote live-support session.
For details, download the MSP360 Customer Support Reference Guide
Request Onboarding
The onboarding service is now available for all new customers.
Contact our sales team at sales@msp360.com if you have any questions on Onboarding
Purchase Premium Support Licenses
Postpayment
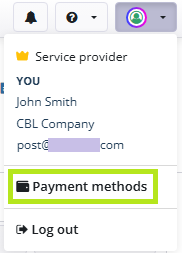
To activate a Premium support license, first configure your payment method in My Account > Payment methods
To activate a Premium Support license, in the Management Console open the Help menu and click Support

You will be prompted to activate a Premium Support license.
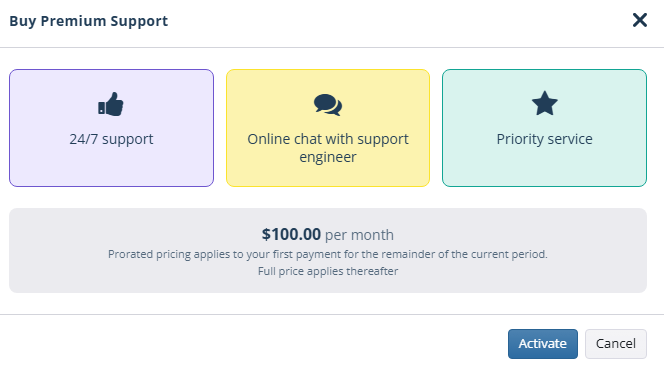
Read the offer and click Activate.
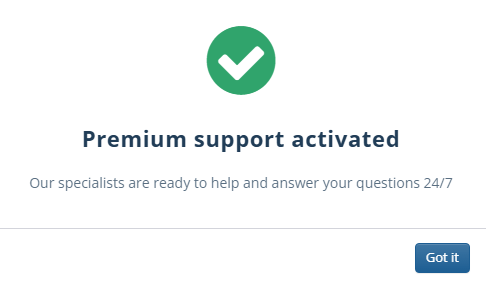
The Premium Support license will be associated with your account automatically and billed monthly or annually according to your subscription.
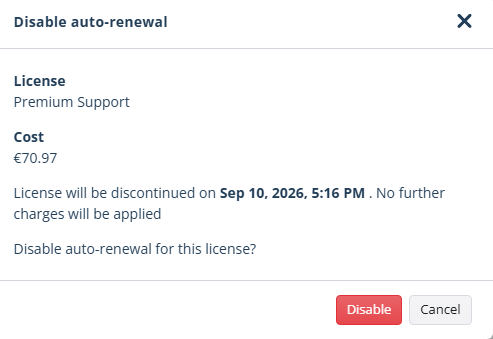
If you want to cancel the Premium Support license, turn off auto-renewal for it under Organization > Licenses. The license remains valid until the end of your billing period.
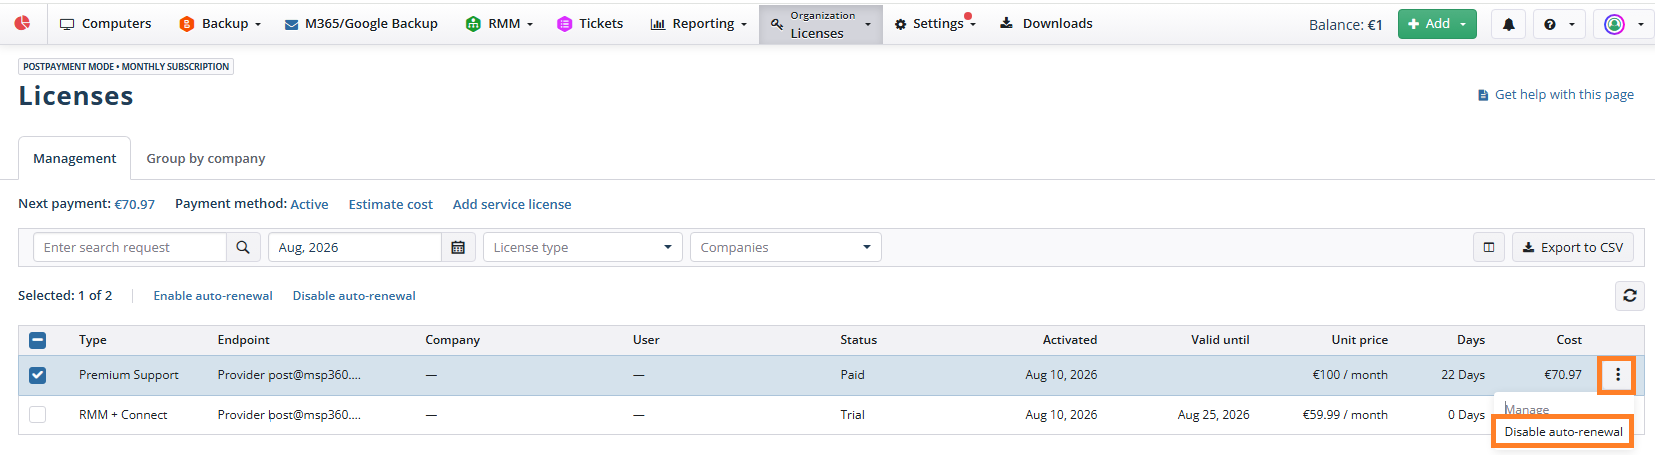
To confirm disabling auto-renewal, click Disable.
Prepayment
Premium Support is billed monthly or annually. You can purchase a Premium Support package through the Management Console. To do so, follow these steps:
- Open the Management Console.
- In the Organization menu, select Licenses.
- Click Buy New Licenses.
- Select the payment mode (Monthly or Annual). This will affect all your future purchases.
- Select the Premium Support checkbox, then click Buy.
- Proceed to payment.
Alternatively, you can buy a Premium Support directly from the Support Portal using the Buy Premium link.

Contact our sales team at sales@msp360.com if you have any questions about support programs
To learn more about license management, refer to the Manage Licenses chapter.
If a Premium Support license is purchased, it will be granted to your account automatically.
If you want to cancel the Premium Support license, turn off auto-renewal for it under Organization > Licenses. The license remains valid until the end of your billing period.
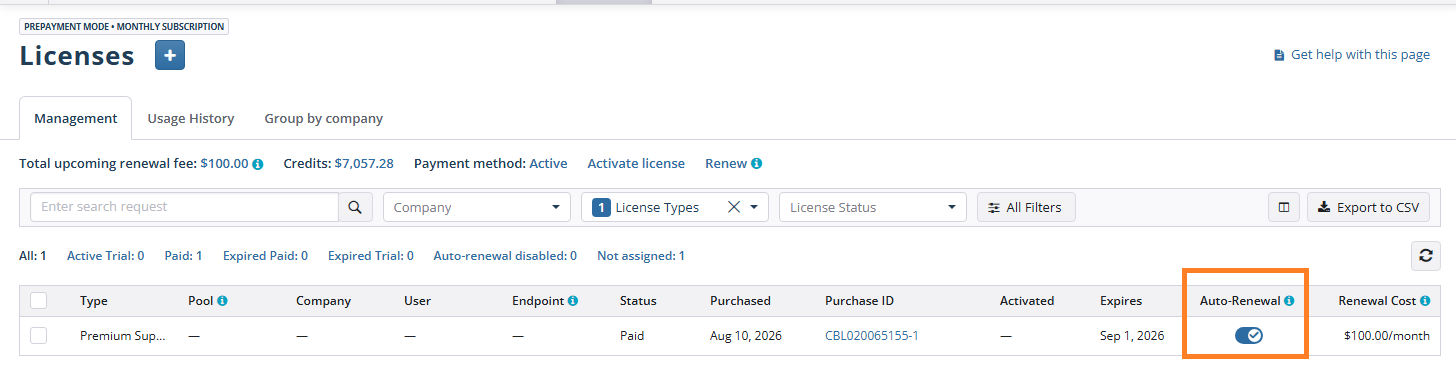
To confirm disabling auto-renewal, click Disable.
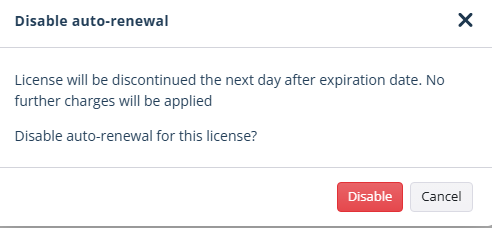
How to Use Support Portal
Required Permissions
The following are required to create a case in the Support Portal:
- Active maintenance agreement
- For subadmin a Show Help / Marketing permission is required for accessing the Support Portal to create and manage support cases created by this subadmin. To see all cases including any support cases created by the provider and/or any subadmins of this provider, a All Companies permission is required.
Visit Support Portal
To access the Support Portal:
- Open Management Console.
- In the Help menu, click Support.
Alternatively, visit the Support Portal at support.msp360.com and sign in using your registered email address.
Create Support Case
To create a support case:
- Open Management Console.
- In the Help menu click Support or submit a ticket through the Support Portal at support.msp360.com.
- Click Open a Case.
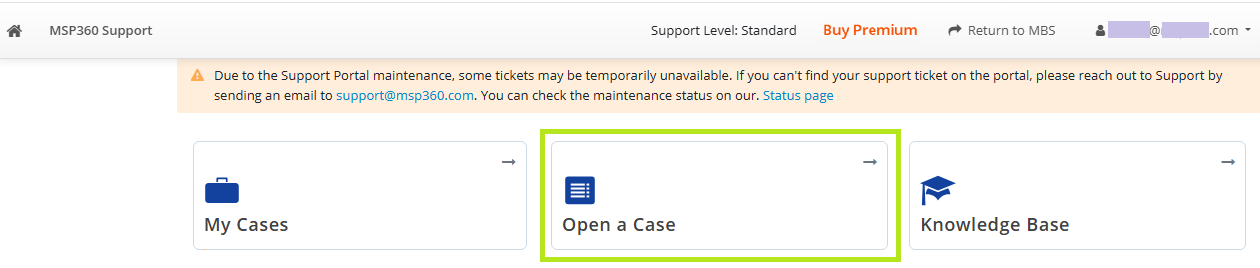
- Select the type of support case
- Select Technical product issue for all cases related to MSP360 product usage
- Select Licensing / Sales for all queries related to subscriptions or sales.
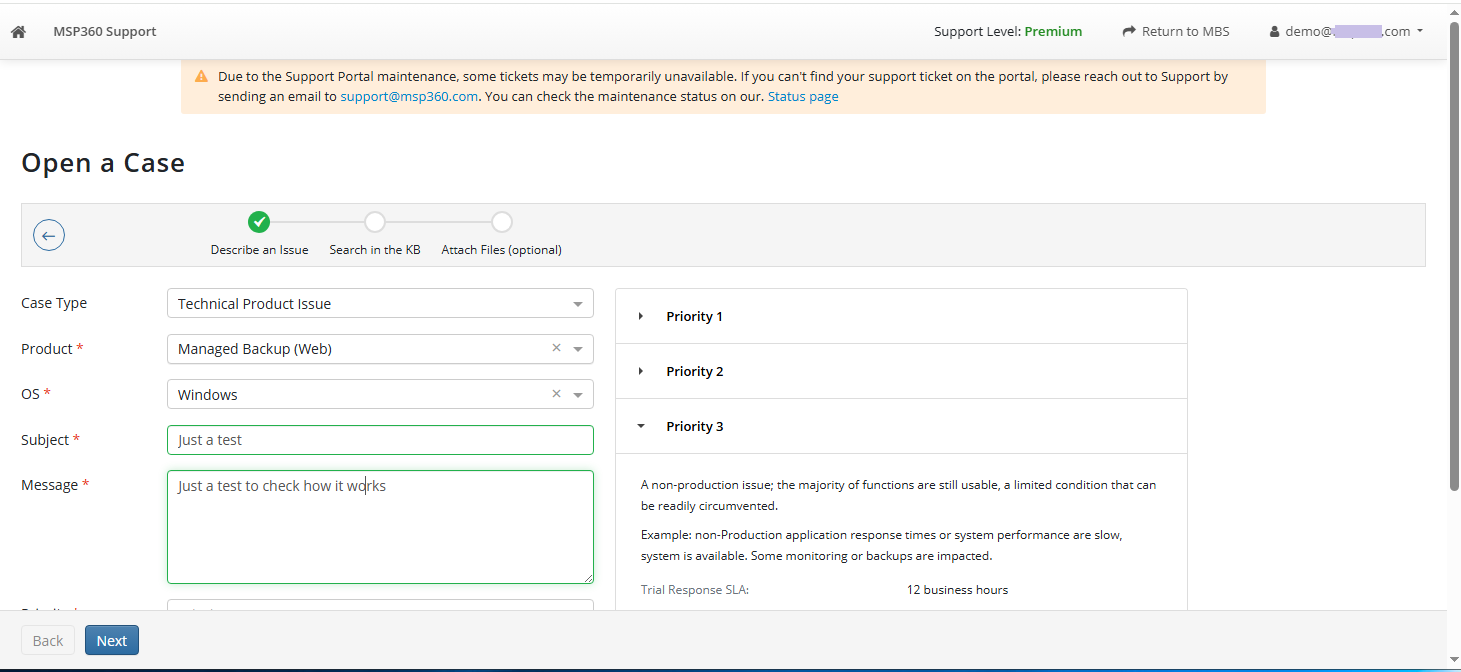
Select the support case priority
Complete the page of the support case form.
Once the form page is complete, click Next.
Have a look on suggested Knowledge Base Articles, one of them can contain the solution. In case the suggestions are not useful, click Next.
Attach logs and screenshots related to the issue.
Click Create Case
After the case is created, an automatic confirmation email will be sent to your registered email address.
You can view all your cases in the Support Portal
Support Case Priority:
Priority 1. A business critical software component or a MSP360 managed system is inoperable or unavailable; production system is down; or there is an emergency condition. Requires an immediate workaround or solution. Examples: Excessive abnormal terminations impacting all monitoring, backups and schedules or a down/offline production system cannot be restored; application or system failure caused by MSP360 product.
Priority 2. An issue adversely impacts production operations, but the production system is not down. The product operates, but is seriously restricted.
For examples: Production application response times or system performance are slow, system is available. Some monitoring or backups are impacted.
- Priority 3. A non-production issue; the majority of functions are still usable, a limited condition that can be readily circumvented.
For example: non-Production application response times or system performance are slow, system is available. Some monitoring or backups are impacted.
- Priority 4. A minor problem or issue that does not affect the operation of the product and can be easily worked around.
For example: “How to” questions; the text of a message, or page of documentation is worded poorly or misspelled, General Feedback, Feature Requests.
Priority 1 Service Level Agreement
Trial Response SLA: N/A
Target Premium Response SLA: 4 hours
Target Standard Response SLA: 6 business hours
Priority 2 Service Level Agreement
Trial Response SLA: 8 business hours
Target Premium Response SLA: 6 hours
Target Standard Response SLA: 8 business hours
Priority 3 Service Level Agreement
Trial Response SLA: 12 business hours
Target Premium Response SLA: 8 hours
Target Standard Response SLA: 12 business hours
Priority 4 Service Level Agreement
Trial Response SLA: 24 business hours
Target Premium Response SLA: 12 hours
Target Standard Response SLA: 24 business hours
Manage Support Case
Premium Support
To access the Support Portal:
- Open Management Console.
- In the Help menu click Support or submit a ticket through the Support Portal at support.msp360.com.
- Click My Cases. All available support cases are displayed in the grid. You can find the required case and communicate with the Support team, if necessary.

The All Companies permission allows administrators to see support cases created by the provider and other administrators of the provider in the Support Portal
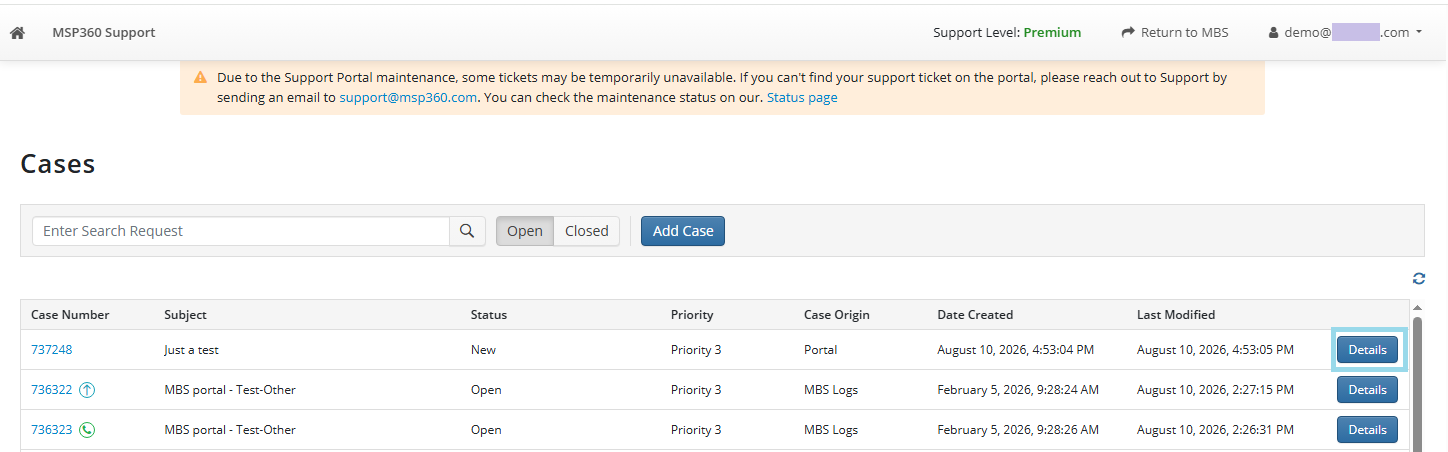
- Click Details for the case you want to manage. From this view, you can:
- Communicate with support staff with Reply. You can attach screenshots and log files to your replies.
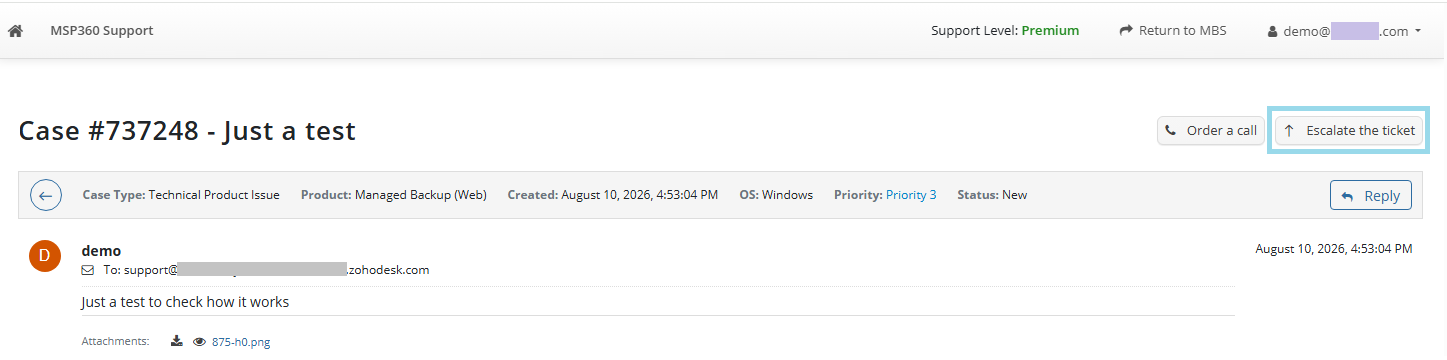
- Escalate selected ticket once, if needed, by clicking Escalate the ticket
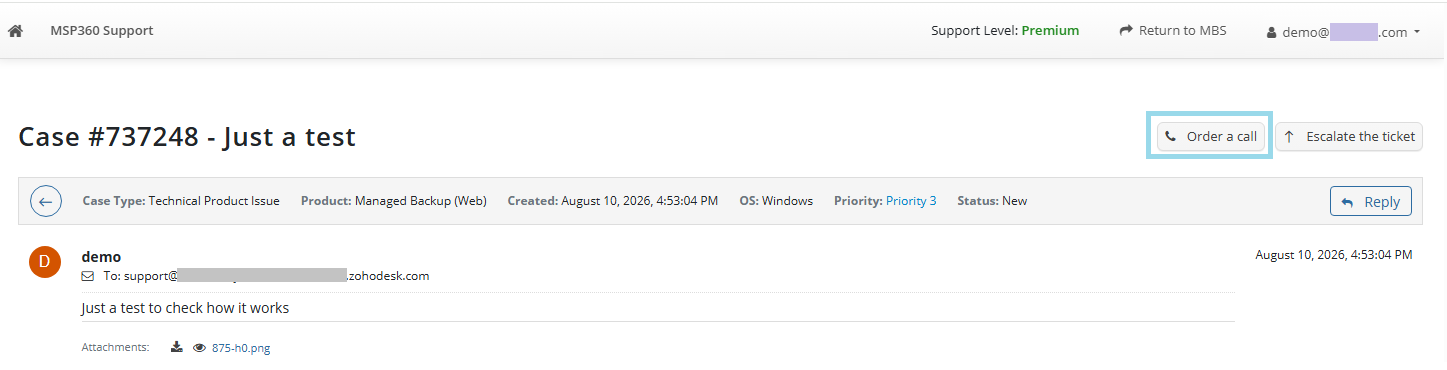
- Order a phone call regarding the selected ticket by clicking Order a call.
Communicate with support staff
- On Cases, click Details for the case you want to reply to.
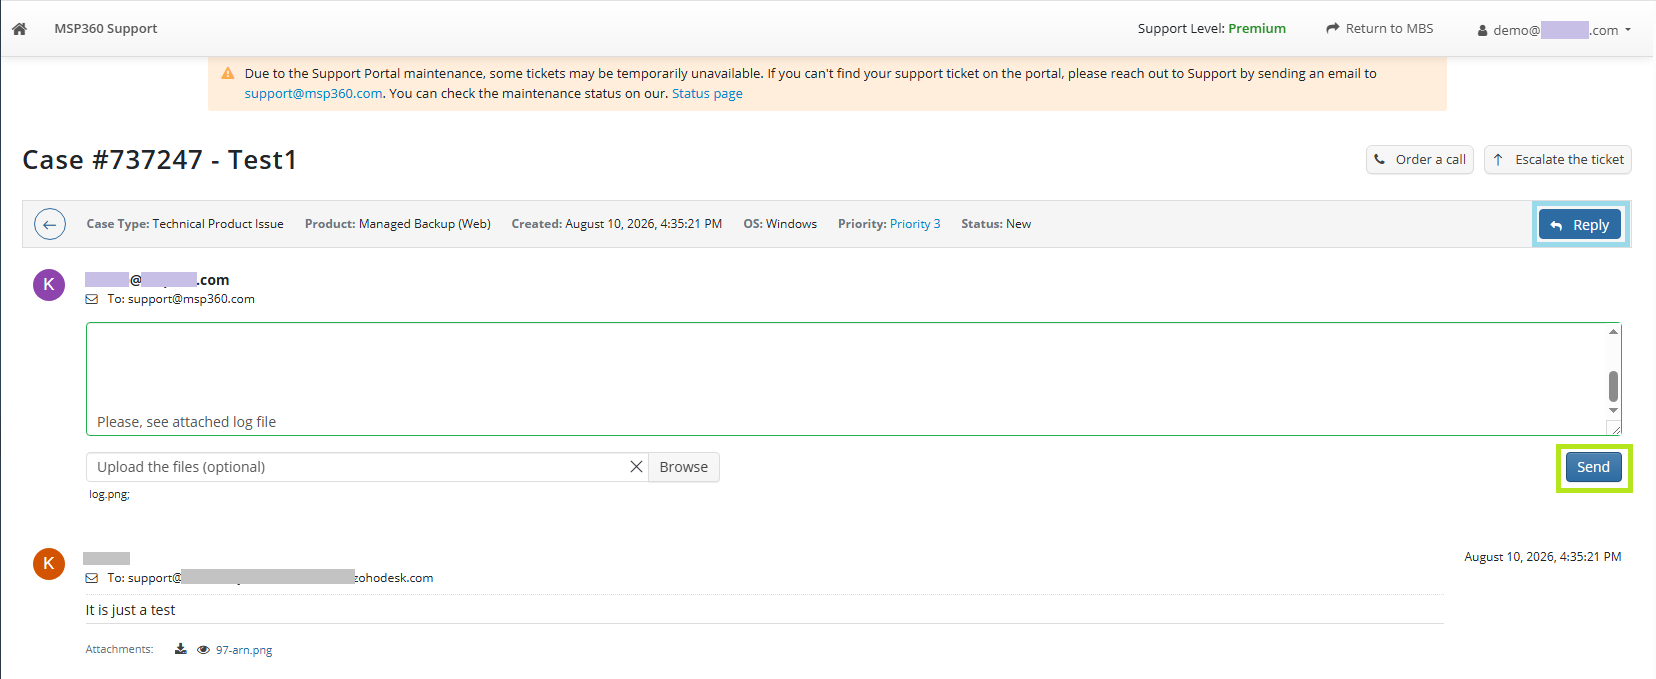
- Click Reply, enter your message, attach log files and screenshots, and then click Send
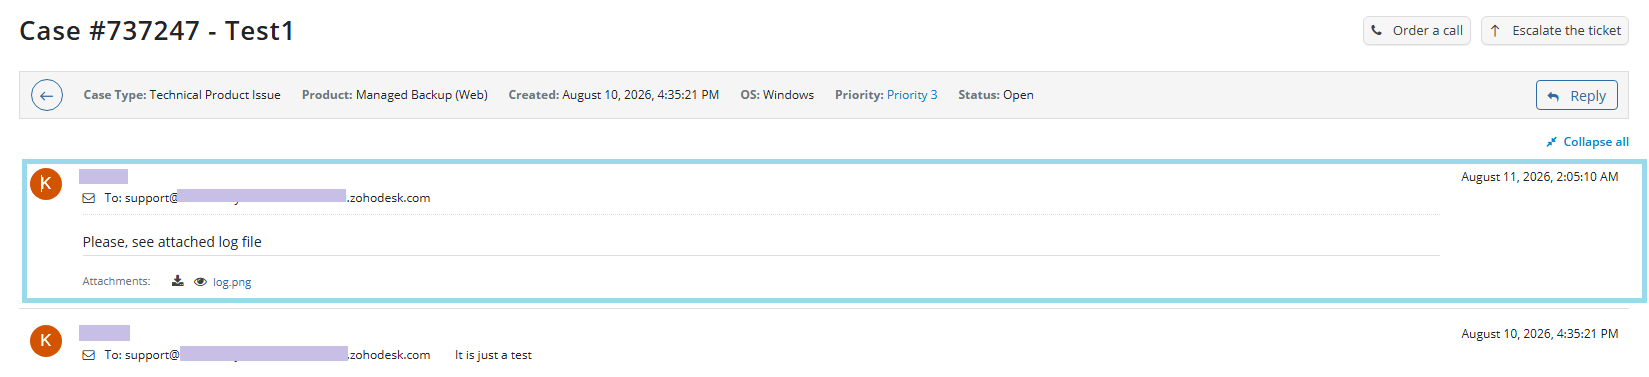
- Your message appears in Details.
Escalate selected ticket
- On Cases, click Detailsor the case you want to escalate. You can escalate the ticket only once.
- Click Escalate the case.
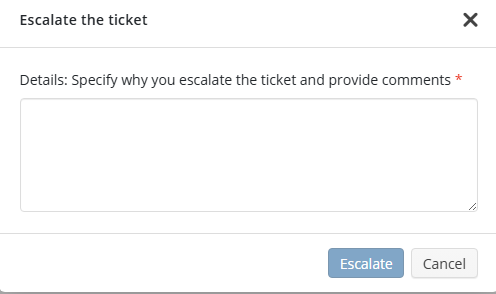
- Provide a justification for the escalation.
Request a phone call related to selected ticket
- On Cases, click Details for the case you want to discuss.
- Click Order a call.
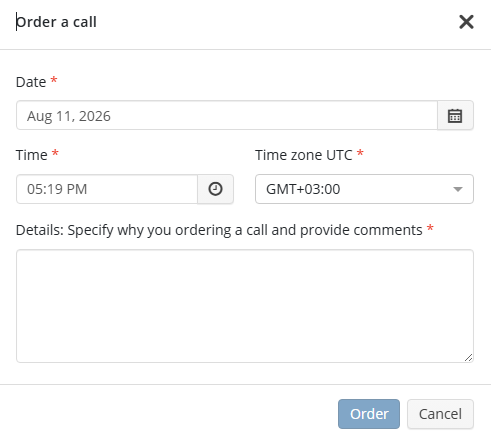
- Provide the requested information.
Standard Support
To access the Support Portal:
- Open Management Console.
- In the Help menu click Support or submit a ticket through the Support Portal at support.msp360.com.
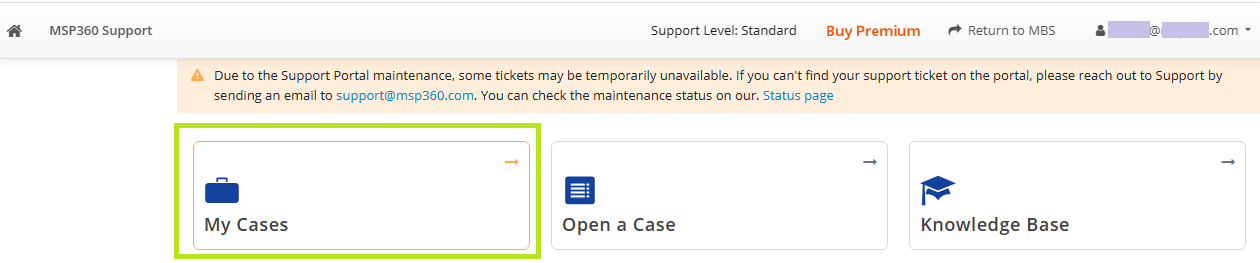
- Click My Cases.
The All Companies permission allows administrators to see support cases created by the provider and other administrators of the provider in the Support Portal.
All available support cases are displayed in the grid. You can find the required case and communicate with the Support team, if necessary.
Communicate with support staff
- On Cases, click Details for the case you want to reply to.
- Click Reply, enter your message, attach log files and screenshots, and then click Send
- Your message appears in Details.