Troubleshooting
This chapter contains a step-by-step instructions on how to:
- Report a Problem
- Gathering Detailed Logs
- Saving Diagnostic Logs
- Sending Memory Dumps Remotely with Diagnostic Logs
- Manually Creating Memory Dump File
- Resolve the Email Notifications Not Delivered error
- Contact support to report logging-in issues
- Microsoft 365 / Google Workspace Backup issues: Sign in with Google temporarily disabled for this app, Google hasn't verified this app, or This app is blocked
Report a Problem
- Open Computers page to report a problem on the computer
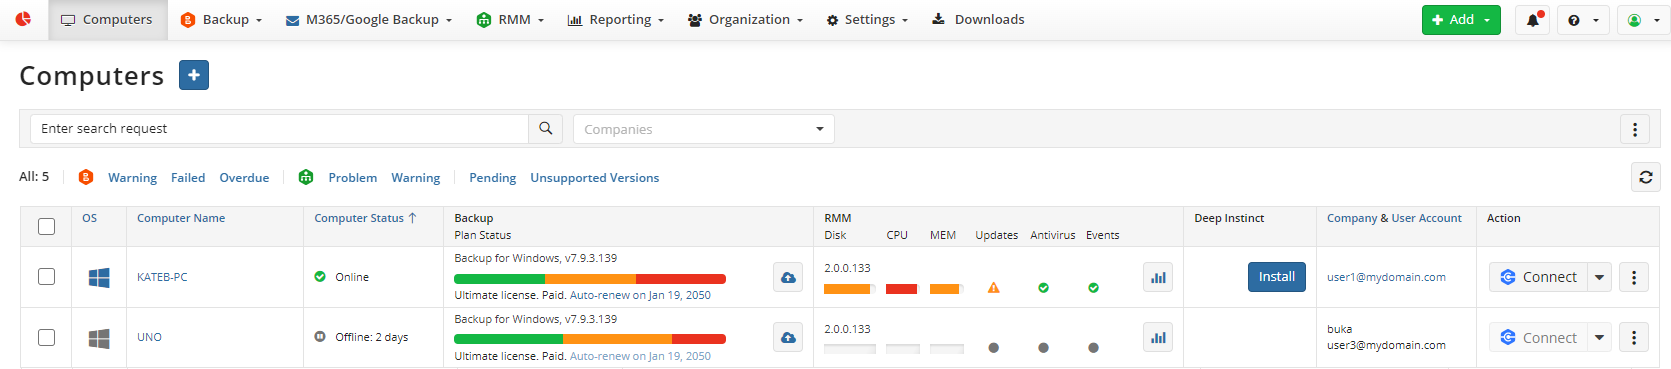
- Find the required computer in the list, expand actions and select Report a Problem.
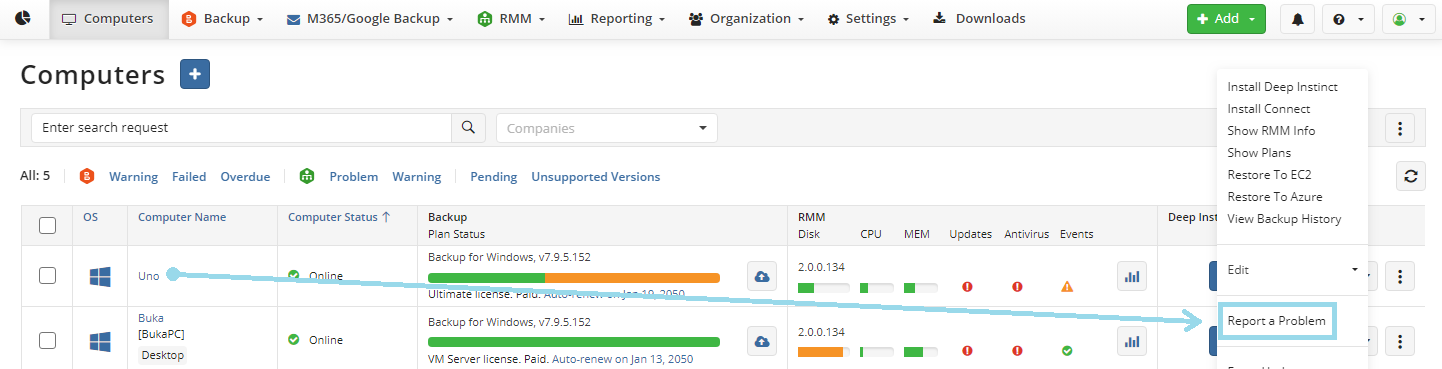
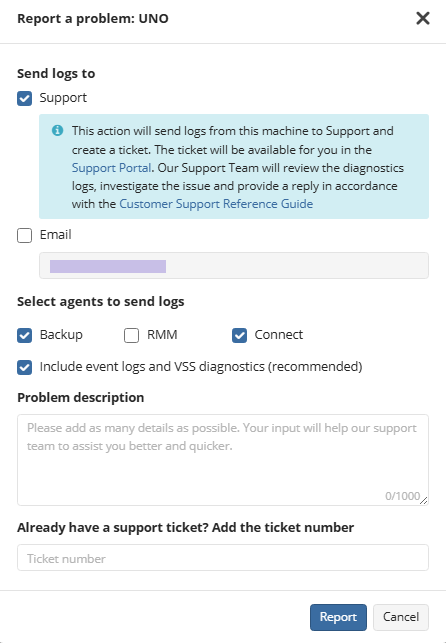
- Proceed with the form to describe the issue.
- If the Include event logs and VSS diagnostics (recommended) checkbox remains selected, these files will be attached to the reported case. Being a Provider, you can request from the support team that all reports from your subadmins will be send directly to you, and then you can manage the case.
- If you select Email, you can manage recipients: remove specified or add one or multiple recipients to receive this report.
- To send only logs created by specific Agents, select the Agents.
- Describe the problem in Problem description
- Provide the support case number in case the support case is already created to attach the logs to the support case.
- Click Report to send the information.
| Top |
Gathering Detailed Logs
Low level logs might not contain all information required to resolve the issue. In these cases, it might be necessary to troubleshoot with more detailed logs. In this case MSP360 Support Team representative can ask you to send logs with High/Debug log level.
Change Logging Level in Management Console
This method is intended for providers only.
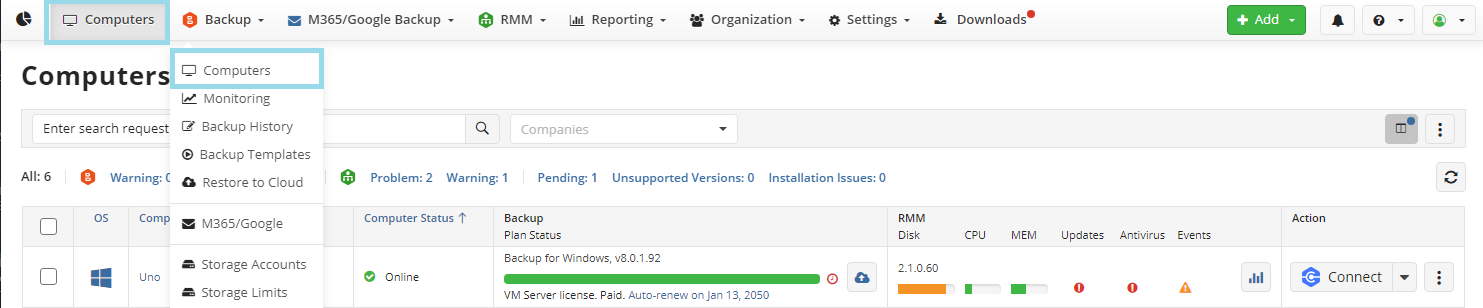
- In the Management Console, select Computers or Backup > Computers tab (Or Computers > Remote Management tab if you are using the classic user experience).
- Expand action menu (three dots) next to the computer you want to change logging level for, then select Edit > Edit Options.
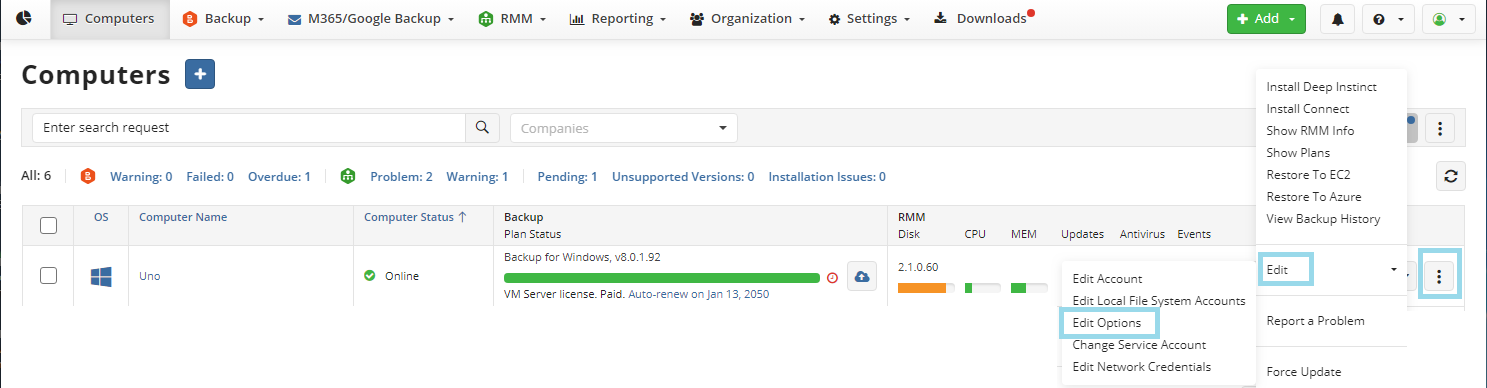
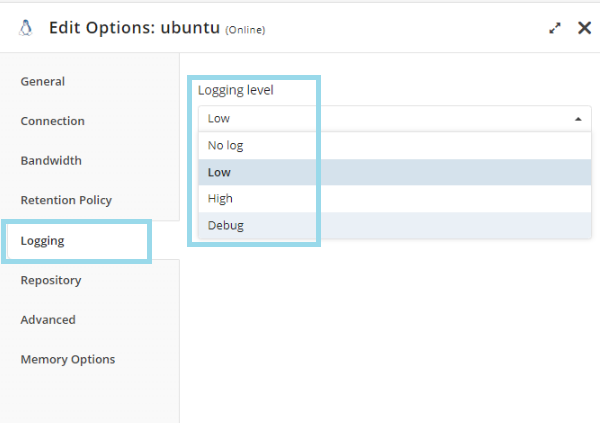
- Open Logging tab, then select logging level
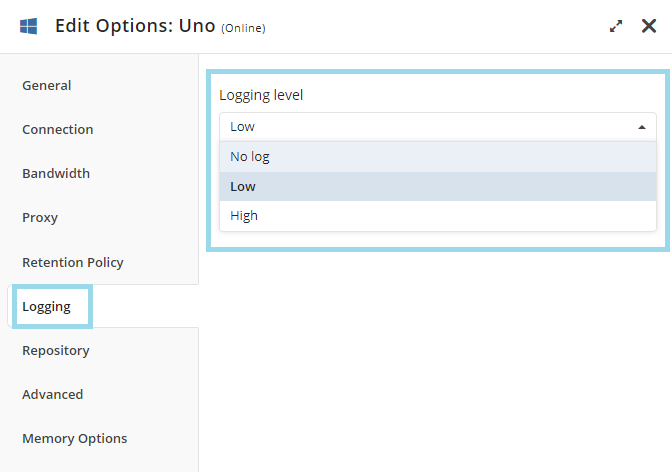
Available settings depend on the operating system of the computer
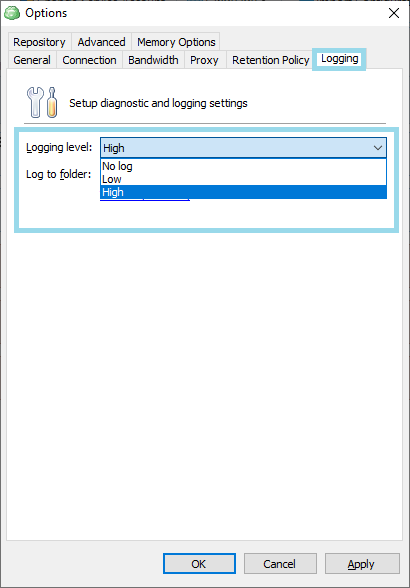
Change Logging level with Backup Agent for Windows
Using Backup Agent GUI
- Open Managed Backup Agent.
- Click Tools > Options.
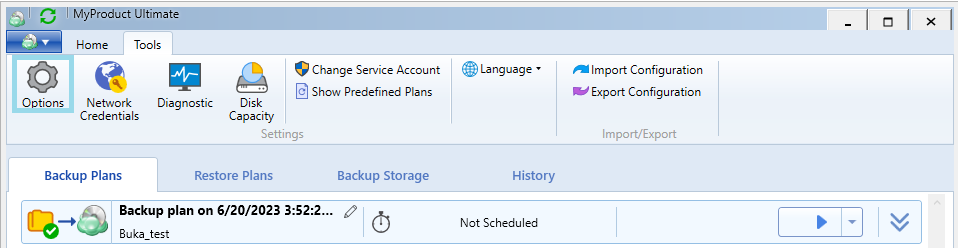
- Select Logging tab.
- Change logging level.
Linux and macOS
Using Backup Agent GUI
- Open Managed Backup Agent.
- Click Settings.
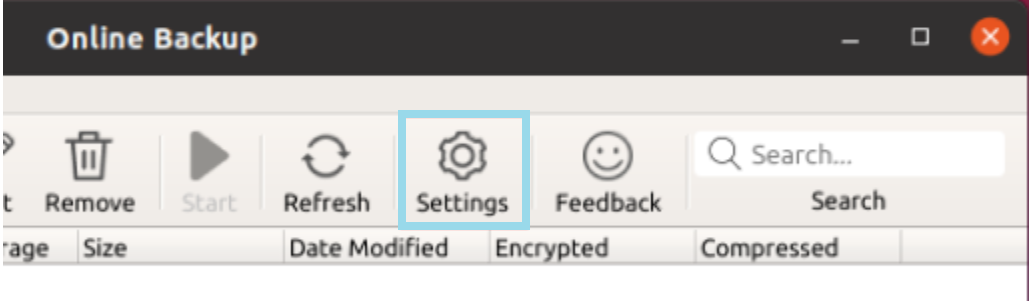
- Select Advanced tab.
- Change logging level under Logging > Mode.
Change Logging level Using Command Line Interface
You can use these commands in Terminal to change the logging level. Note that commands vary depending on the system you use (Linux/macOS), product version and product name. You also need to specify whether you need high or debug level logs using the parameter High or Debug.
For Linux:
"/opt/local/Online Backup/bin/cbb" option -set logging -mode High
You might need to change Online Backup to the name of your Backup package.
For macOS:
"/Applications/Online Backup.app/Contents/MacOS/cbb" option -set logging -mode High
You might need to change Online Backup to the name of your Backup package.
| Top |
Saving Diagnostic Logs Locally from MSP360 Backup
In some cases, diagnostic information cannot be sent automatically to the MSP360 Support Team due to connection issues. In such situations, logs can be collected manually.
Saving Logs Locally on Windows
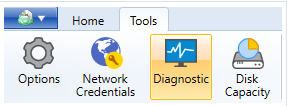
Using the GUI
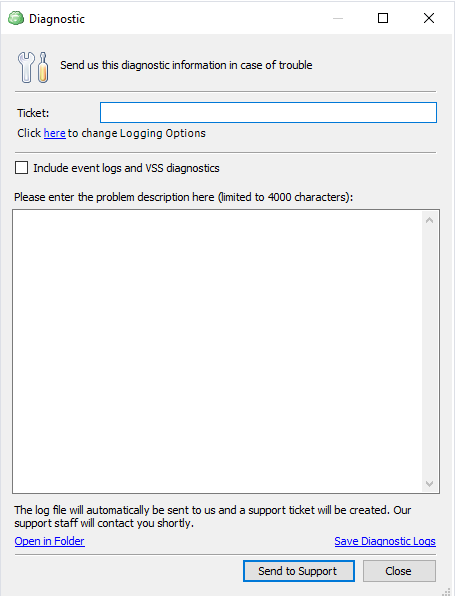
In the MSP360 Backup Agent, click Tools, then select Diagnostic
In the dialog window, click Save Diagnostic Logs in the bottom-right corner, then specify where to save the diagnostic archive.
Using Command Line Interface
Open the elevated command prompt to create a diagnostic information archive. Use the following commands:
cd {Backup software installation directory}
cbb saveLog -p %userprofile%
You can specify any accessible local destination instead of %userprofile%. For example:
The path specified must already exist on the computer
cd "C:\Program Files\MSP360\Online Backup"
cbb saveLog -p C:\Logs\
To upload the archive file with collectced logs, you can also utilize the following commands for elevated Windows CMD:
cd "BackupSoftwareInstallationDirectory"
cbb sendFileToSupport -p "PathToArchiveFileWithLogs" -t SUPPORT_CASE_NUMBER
Saving Logs Locally on macOS and Linux
Using the GUI
In the MSP360 Backup Agent, select *Feedback

Then select Open logs in Folder
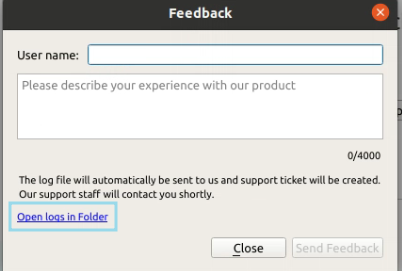
Once the folder containing the logs is opened, you can copy them into a compressed folder to send to Support via Email or upload them to a File share of your choice (Google Drive, Dropbox, OneDrive, etc) and send the link to download via email.
Using the Terminal
The logs can also be saved locally via Terminal for both Linux and macOS computers using the following command:
If you're using rebranded software, you might need to change product name to the name of the rebranded Backup software you use
Linux
"/opt/local/Online Backup/bin/cbb" saveLog -p ~
macOS
"/Applications/Online Backup.app/Contents/MacOS/cbb" saveLog -p ~
The archive file will be placed in the home directory of the user currently logged in. It can then be shared with Support via email or File share
Sending Memory Dumps Remotely with Diagnostic Logs
- Open the Computers page and find the required computer.
- Expand actions to the right of the computer entry and select Report a Problem.
- Select the option Send logs to Support, choose Backup, expand Options for specific Support Team requests, and select Send memory dumps of running plans:
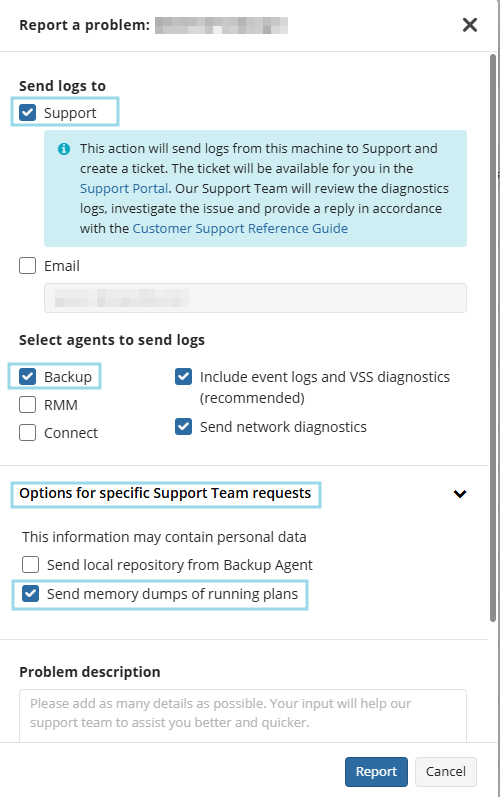
Please ensure that high logging is already enabled in the Backup Agent settings. If you already have a support case open, include the support ticket reference number
Manually Creating Memory Dump File
The instructions below are written for Windows 10 and may slightly differ for other Windows versions.
Follow the steps below to create and send dump files manually:
- Reproduce (or encounter) the issue where the backup (or restore) plan freezes. This is critical to create a dump file at the moment the issue occurs.
- Start Windows Task Manager. To do this, use one of the following methods:
- Right-click an empty area of the taskbar, and then click Task Manager.
- Press CTRL+SHIFT+ESC.
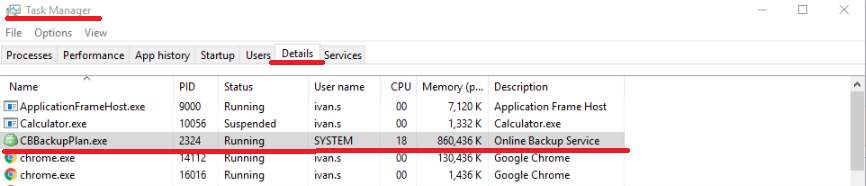
- Switch to Details tab, and then find the name of the process you need. In most cases, the process name includes the name of the program you are using. CloudBerry Backup starts processes named CBBackupPlan.exe for each running backup plan task. If a backup plan freezes, it is useful to analyze dump files for the corresponding CBBackupPlan.exe process.
- Right-click the required CBBackupPlan.exe process and click Create Dump File:
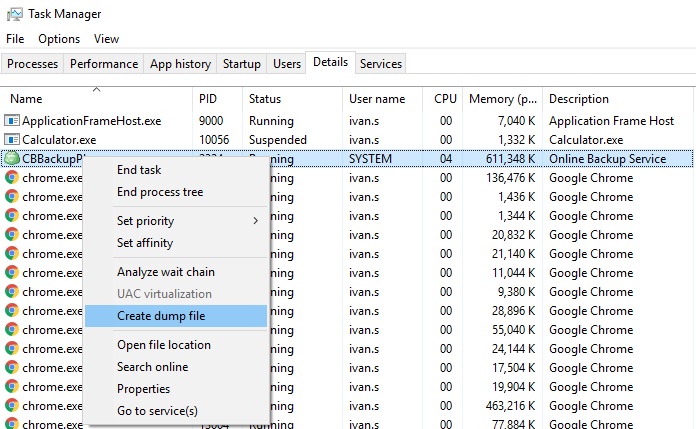
If prompted for a Windows administrator password or confirmation, enter the password and click Continue
The dumping process may take some time. Once completed, a pop-up window will display the path to the generated dump file.
- After waiting for 3-5 minutes, repeat step 4 again, thus creating a second process dump.
It is often useful to have at least two dump files to analyze the dynamic behavior of the issue.
- After the dump files are created, open Windows Explorer and navigate to the folder shown in the dumping process dialog to access the resulting (".dmp") files:
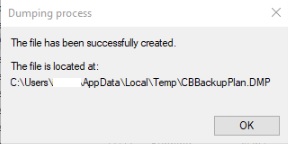
By default, Windows stores dump files in: "C:\Users{UserName}\AppData\Local\Temp" folder.
If you cannot find the AppData folder, enable Hidden files and folders in the View settings of Windows Explorer.
- Compress the .dmp files into a .zip or .rar archive and send it to support, or attach it to your support case if requested.
To upload the archive with collected dumps, you can also use the following commands in an elevated Windows CMD:
chdir "BackupSoftwareInstallationDirectory"
.\cbb.exe sendFileToSupport -p "PathToArchiveFileWithDumps" -t EIGHT_DIGIT_SUPPORT_CASE_NUMBER
Email Notifications Not Delivered
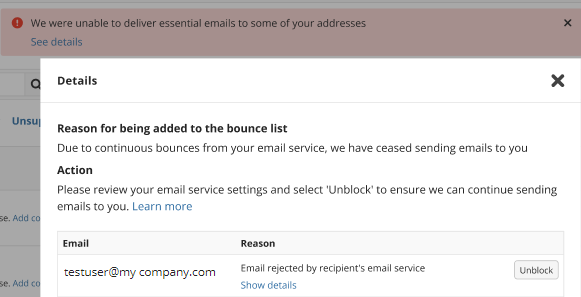
In case Managed Backup is unable to deliver notification email to one of specified email recipients, the following banner appears in the Management Console:

Click Details to see the affected email addresses. You can unblock them in case you adjusted the email service settings.
To adjust the email service settings, navigate to Settings > Email Service. Refer to Email Service for instructions on how to configure the email service settings.
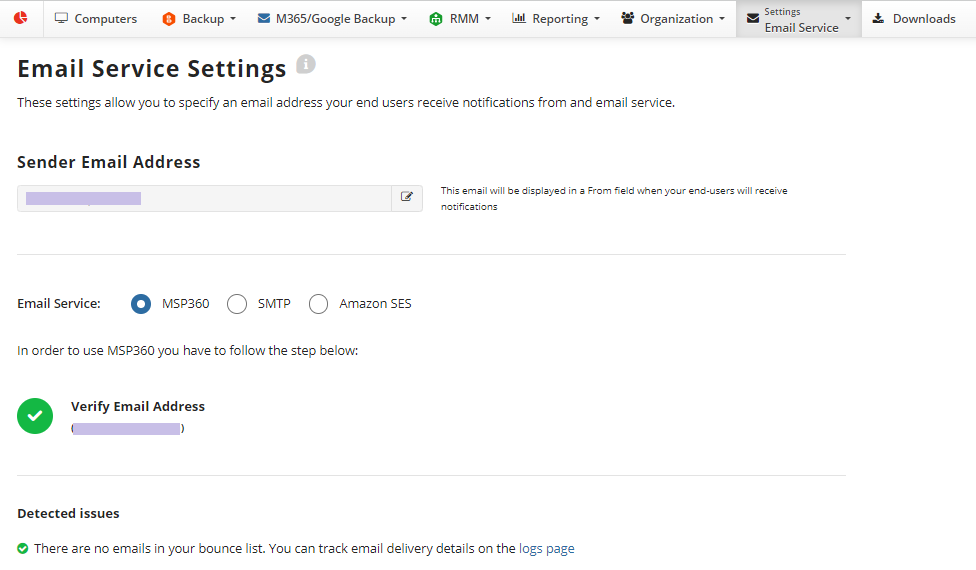
To receive complete information on the issue for every email address, click the logs page to see all notification errors.

| Top |
Contact Support to Report Logging-In Issues
If you encounter any access issues, you can send a support request to the support team.
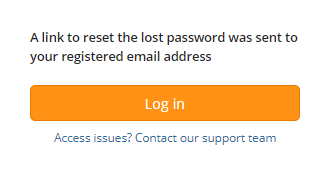
- Issues when you try to recover your password
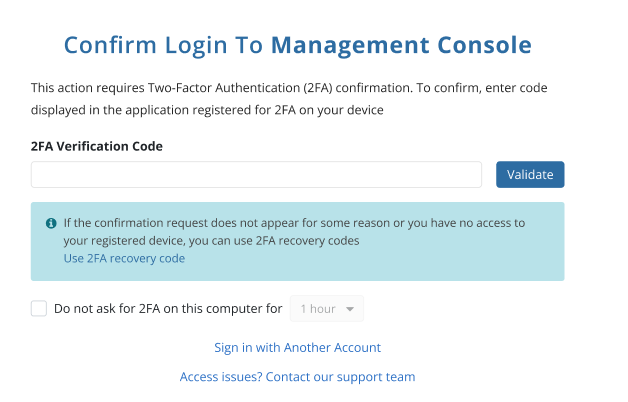
- Issues while trying to use a 2FA Verification code
- Issues while trying to use a saved Recovery code or do not have a Recovery code
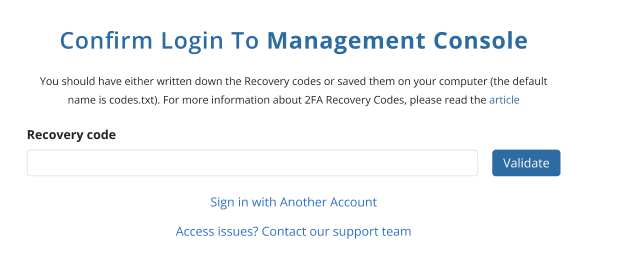
Click the Access issues? Contact the support team link to create and then submit your support request
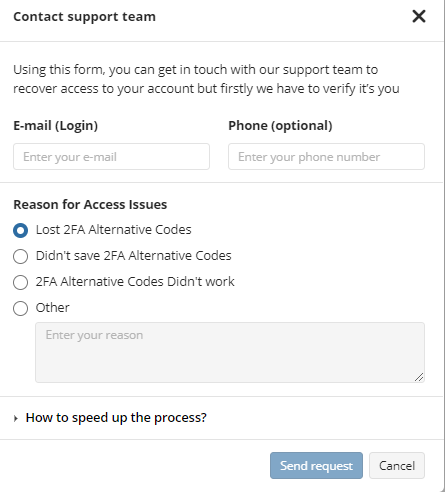
Complete the form and add your contact information. Click Send request

| Top |