Integration with SyncroMSP and RepairShopr
This article demonstrates the capabilities of integration between MBS and SyncroMSP/RepairShopr.
System Requirements
Host: Paid Syncro account with access to SyncroMSP's Dashboard as well as an MBS account. End-User/Client: Windows Server 2008/ 2008 R2/2012/2012 R2/2016, Windows 7/8/10
Authentication
- First, navigate to the General tab, under Settings and generate MBS API credentials.

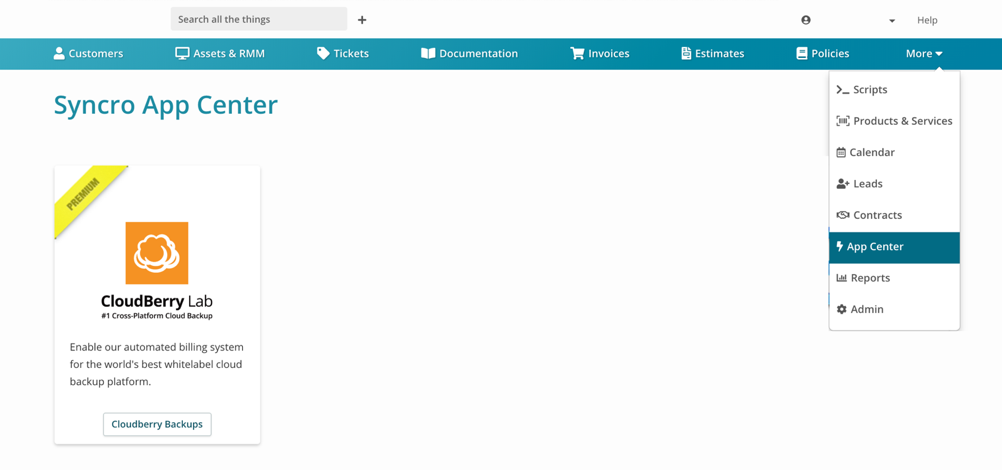
- Go to the SyncroMSP Dashboard, navigate to the App Center and select CloudBerry Backups.
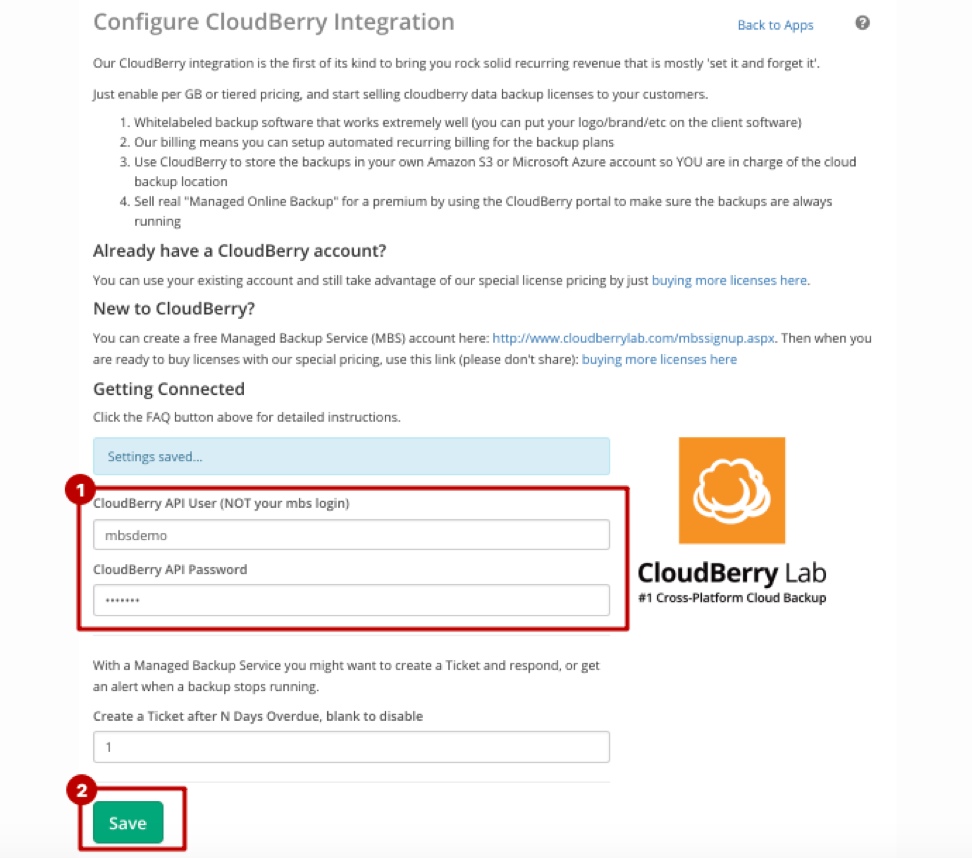
- Enter the newly generated MBS API credentials into the API User & API password text fields and then click Save.
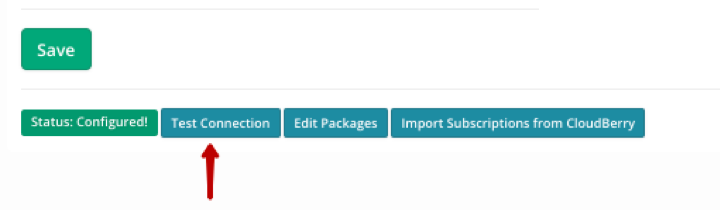
- Refresh the page and click Test Connection.
Importing Data
- Create packages on the MBS's Storage Limits page. Use limits (GB) to disable agents from backing up and restoring data of a certain volume. Also, use the cost ($) to calculate your cloud storage expenses.

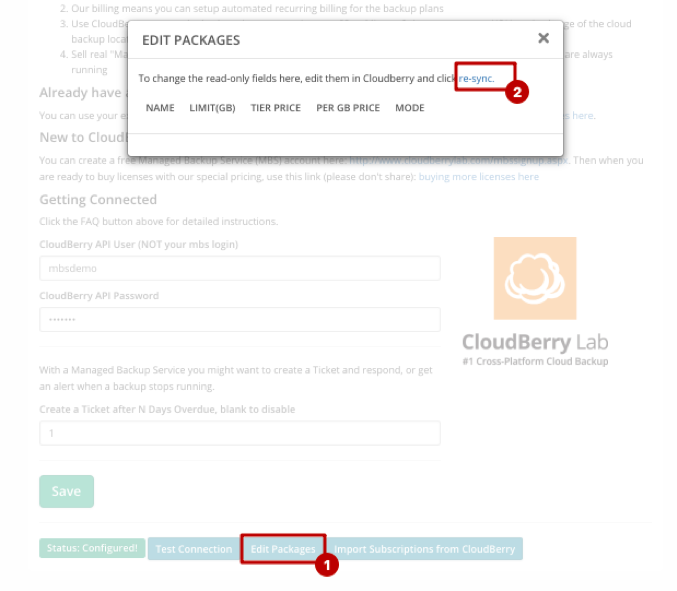
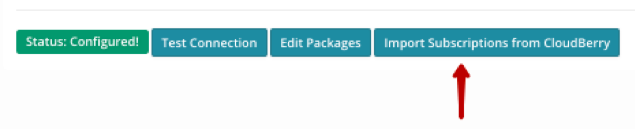
- Import packages into the SyncroMSP Dashboard. Click Edit Packages and then click re-sync.
- Click Import Subscriptions from CloudBerry to create recurring subscription invoices for the packages displayed on the previous screenshot. For more information on Backup Subscriptions, please refer to SyncroMSP's Help Center page.
Creating a Script to Silently Install and Configure the MBS Windows Client
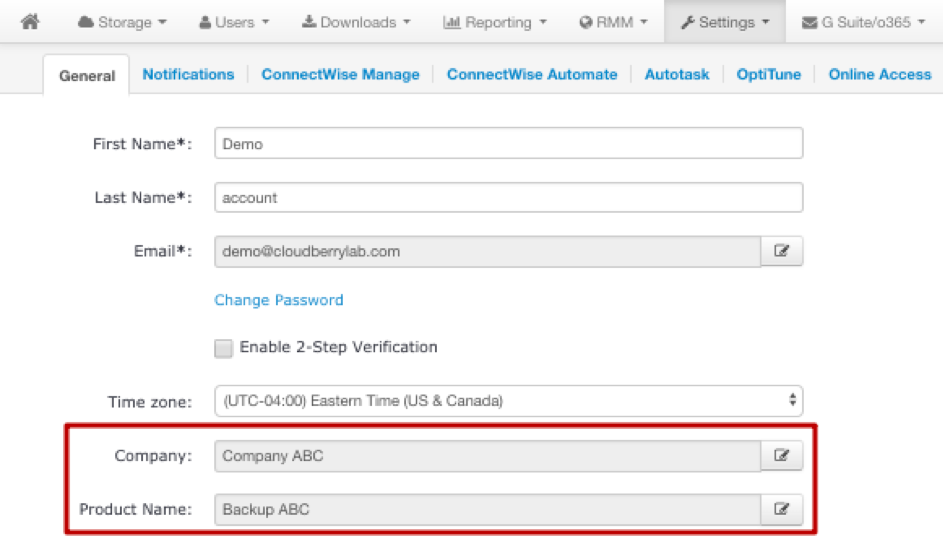
- Verify the Company and the Product names on the Settings' General tab in the MBS Web Console. The MBS Windows Client is by default installed to C:\Program Files\Company Name\Product Name (eg. C:\Program Files\Company ABC\Backup ABC).
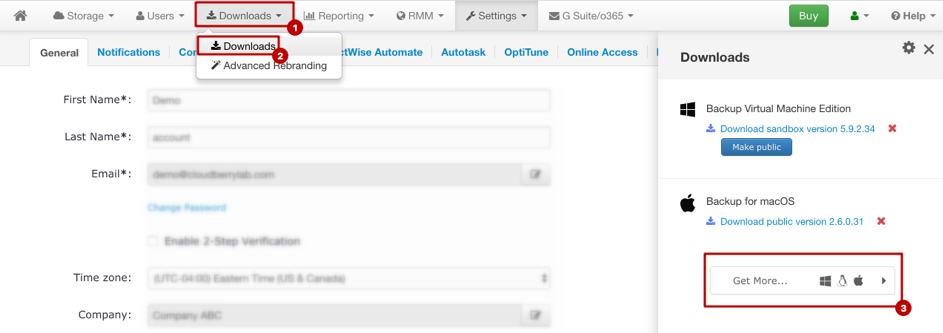
- Under Downloads, click Downloads. In the just appeared right side-bar, click Get More.
- Select Windows Backup and click OK.
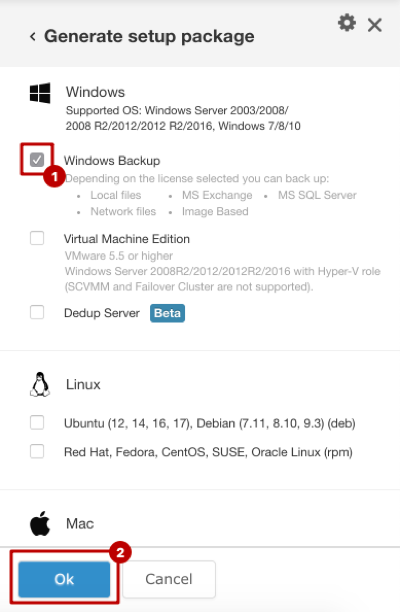
Wait for a few minutes until the build is generated and then click Make Public.
Download the newly generated build and rename it from XXXXXX_vX.XX_netv4.0_ALLEDITIONS_Setup_XXX.exe to backup.exe.
Afterward, navigate back to the SyncroMSP dashboard and open the Scripts page.

Click Add New File and upload the recently generated build.
Click New Script.
Enter the preferred name for the script into the Name text field. Then proceed to configure three runtime variables: $username, $password, $edition (they vary depending on the customer/end-user and so you will be prompted to fill them out whenever the script is scheduled to execute). Select PowerShell as the file type, run as — System, and finally set the maximum execution time to 20 minutes. The destination file name should be C:\backup.exe.

- Add the following commands to the script:
- & C:\backup.exe /S 2>&1 (- download the installer and perform silent installation)
- Start-Sleep -s 420 (- pause the script for 420 seconds)
- & cmd /c "path\cbb.exe" option -edition $edition 2>&1 (- selecting the required edition)
- desktop — File-Level Backup license
- baremetal — Image-Based Backup license
- mssql — SQL license
- msexchange — Exchange license
- mssqlexchange — SQL + Exchange license
- ultimate — Ultimate license
- Start-Sleep -s 10 (pause the script for 10 seconds)
- & cmd /c "path\cbb.exe" addAccount -e $username -p $password 2>&1 (authenticate the user)
In the end, the script might as:

Final Steps
- Include additional command-line commands if necessary. The complete list of available commands can be found here.
Once done, proceed to deploy the script to your computers in the Assets & RMM section. Under Assets, expand the Manage drop-down menu, and then click Run Script.

To remotely configure backup plans and configurations, use MBS's Remote Deploy service.