Get Started with Branding
Once you start working with multiple rebranding, you always have a base branding. This is the default layout of the Backup Agent with the minimum settings available for editing.
To view and edit the base branding settings, proceed as follows:
- Open the Management Console.
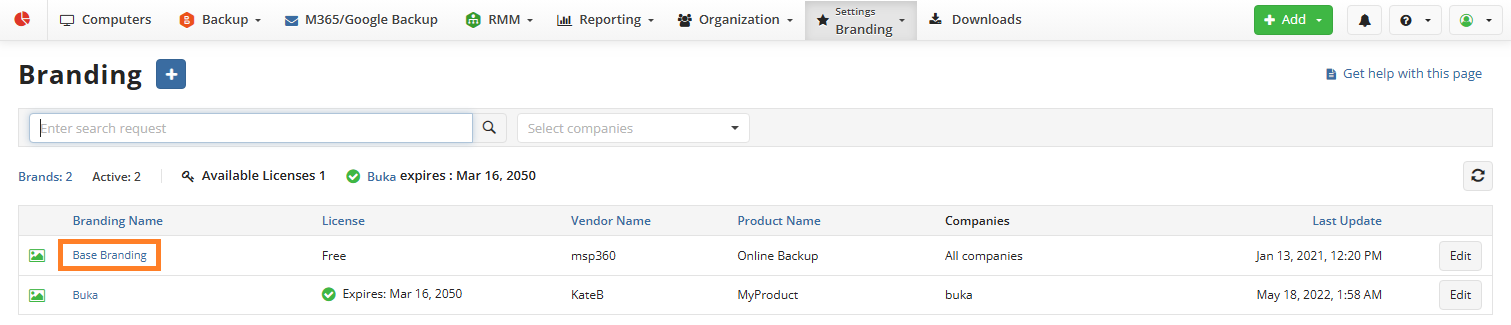
- In the Settings menu, select Branding.
- Click Base Branding.
The following fields are available for editing:
- Vendor Name. The MSP provider name
- Product Name. The name used for Backup Agent (for example, MyCompany Backup Service).
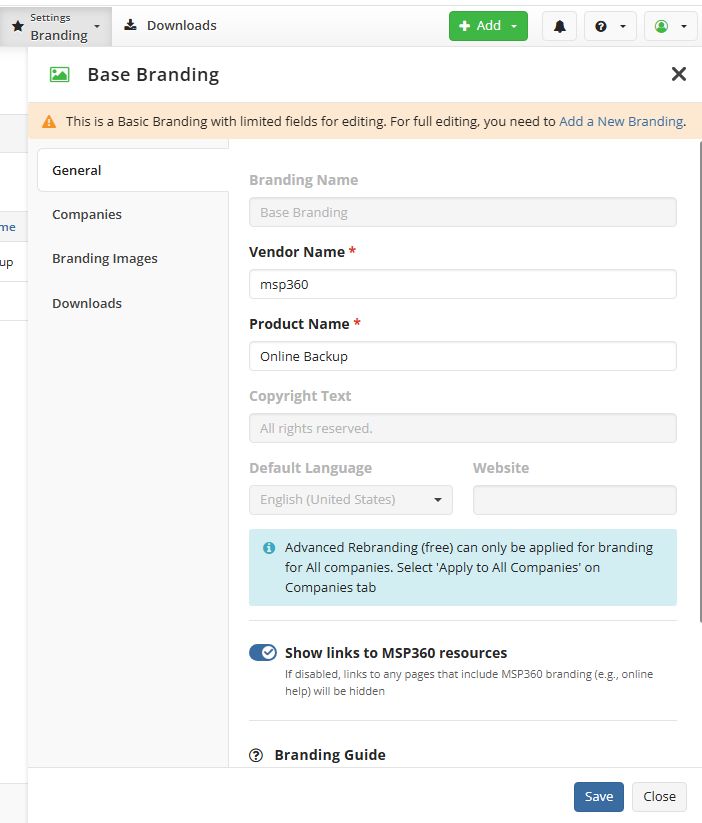
- Once you are done with editing, click Save.
The Backup Agent layout on users' computers will be updated automatically.
Note that once you edited the brand settings for Backup Agent for Windows, settings will be applied immediately except for main and system tray icons. To update icons, restart computers. Alternatively, you can reinstall the rebranded Backup Agents
When you apply the branding settings for a Backup Agent for Linux and macOS, note that the settings are applied differently than for Backup Agent for Windows: once you edited branding settings, you need to reinstall the rebranded Backup Agent from scratch