Manage Administrators
Managed Backup features convenient administrator management.
To manage administrators, the Organization > Administrators permission should be granted as the administrator permission on Organization > Administrators.
This chapter covers the following topics:
In addition to service provider account, you can create multiple administrators who can be granted the following privileges:
- Create, edit and delete users
- Manage licenses
- Manage and deploy backup and restore plans
- Manage packages
- Control billing issues
Having a number of administrators improves working with a large number of customers by increasing efficiency. Entitle your staff with administrator privileges and focus on other tasks.
To understand administrative roles, refer to the following article.
Administrator Grid
To view the administrator grid, proceed as follows:
- Open the Management Console.
- In the Organization menu, select Administrators.
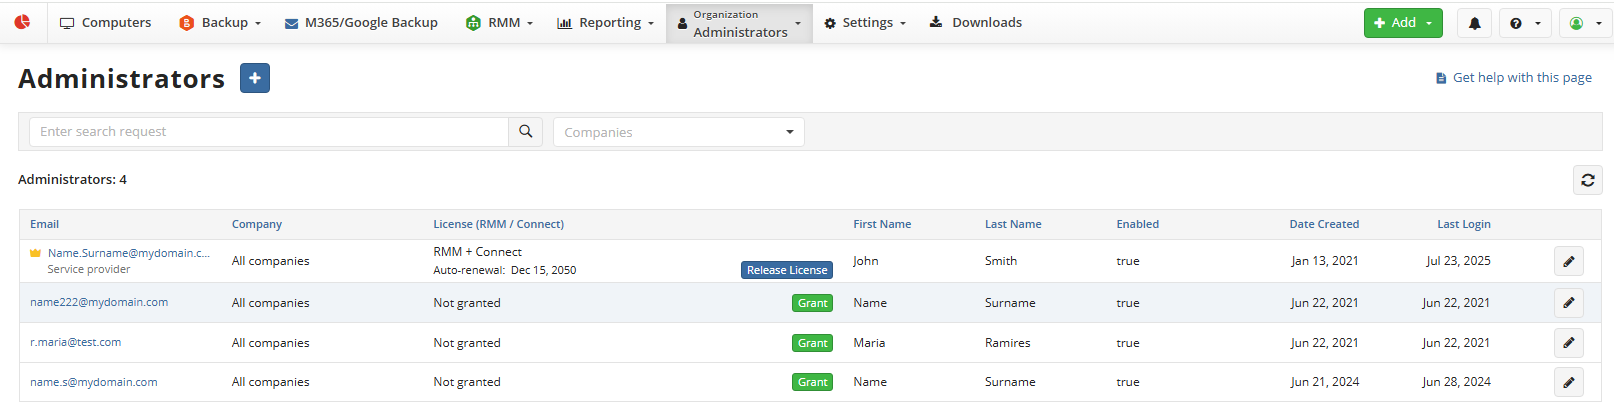
The list of administrators is displayed in a single view and contains the following data:
- Service Provider Email Address
- Administrator Email Address
- Company Name
- Administrator First Name
- Administrator Last Name
- Administrator Account Status
- Account Creation Date
- Last Login Time
Create an Administrator
To Create a New Administrator
- In the Organization menu, select Administrators.
- Click +.

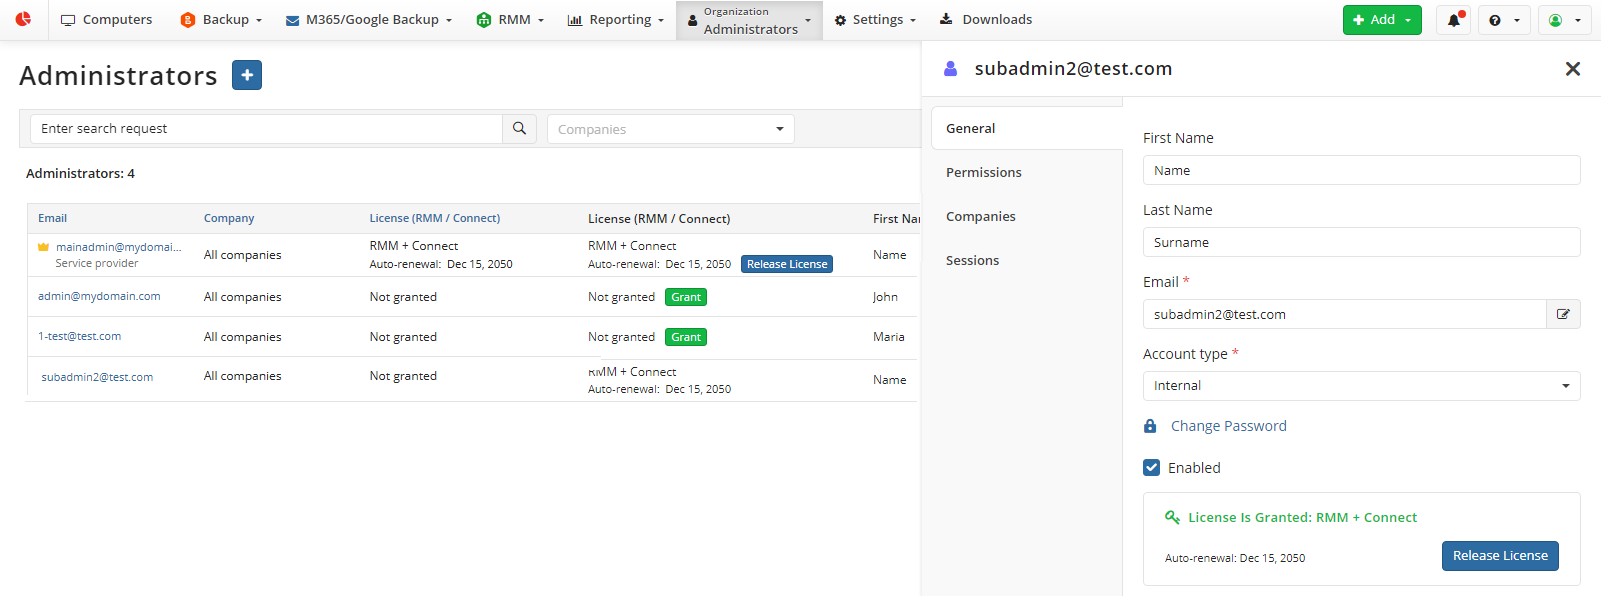
- Specify the administrator's personal information.
- Specify the administrator's email address.
- Select the administrator account type. The following types are available:
- Internal. Select this type if you are granting this account to anyone inside your company
- External. Select this type if you are granting this account to any of your customers. No permission restrictions apply to this account type
- Specify the password for the administrator or generate it automatically.
- Select the Enabled checkbox to enable the new administrator immediately.
- To provide the administrator with initial guidelines, select the Send email with instruction checkbox.
- Switch to the Permissions tab. By default, permissions are not granted.
- Specify the permissions for the new administrator.
- Switch to the Companies tab.
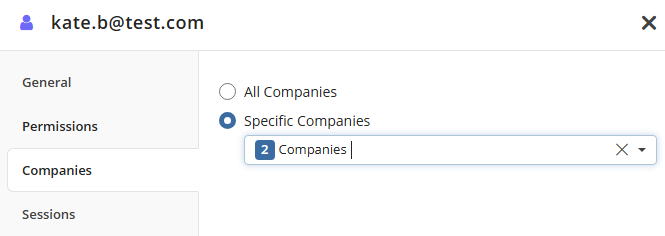
- Specify the companies the new administrator can have the access to. The following options are available:
- All companies. Select this option to grant the new administrator access to all your companies
- Specific companies. Select this option to grant the new administrator access to selected companies only. Select required companies from the drop-down menu below, then click Add.

- In the Add Company dialog box, specify companies to be managed by the administrator. When you are finished, click OK

- Once you are done, click Create.
As the new administrator is created, open the Management Console, log in using administrator account in Microsoft, Google, or by administrator's email address and password and click Login.
As a result, the administrator will be able to manage their companies according to the granted permissions.
Edit Administrator
To edit administrator data or manage permissions, proceed as follows:
- In the Organization menu, select the required administrator.
- Click Edit.
- On the side panel, make the required changes.
- Once finished, click Save.
Disable Administrator
To disable an administrator, proceed as follows:
- In the Organization menu, click Administrators.
- Find the administrator's account to be disabled, then click Edit.
- On General tab clear the Enabled checkbox, then click Save.
Delete Administrator
To delete an administrator, proceed as follows:
- In the Organization menu, click Administrators.
- Find the administrator's account to be deleted, then click Edit.
- Click Delete button in the bottom of the side panel
- Confirm the deletion.