Prepare Azure Environment for Virtual Machine Restore
This functionality requires Restore to EC2 / Azure license.
The Restore to Azure VM feature is currently provided as-is and is available by request only. Due to limitations imposed by AWS/Azure and the distinct nature of each cloud platform, we cannot guarantee consistent system stability or performance in all scenarios.
If you plan to use this feature for actual disaster recovery, we strongly recommend thorough testing in advance. Verify its functionality in your specific environment, particularly under simulated disaster recovery conditions, and ensure the results meet your and your customers' Recovery Time Objectives (RTO) before proceeding with a production restore
Before restoring disk images or VM backups to Azure VM, ensure that the used Microsoft Azure account meets one of the following criteria:
- The account is an organizational account with an active subscription.
- The account is a personal account that has been explicitly invited into an organization with an active subscription. In case you have any issues with your Azure account, refer to the following Knowledge base article
By following the procedure below, your Microsoft Azure account will be prepared for restoring image-based or VM backups as an Azure VM instance. As part of this process, the following entities will be created and/or configured:
- Resource Group: a container that holds related resources for an Azure solution
- Storage account and Storage container: a structure to store temporary data required for VM restore
- Azure Virtual Network: a way to present logical networking services to connected workloads
- Network Security Group: a container for security rules that allow or deny network traffic
Prepare Your Environment
Follow the instructions below to complete the preparations:
- Create AD User
- Prepare Management Console
- Create a Resource Group
- Create Storage Account and Storage Container to Keep Restored VM Disks
- Create a Virtual Network and Subnet
- Create a Network Security Group
- Associate Network Security Group with the Subnet
- Enable Serial Console
- Establish available VM sizes
Create Microsoft Entra ID (Formerly Azure AD) User
Restoring to Azure VM requires the Microsoft Entra ID (formerly Azure AD) user to have the appropriate permissions assigned to the storage and compute resources.
- Log in to your Azure Portal.
- Select Active Directory.
- Select Custom Domain Names and make sure you know which domain you use for VM restore.
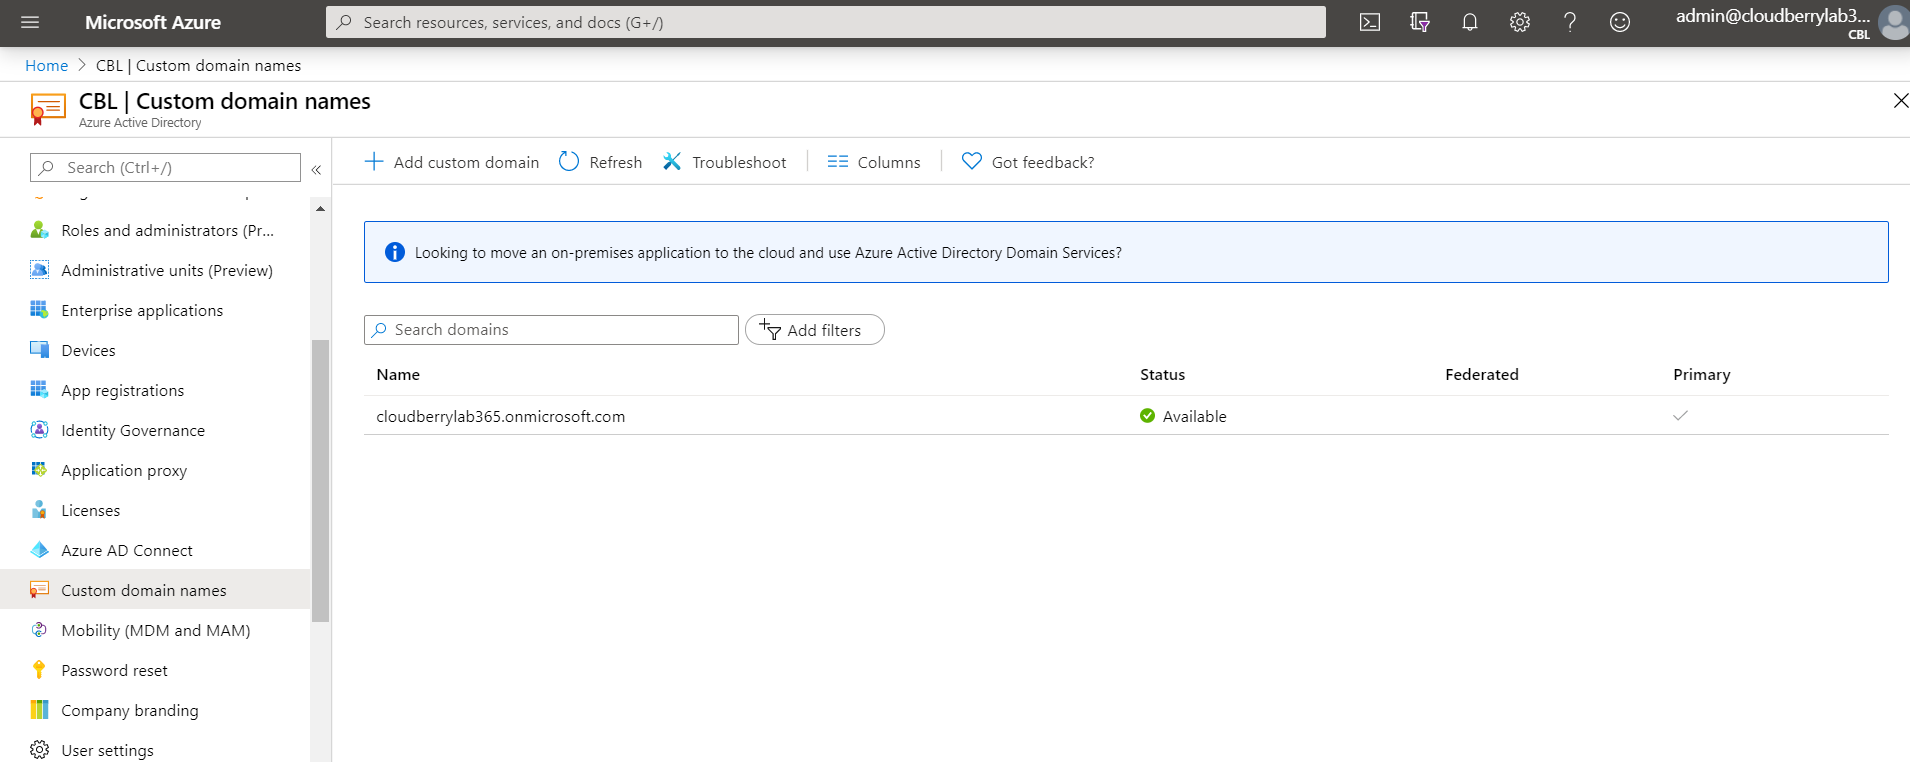
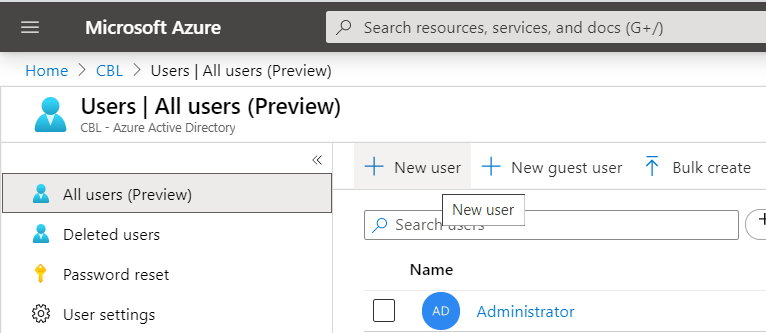
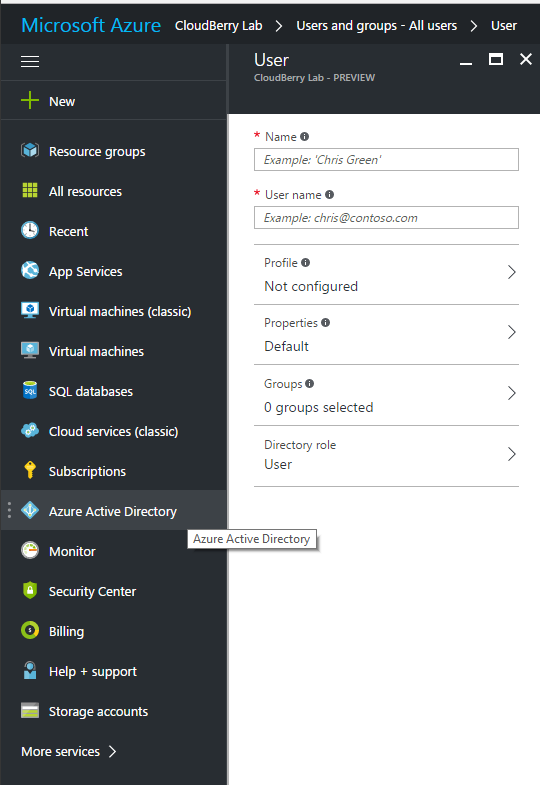
- Select Users, then click New User.
- Specify all the required data for a new user, then click Create.
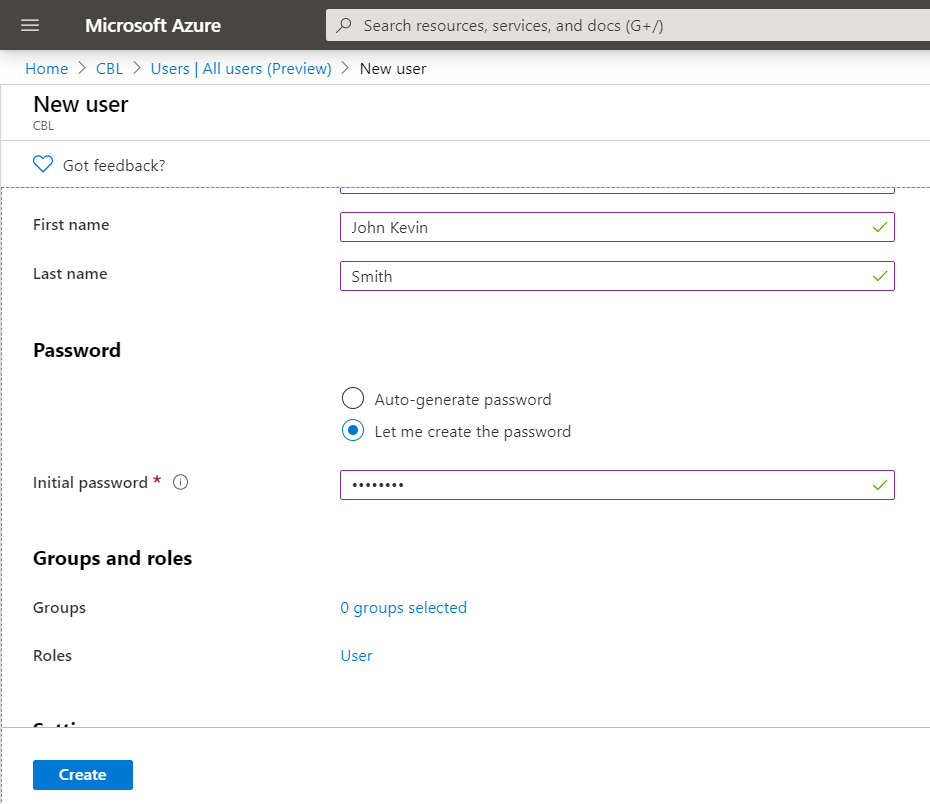
User name is the ID of the user in Azure Active Directory. If you see the password while configuring user data, it means that you are creating a School or Work account in your domain
- Copy the specified (or automatically generated password) password. You will need it later. The initial password must be changed on your first logon.
- Assign the required subscription to this new user.
- In the main Azure portal menu, select Subscriptions.
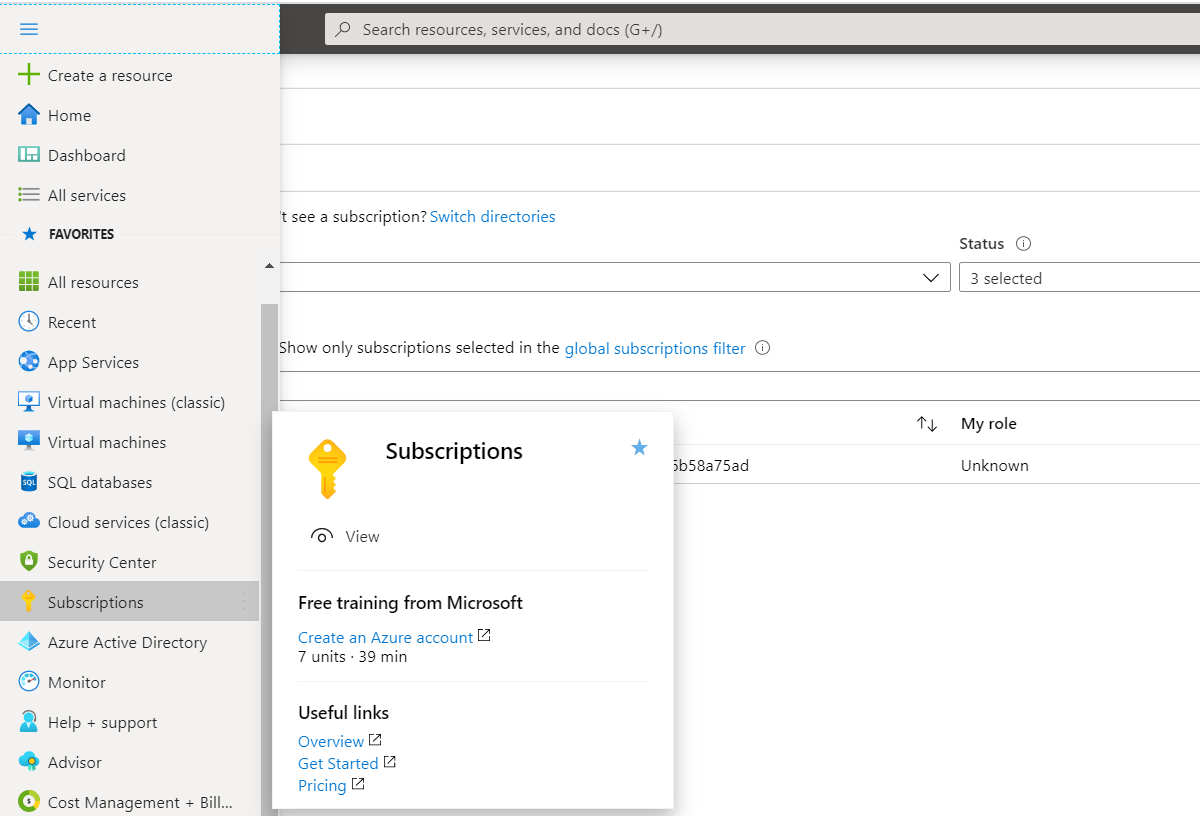
- In the Subscriptions list, select the one to use for Azure VM.
- Click Access Control (IAM).
- Add the new user to this subscription.
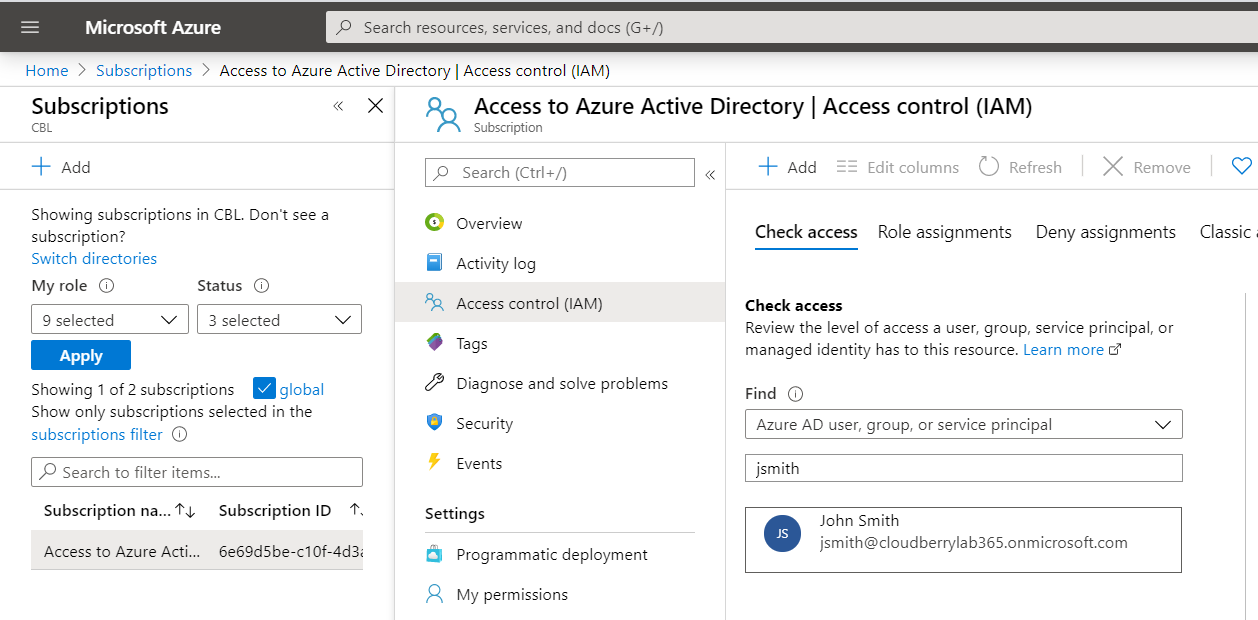
- Select a role with sufficient rights for Azure VM creation.
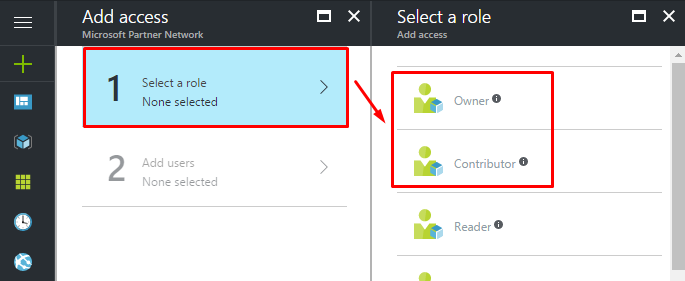
- Once you have selected the role, select the user that you recently created.
- Log out, then log in using the new user credentials, and change the initial password.
Prepare Management Console
Once you are done with the Azure Console and the new user, create a new storage account in Management Console.
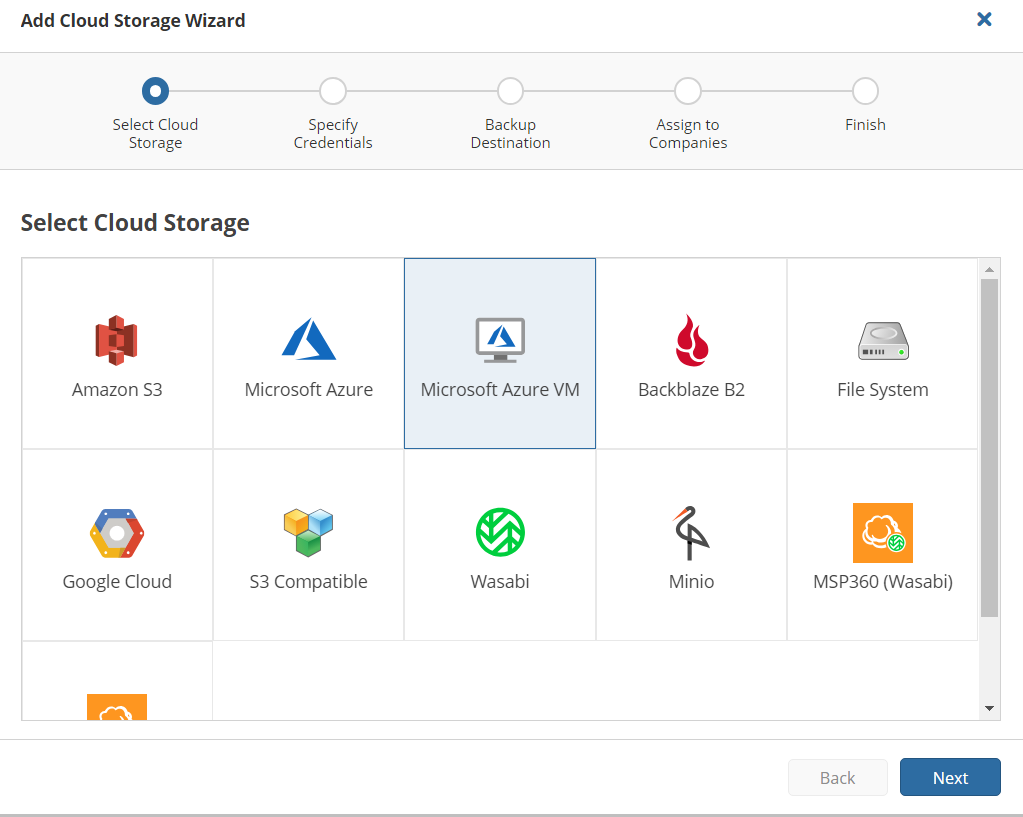
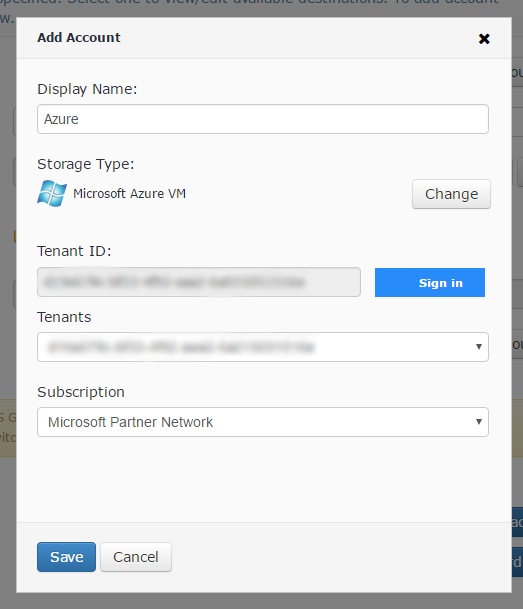
- Open Backup > Storage Accounts. To add new storage, click Add Account.

- Select Microsoft Azure VM storage account type:
- Specify the display name for this account and click Sign in, then select your Azure account that was created in steps 1-13.
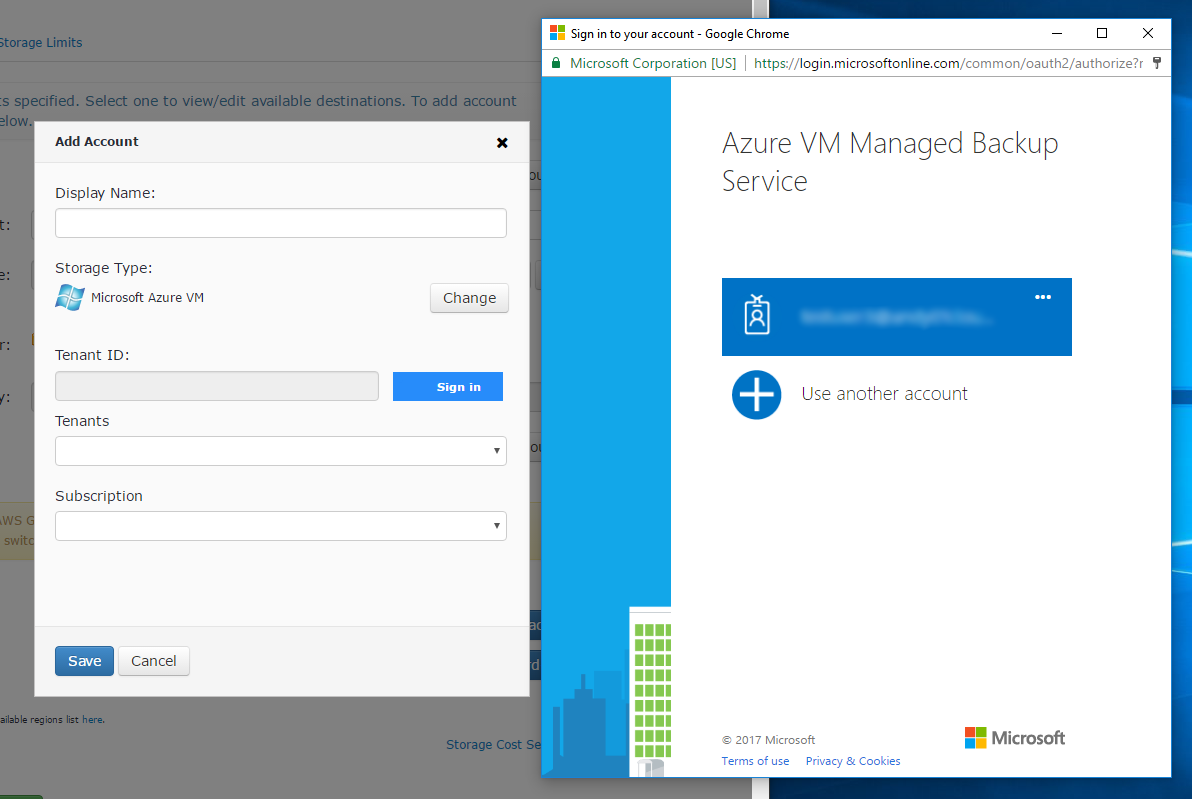
- Specify the Microsoft Entra ID (formerly Azure AD) user in the opened Azure sign in form and confirm the Azure VM Managed Backup Service application permissions.
A business account is required to perform the restore. If you attempt to sign in using a personal account, you will likely get the following error:
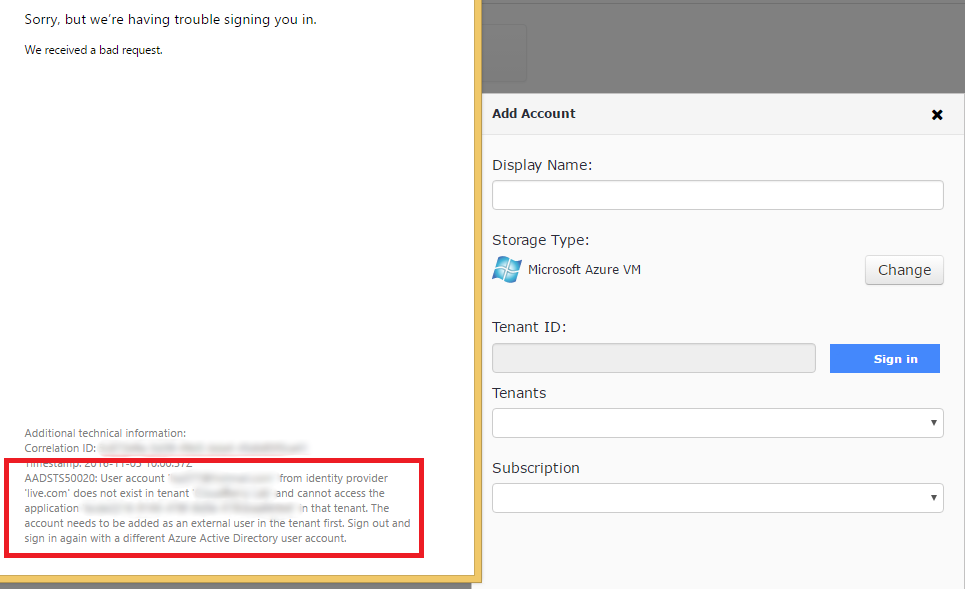
However, there is a workaround. Open the Azure portal and create a user with the required permissions. Then use the new user credentials to log in.
- After signing in, view/select the Azure subscription used to create the target virtual machine and any resources required for it.
- Proceed with the wizard and save the created storage account.
Assign Azure VM Account to MBS User
Finally, you need to assign the just set up Azure VM account to the required MBS user. This procedure is not performed automatically, as you might want to give different users access to different cloud storage.
- In the Organization menu, select Users.
- Find the required user, then click Edit.
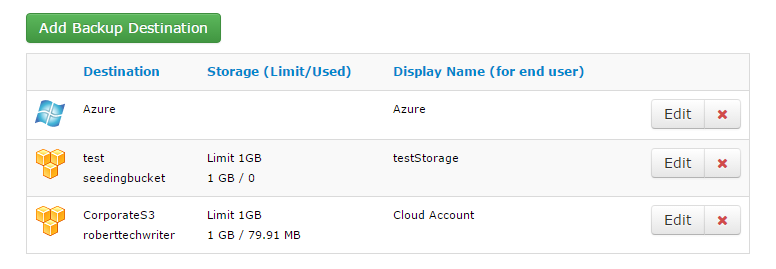
- Click Add Backup Destination.
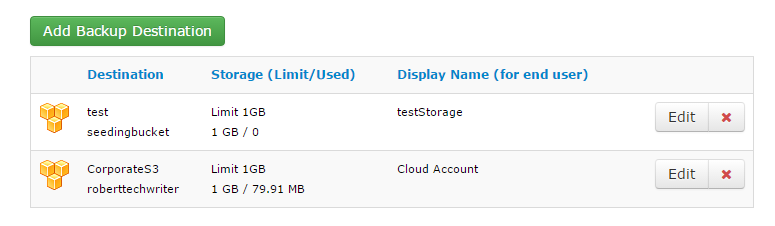
- Select Azure VM, then click Save.
- Azure storage account appears in the available backup destinations list.
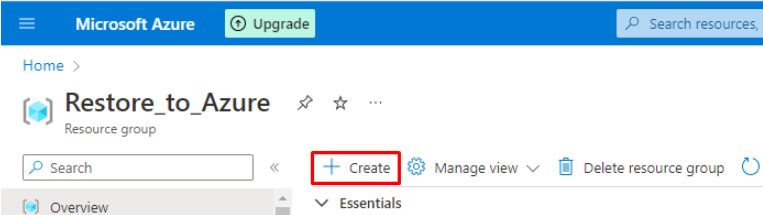
Create a Resource Group
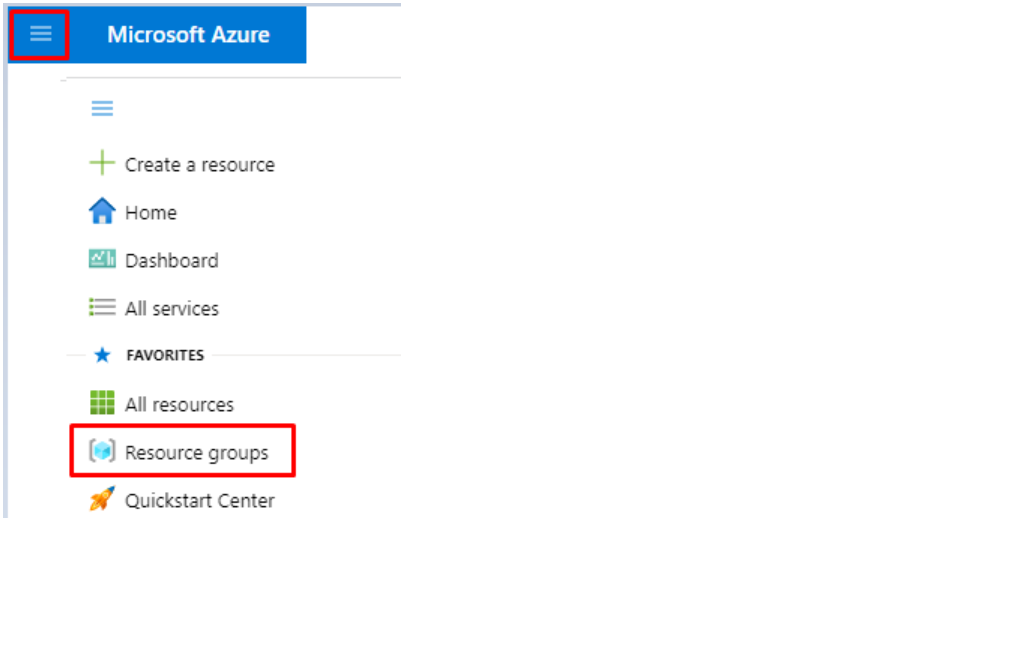
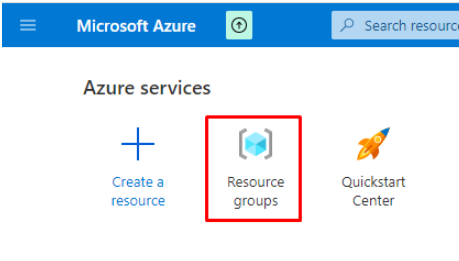
- Select the Resource groups entry from the Azure portal menu:
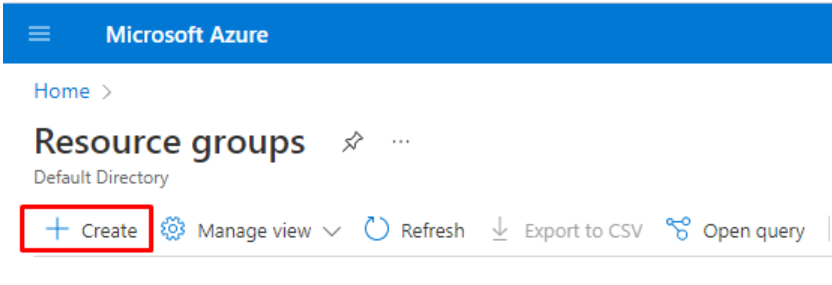
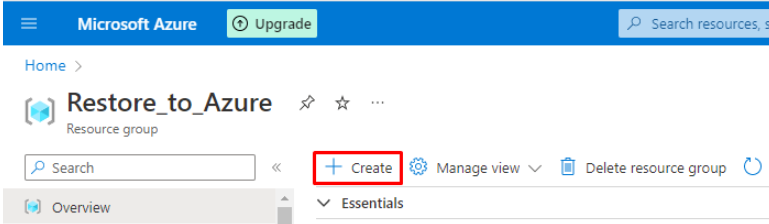
- Click on Create:
- Specify the Resource group name. Select the subscription and the region for the Resource group.
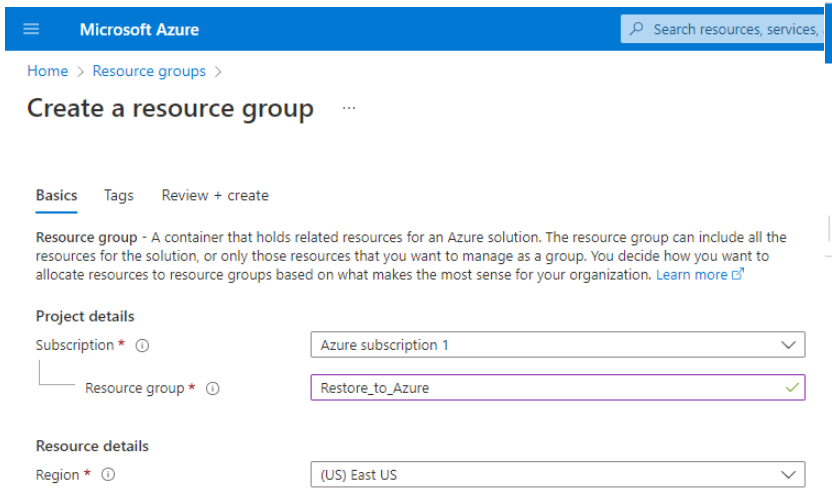
For faster uploads and downloads, select the closest location. You can check the location latency on http://azurespeedtest.azurewebsites.net/.
- Click on Review + create to finish or continue to the Tags section:

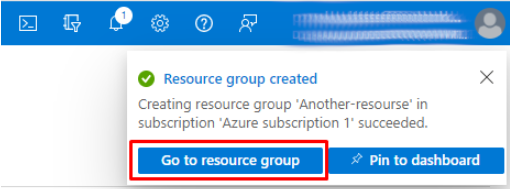
- Click on Go to resource group:
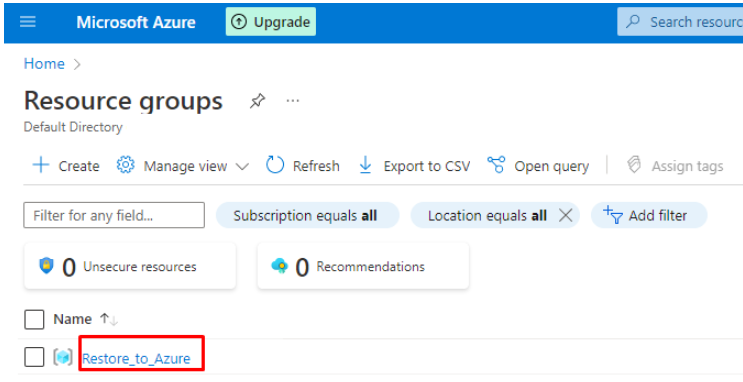
- Alternatively, you can click on the resource group from the list.
Create a Storage Account and Storage Container
You can use an existing Storage account, unless it has Data Lake Storage Gen2 capabilities enabled
- Make sure you selected the relevant Resource group. If not, go to Home > Resource groups section and select it from the list:
- Click on Create.
- Locate the Storage Account entry using the search box and choose Create > Storage account:
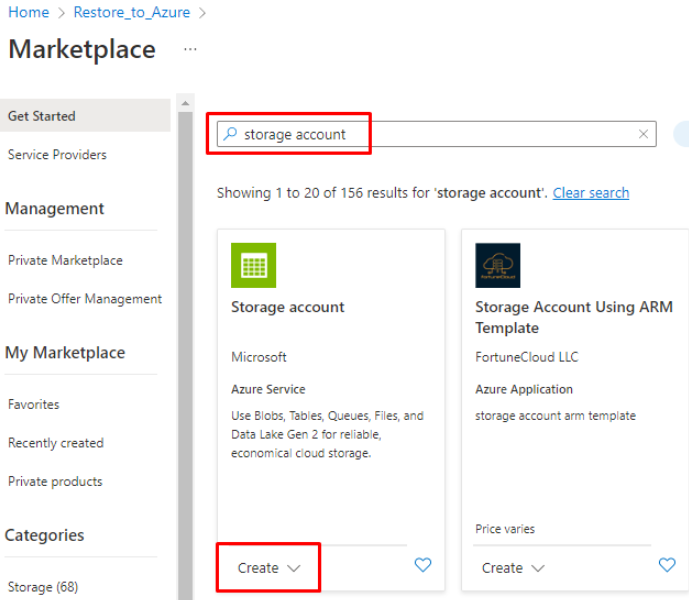
- Specify a unique Storage account name, proper Region, as well as the parameters listed below for one of the recommended storage configurations (the default values can be used for all other parameters):
VM HDD container:
- Performance: Standard or Premium
- Redundancy: LRS, GRS, RA-GRS
- Access tier: Hot
Boot diagnostic storage (if required):
- Performance: Standard
- Redundancy: LRS, GRS, ZRS, RA-GRS
- Access tier: Hot
The access to the created storage account in the Azure console > Security + networking > Networking > Firewalls and virtual networks should not be limited for the virtual networks created below
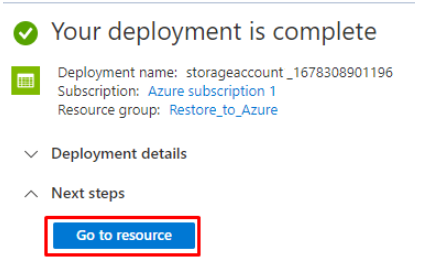
- Wait until the Storage account has been deployed and click on Go to resource:
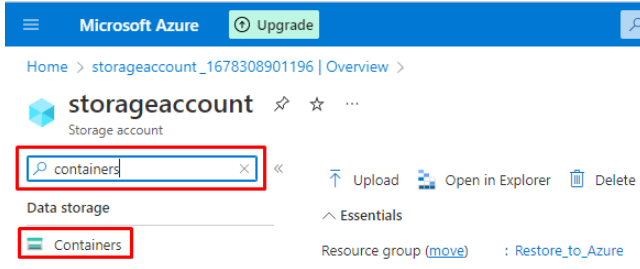
- Locate the Containers section and select it:
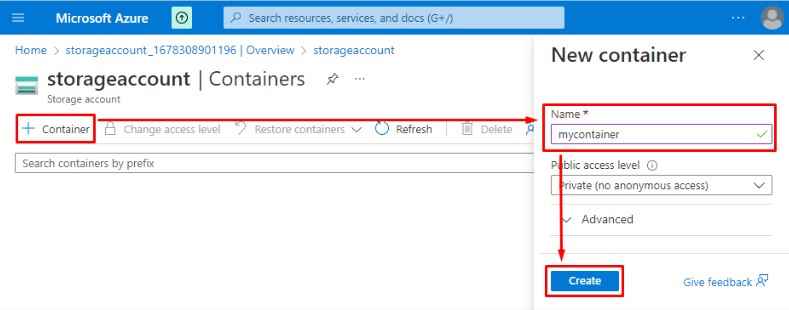
Create a container that will be used to store temporary data required for VM restore:
Create Virtual Network with Correct Subnet
- Make sure you selected the relevant Resource group. If not, go to Home > Resource groups section and select it from the list:
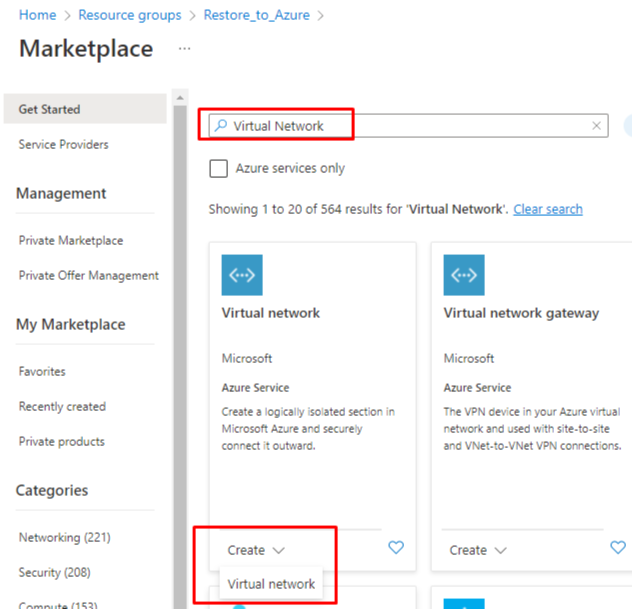
- Click on Create.
- Locate the Virtual network entry using the search box and click on Create > Virtual network:
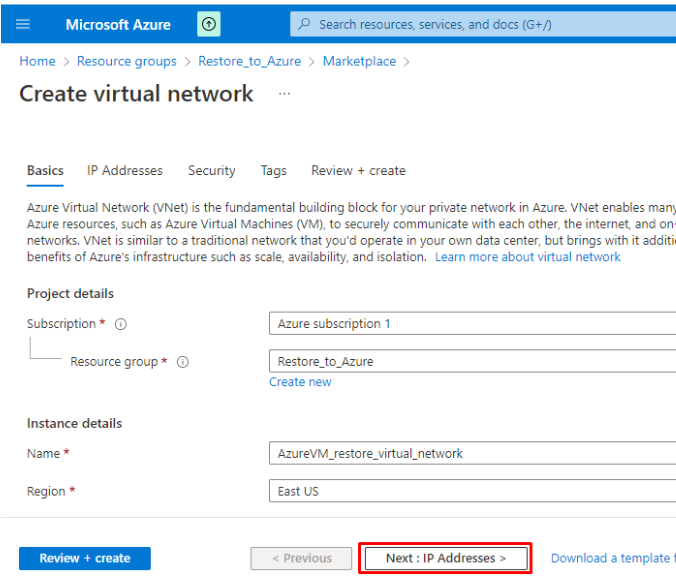
- Specify the virtual network name and select the same region as for the used Resource group. Then click on Next: IP addresses.
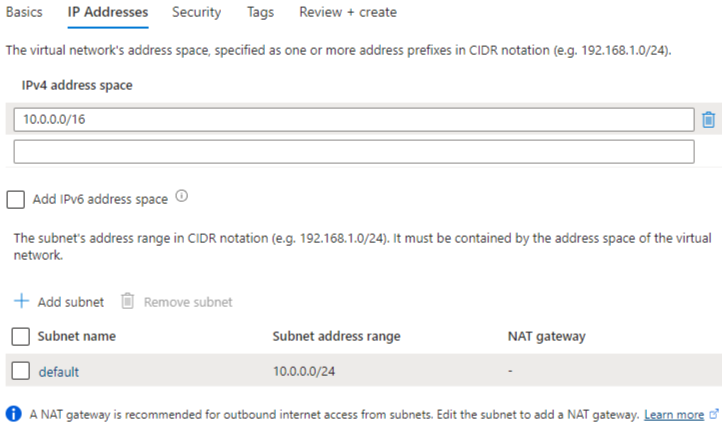
- Change the IP Addresses settings for the new virtual network or go with the default settings: IPv4 address space 10.0.0.0/16, default subnet 10.0.0.0/24.
In case the backed-up server uses a static IP address, create a corresponding subnet in the Azure Virtual Network to be able to connect to the restored machine via the Internet. Consider, Azure reserves the first three IP addresses in a subnet for internal usage
- Click on Next: Security if you would like to change the default parameters:
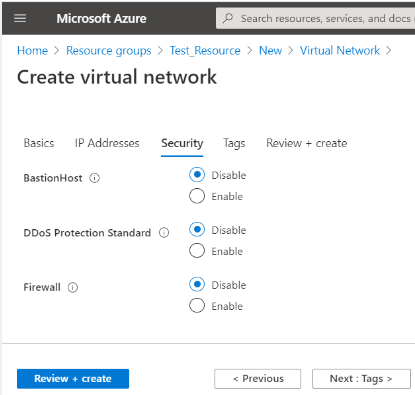
- Add tags in the corresponding section, if needed.
- Wait until the settings have been validated
- Click on Create.
Check in the Azure console > Security + networking > Networking > Firewalls and virtual networks that the access to storage account created above is not be limited for the created virtual network.
If you enabled the firewall settings in the Azure console > Security + networking > Networking > Firewalls and virtual networks after the previous step, you should return to the storage account settings and add the created network to the list of allowed to access the storage account
Create a Network Security Group
For security reasons, it is strongly recommended to create a Network Security Group and associate it with a Subnet. The main goal of inbound and outbound security rules is to limit the access to traffic in and out of a network.
To manage the restored system, it is necessary to enable inbound traffic on the appropriate port for the remote management protocol being used, such as port 3389 for Windows RDP or port 22 for Linux SSH. Additionally, to enhance security, access to the restored system may be restricted to originate from specific IP addresses or ranges of IP addresses only.
Outbound traffic can be limited to the resources specified in the following article. However, cloud storage service providers only specify service URLs and do not disclose the utilized IP addresses on their websites, so filtering outbound traffic will require additional research.
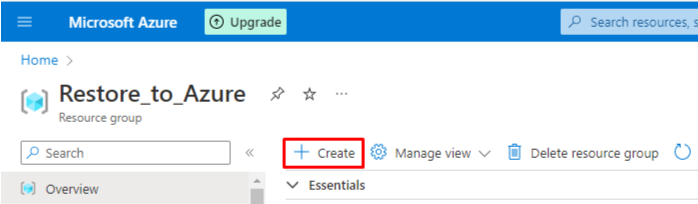
- Make sure you have selected the relevant Resource group. If not, go to the Home > Resource groups section and select it from the list:
- Click on Create.
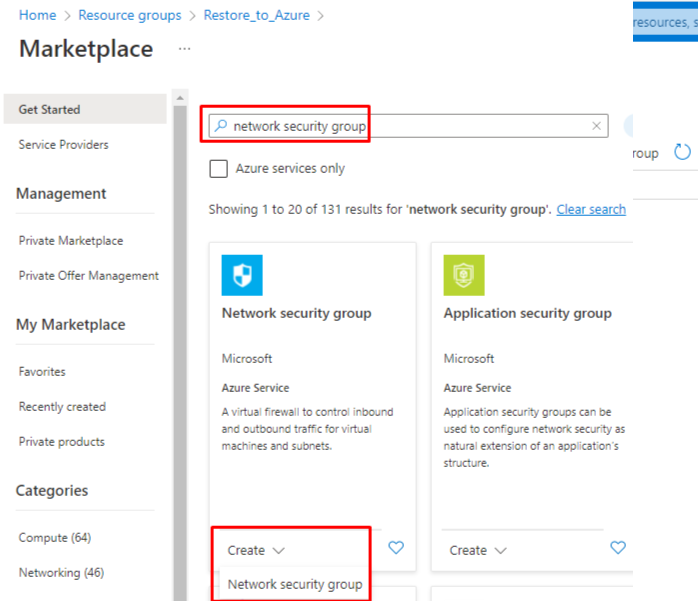
- Locate the Network security group entry using the search box and click on Create > Network security group:
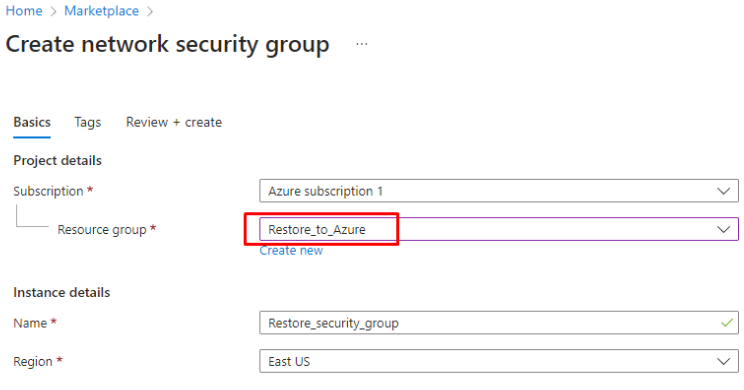
- Provide the security group a name and select the correct Subscription, Resource group, and Region:
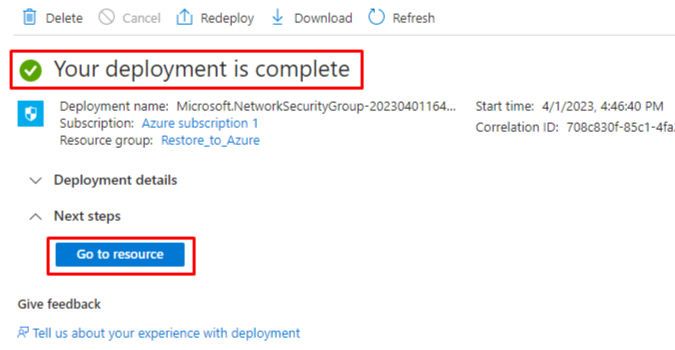
- After validation, click on Create:

- After the deployment is complete, click on Go to resource:
- Navigate to Inbound Security Rules in the Settings section, and click on +Add:
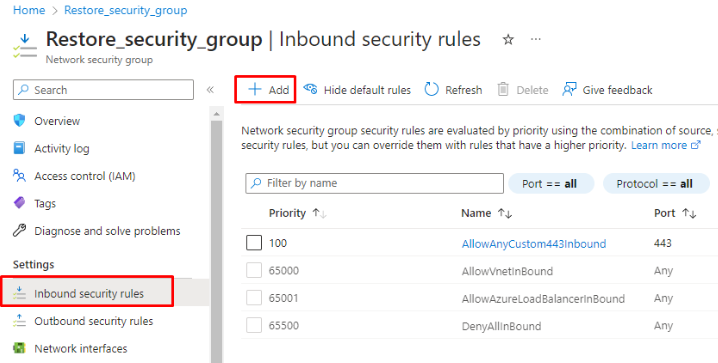
- In the sidebar, change the Destination port ranges to 3389 for Windows RDP or port 22 for Linux SSH. Keep all other parameters at their defaults unless you have a specific objective to accomplish. Click on Add:
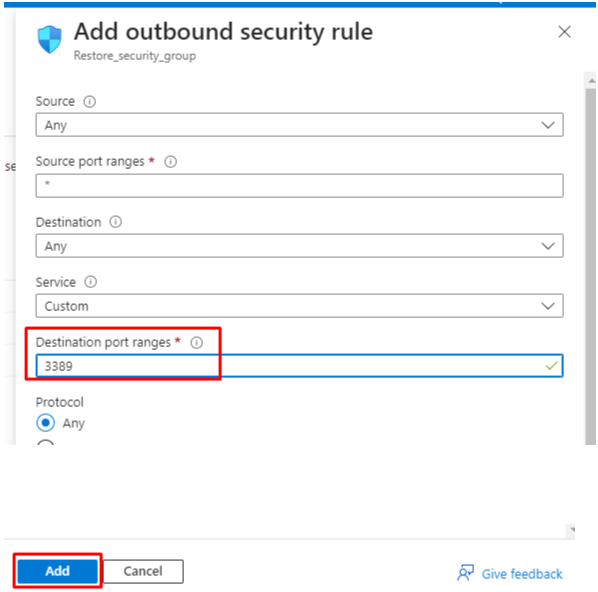
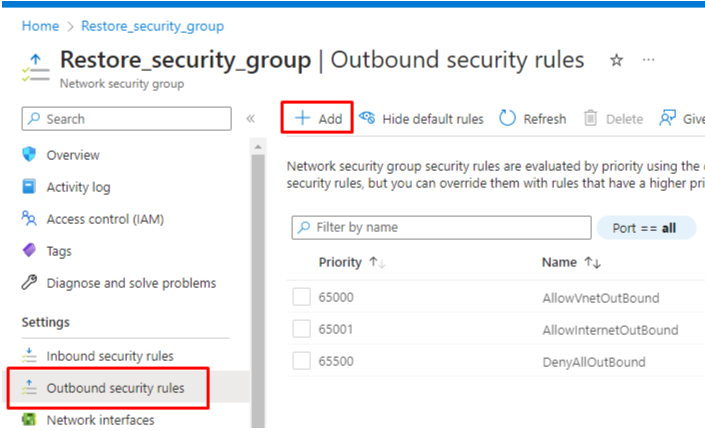
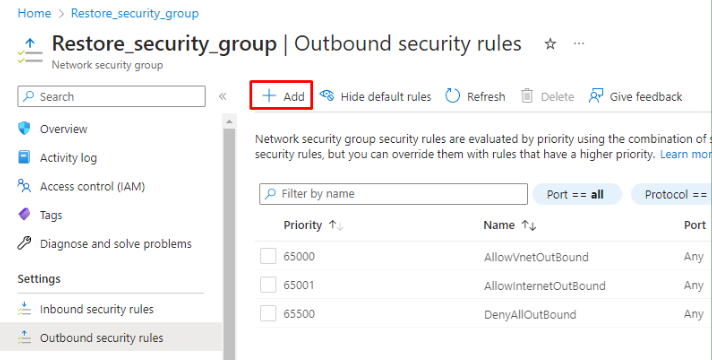
- Navigate to Outbound Security Rules in the Settings section and click on +Add:
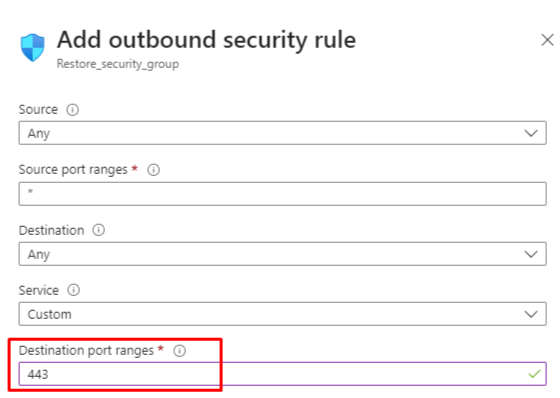
- In the sidebar, change the Destination port ranges to 443. Keep all other parameters to their defaults unless you have a specific objective to accomplish. Click on Add:
Associate Network Security Group With a Subnet
Once all required rules are added, associate the Network Security Group with the previously created subnet.
- Select the Subnets entry in the Settings group of the relevant Security group and clock on Associate:
- Select the relevant virtual network and subnet, and click OK:

Enable Serial Console
For testing or troubleshooting purposes, it is recommended to enable the Serial Console in your Linux or Windows machine. Then you will be able to configure and troubleshoot your Azure VM in the Azure Portal command line. To learn more, follow the links below: For Windows VMs: Virtual Machine Serial Console For Linux VMs: Accessing serial console for Linux
For troubleshooting refer to the following knowledge base article
Establishing Available VM Sizes
This information will be required when configuring the restore job in the backup agent. Failure to specify an available VM size will result in the restore failure.
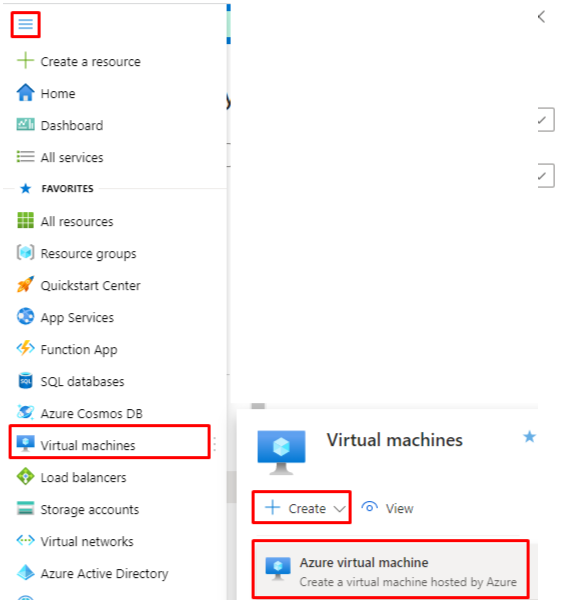
- Select Virtual machines from the main menu and click on Create:
- Make sure the relevant Region is selected:
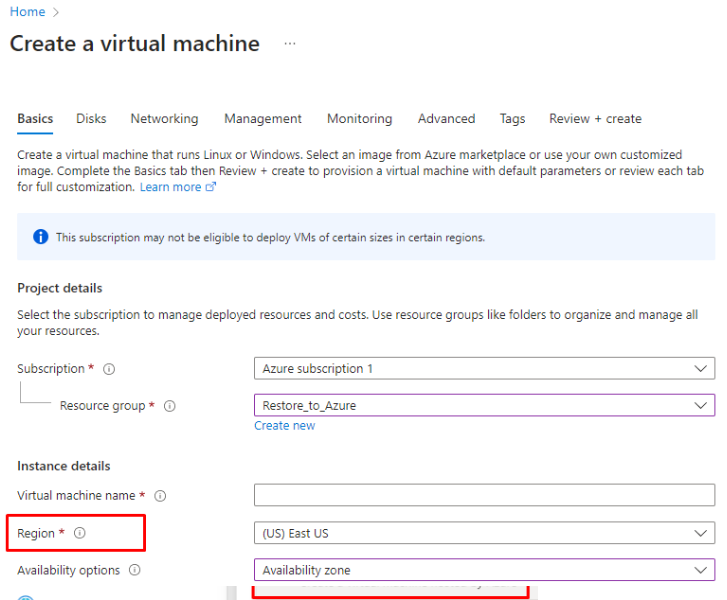
- Scroll down to the Size section and click on the See all sizes hyperlink:

- Gather information on the VM sizes that will match your needs for the production machine as well as the temporary instance:
