Restore EC2 Native Snapshot Backup as EC2 Instance in Management Console
Check if Show Restore to EC2 option is allowed in Global Agent Options.
Note that you must have the Restore to EC2 VM feature enabled in Management Console. This feature can be enabled by request. To send a request, proceed as follows:
- Open the Management Console.
- In the Settings menu, select Global Agent Options.
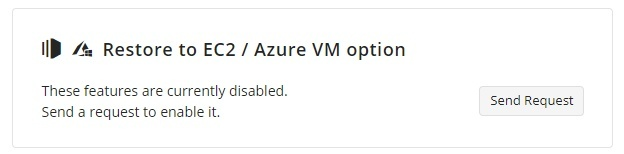
- Find the Restore to EC2 / Azure VM option group, then click Send Request.
Restore EC2 Backups to AWS EC2 Instance
- Open the Management Console.
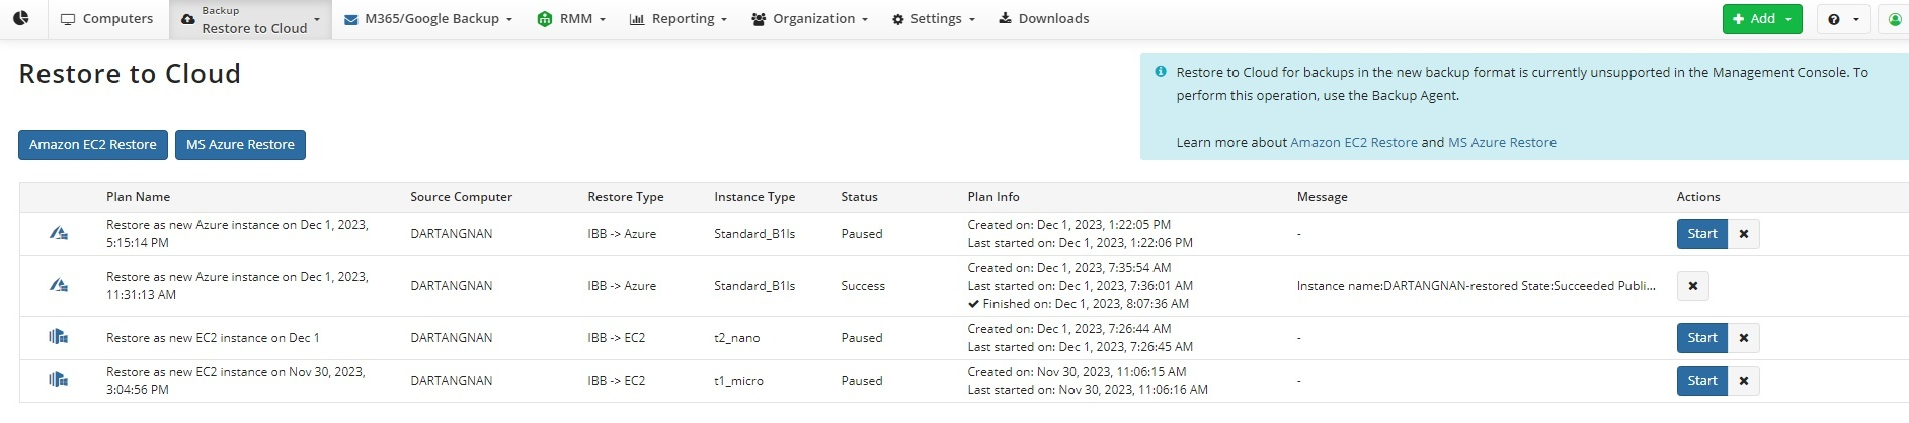
- On Backup select Restore to Cloud (or Computers > Restore to Cloud if you are using legacy menu).
- Click Restore to EC2 option
- As the restore wizard opens, specify the data source parameters:
- Plan Name. The plan name is displayed across the Management Console (for example, on the Restore to cloud dashboard)
- User. Select the user with backup data to restore
- Destination. Select the backup destination that contains the required backup data
- Computer. Select the object containing the data to be restored.
- Point in Time. Select the backup/snapshot version that is to be restored
- Click Next.
- Specify storage disk partitions to restore. As you are done, click Next.
- Specify the target instance parameters:
- AWS Account. The account under which a new EC2 instance will be stored
- AWS Region. The region that is to store the newly created EC2 instance
- EC2 Instance Type. The type of instance required. Learn more about EC2 instance types here
- Subnet. Select one of the subnets available. Learn more about EC2 subnets here
- Security Group. Select the default security group or the custom one you created yourself
- Consistent restore. Choose if you want to execute a consistent restore. Consistent restore is Managed Backup feature that enables you to restore your cloud snapshot in a consistent state
The Consistent restore option may raise questions like 'Why would my data not be restored in a consistent state in the first place?' Read the section below to get familiar with it.
Amazon EC2 native snapshot backup can take almost an hour to complete. Within this period, some data could be modified and the resulting snapshot would contain corrupt or inconsistent data. To resolve this issue, before creating a native cloud snapshot, Managed Backup first creates a persistent VSS snapshot that takes anywhere from a few seconds to a few minutes to complete. Once the VSS snapshot is created, Managed Backup requests that EC2 creates a native snapshot and the resulting snapshot is then stored in AWS S3.
When you attempt to restore such snapshots using the approach stated in this chapter, you can choose either to restore the OS to the point in time when Amazon was creating a snapshot (checkbox cleared) or roll back to the time when the VSS snapshot was created (checkbox selected).
Note that using consistent restore requires using a temporary instance to roll back to the VSS Snapshot
Click Next.
Configure the temporary instance. Specify the same set of parameters that you specified in the last step with the addition of Amazon Machine Image (AMI).
Review all settings specified across the restore wizard and ensure that they are accurate. Click Save and Run to execute the restore to an EC2 instance.
If you click Save, the plan will be saved on the main dashboard wherefrom you'll be able to manually execute it.
Restore Progress
During plan execution, you can follow the progress on the Restore to cloud dashboard.
Once the restore is complete, you can click Run EC2 Instance to launch it.

Manage EC2 Instance
You can access and manage the instance from Amazon web console.
In case you have Backup or Restore Agent on restored EC2 instance you also can use the Remote Management or Backup > Computers tab in the same way you usually manage your regular computers.