Backup Data Seeding on a Computer with High-Speed Connection
In some cases, you may need to initially upload your user’s full backup data using your own high-speed internet and to continue incremental backups up to the same location from the original computers. This is useful when your customers have a large amount of data for the initial full backup but slow upload speeds. In such cases, you or your user can back up the data to an external drive, upload it to the cloud from the location with high-speed connection, and then continue incremental backups seamlessly from the original computer.
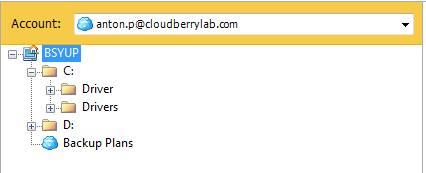
Uploading user's data
To upload user’s data to the cloud storage, run Backup Agent on the computer with high-speed internet connection and log in with your user account credentials. Use the same user name, password and backup prefix that your user will use. By default, the backup prefix is the original computer name. Once logged in with your customer’s credentials and the correct prefix, you can back up the data from the external drive to the cloud storage that will be used to continue incremental backups.
To verify/change the backup prefix
- In Backup Agent instance, open the application menu.
- Select the required storage account.
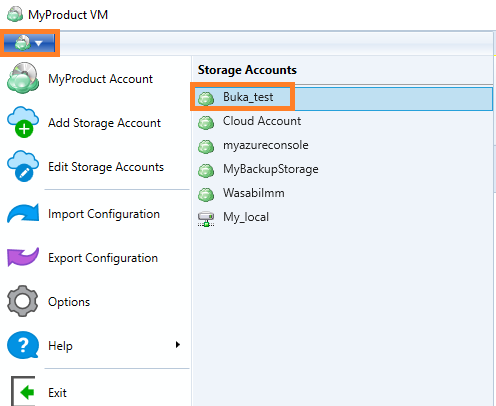
- In the Storage account property box, click Advanced Settings.

- Check the backup prefix.
If needed, you can modify the backup prefix, then click OK.
Continue backup on original computer
After data was uploaded, users can view it from their computers. The user should log in to Backup Agent using exactly the same login, password and prefix you used to upload data. The repository synchronization will start automatically and uploaded data will appear on the Backup Storage tab. If later your user would like to restore data, they can do that from this tab.
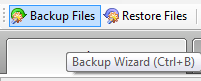
To continue backup user has to create a backup plan with the same file structure used in the initial data upload. With Backup Wizard user can easily setup such a plan.
Please note that if you did initial upload to external drive, for example, starting with F:[userdata...] and the user has its data on local drive (e.g. C:) then to let him continue backup to the same location you will have to rename the cloud folder from F: to C:
How to rename cloud folder
To rename cloud folder, proceed as follows:
Step 1. To rename cloud folder you can use CloudBerry Explorer PRO. Download it here: https://www.cloudberrylab.com/explorer.aspx. CloudBerry Explorer PRO comes with 15 day fully functional trial.
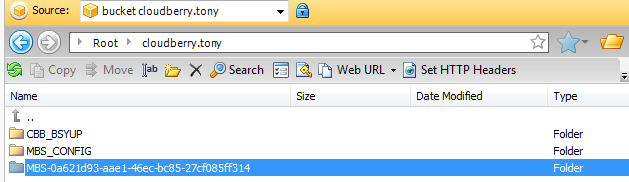
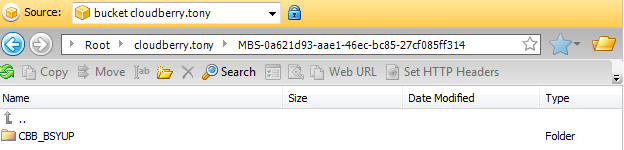
Step 2. Launch CloudBerry Explorer, access your cloud storage account and open your MBS bucket, find proper user folder MBS-[UserId], where [UserId] identifies MBS user.
To find user ID, go to the Managed Backup Service control panel. Open the “Users” tab, find the proper user and click Edit button.

Step 3. The window with user account details will open. In your browser’ address box you will see the URL that should look like http://mbs.cloudberrylab.com/Admin/EditUser.aspx?userId=xxxxxxxx-xxxx-xxxx-xxxx-xxxxxxxxxxxx. Instead of multiple “x” you’ll see your user ID.

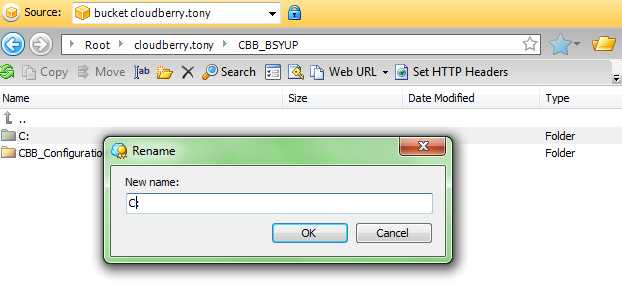
Step 4. Go back to CloudBerry Explorer and open proper user folder, then open folder with customers backup that looks like “CBB_[BackupPrefix]”. We have described how to find backup prefix in the Uploading Customers Data section above.
Step 5. Now you will see a folder with drive letter in its name. Give it a proper name. In our example we’ve renamed the folder from F:\ to C:.
If you have followed this manual correctly, your customers will see their data uploaded and will be able to access it and continue backup from their computers to the same location in the cloud.