Restore to Azure VM Using Backup Agent
This functionality requires Restore to EC2 / Azure license.
The Restore to Azure VM feature is currently provided as-is and enabled by request only. Due to limitations imposed by AWS/Azure and the unique characteristics of each cloud provider, we do not have complete control over the system stability and performance in all scenarios. If you intend to utilize this feature for real disaster recovery restores, we strongly recommend conducting thorough testing beforehand. Make sure you verify its functionality in your environment, specifically under presumed disaster recovery scenarios, and ensure that the results align with your and your customers' Recovery Time Objectives (RTO) before initiating the production restore
This chapter covers the following topics:
- Restore Disk Image Backups to Azure VM
- Assign Azure VM Account to MBS User
- Create Plan in Backup Agent
Prepare Your Restore
To prepare your environment for this restore job, read the article.
Create Plan in Backup Agent
- Run the Backup Agent.
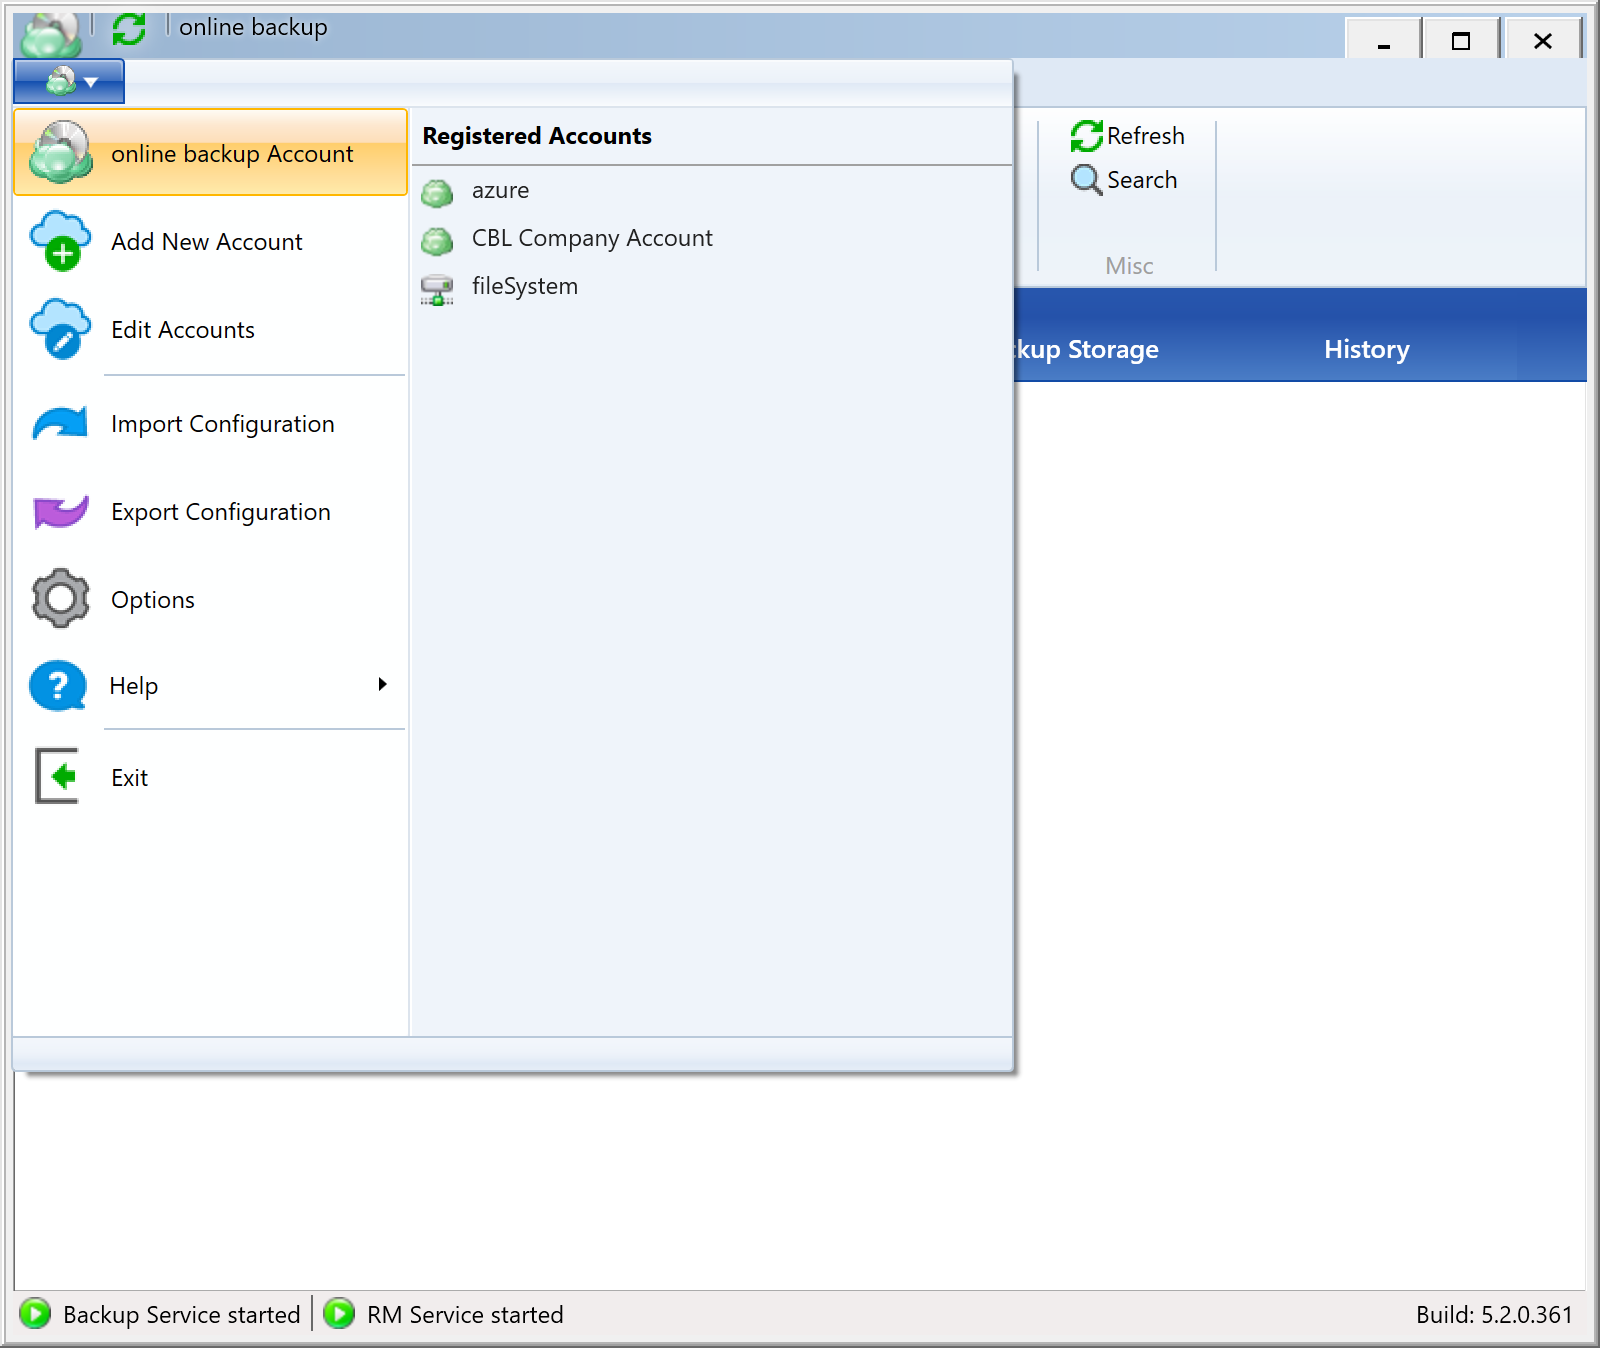
- In the Backup Agent menu, click online backup Account.
- Then click OK.
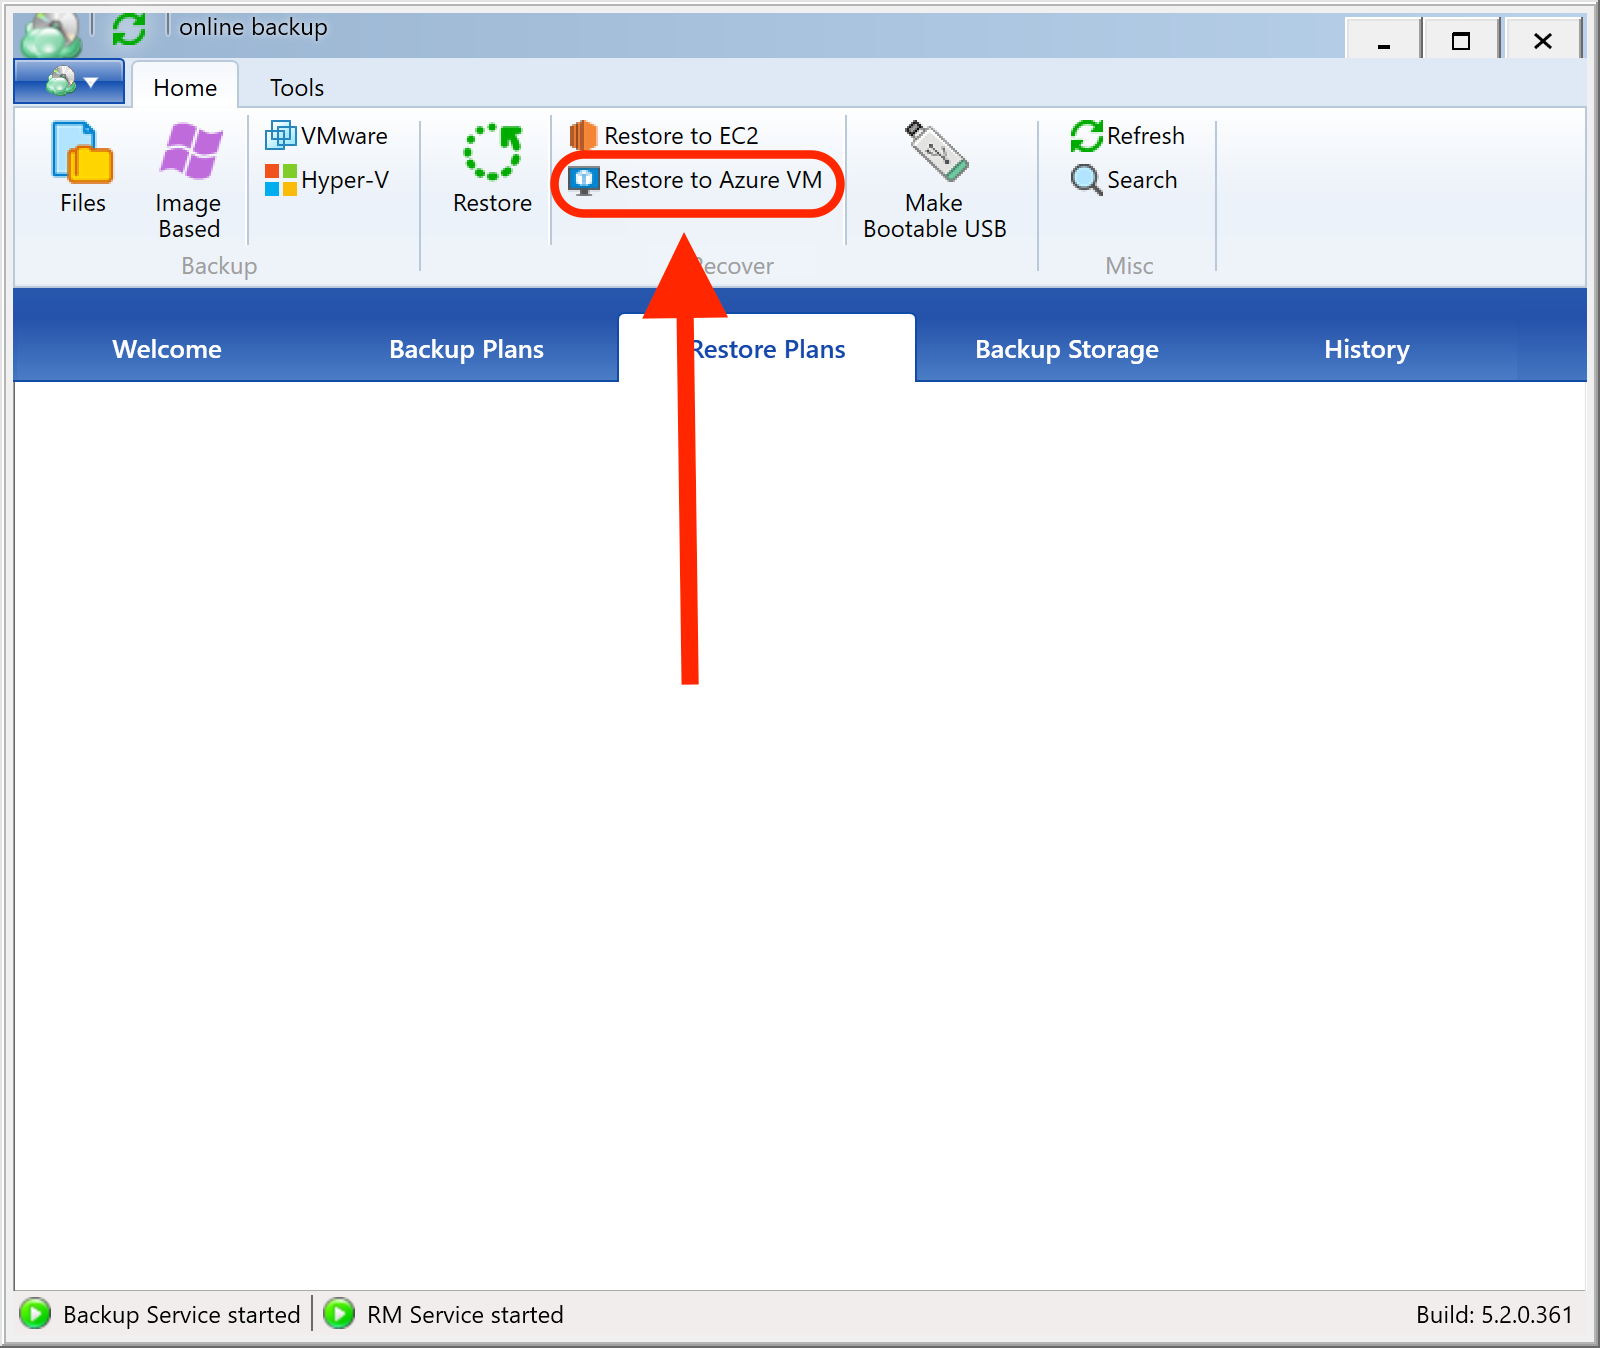
- Click Restore to Azure VM.
- Once the Restore Wizard is launched, on the Select Backup Storage step, select Azure VM.
- Follow the Restore Wizard steps.
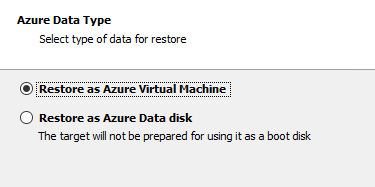
- On the Azure Data Type step, select the Restore as Azure Virtual Machine option.
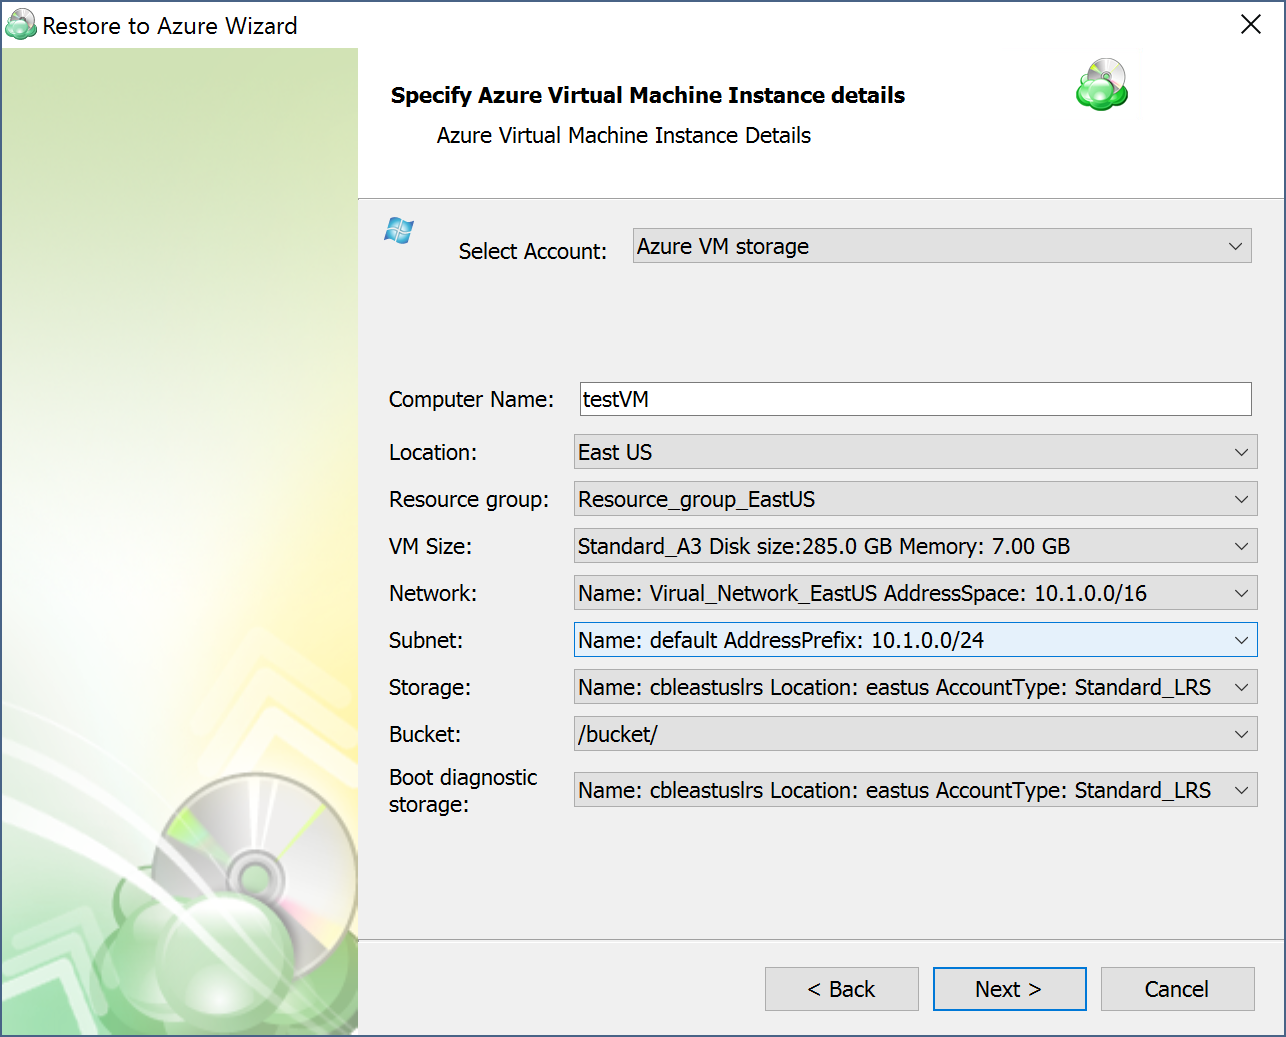
- On the Specify Azure Virtual Machine Instance details step, select the appropriate options, then click Next.
- On the Specify Temporary Instance step, select the Use temporary instance option.
- Finish the Restore Wizard, then run the restore plan.