Restore MS Exchange
Restore MS Exchange Database
It takes you two simple steps to restore MS Exchange: download Exchange database and log files from the cloud storage and replace current Exchange files with the restored files. Let's look at entire restoring process step by step.
How to Restore MS SQL Database
- Run your Backup Agent.
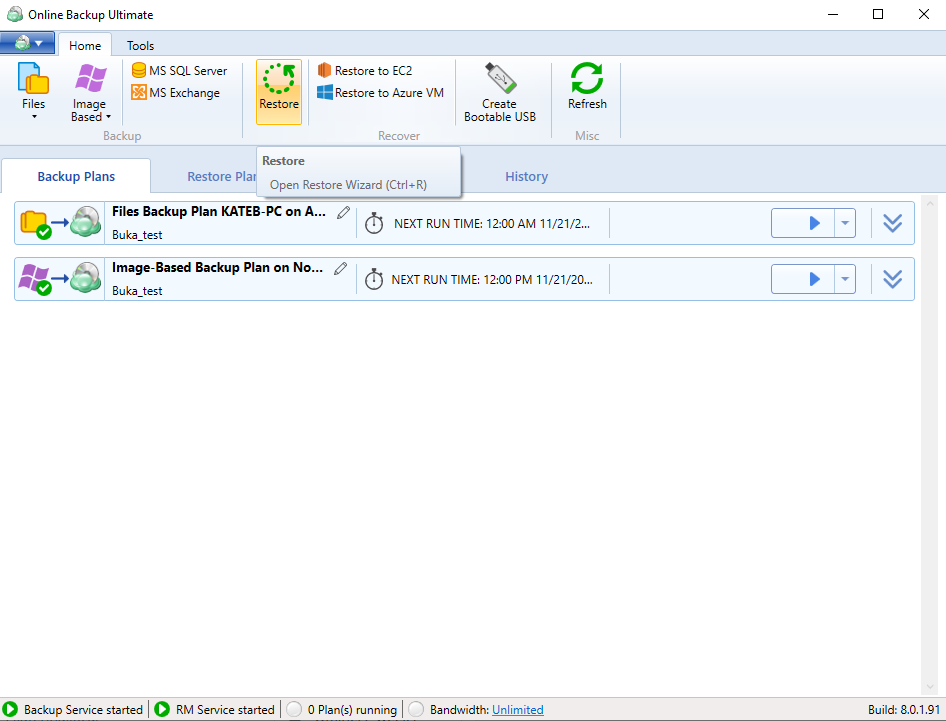
- Click Restore.
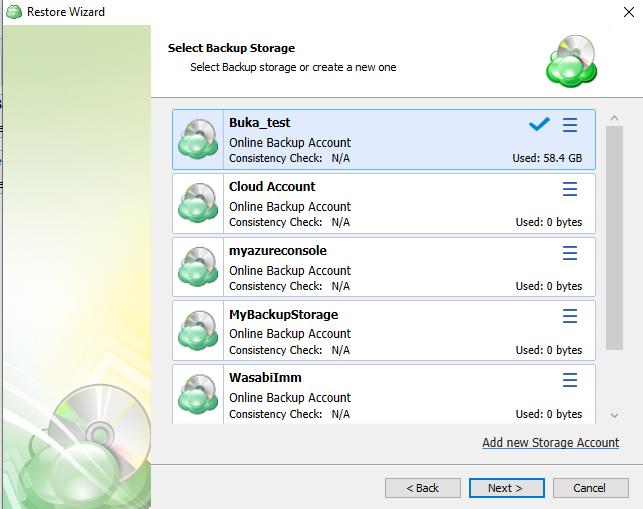
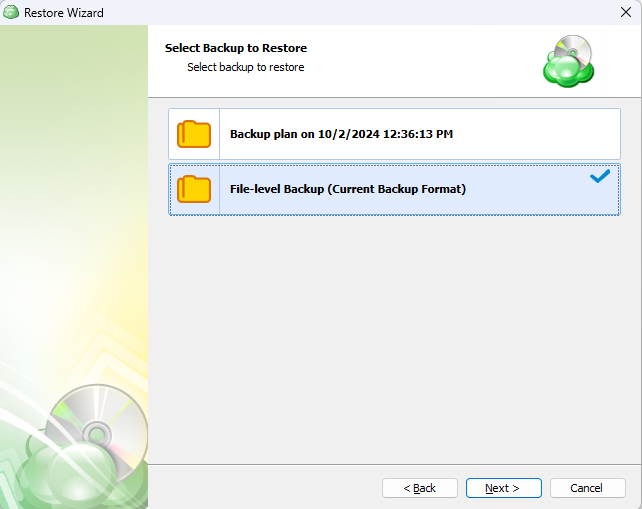
- Use the Restore Wizard to select a backup storage to restore from.
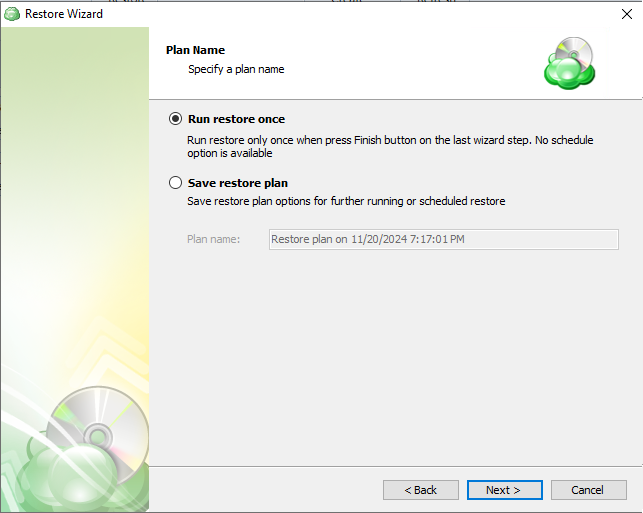
- On the Plan Name screen, select whether to run the restore just once or to save a created restore plan for further use. Click Next.
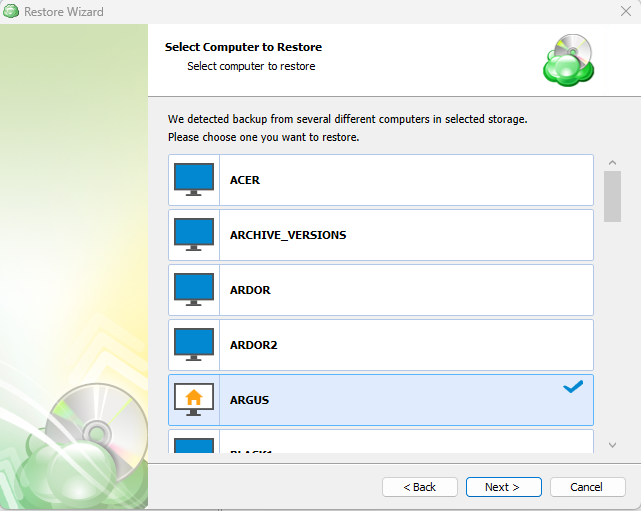
- Select a computer to restore. Click Next.
- Select a backup plan to restore. Click Next.
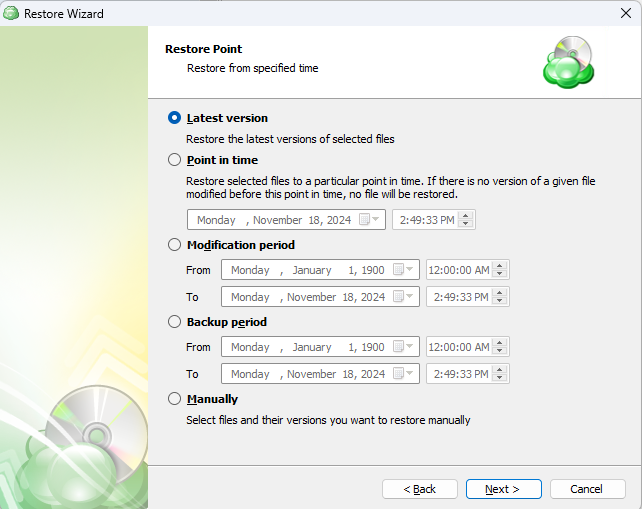
- the latest version, particular point in time, or select the disk image version manually. Click Next.
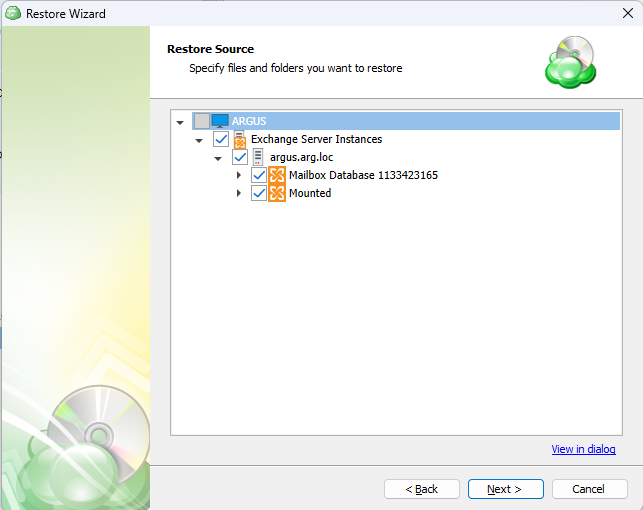
- Restore source: select files and folders you want to restore. Click Next.
- Select a location to restore selected Exchange objects. Click Next.
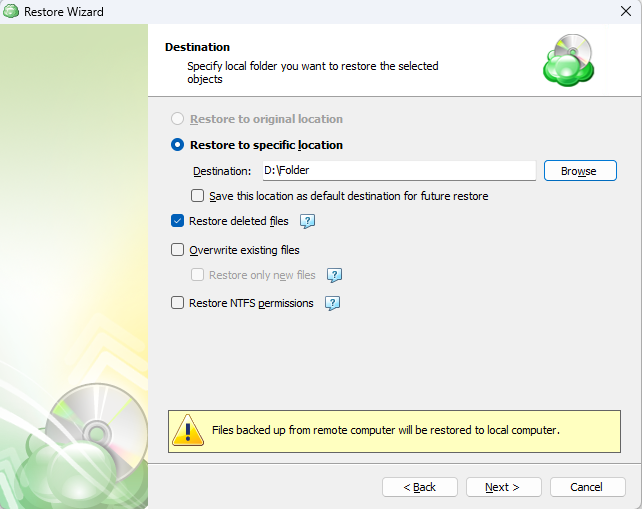
NOTE: You cannot restore to original location within the wizard, you will need to dismount your current database (if any) and replace Exchange files with restored files.
For the data encrypted on the client side, select the "Decrypt encrypted files with the following password" option. Enter your password and re-enter in to confirm. Click Next.
(Optional) If you restore data from the S3 Glacier Flexible Retrieval or Glacier Deep Archive storage classes, specify Smart Restore options.
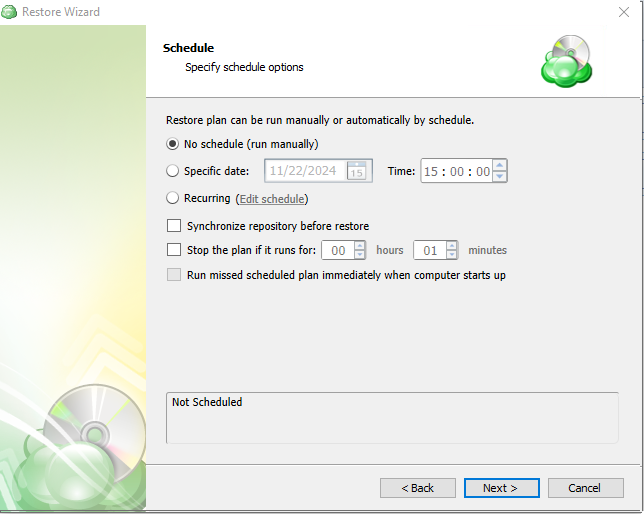
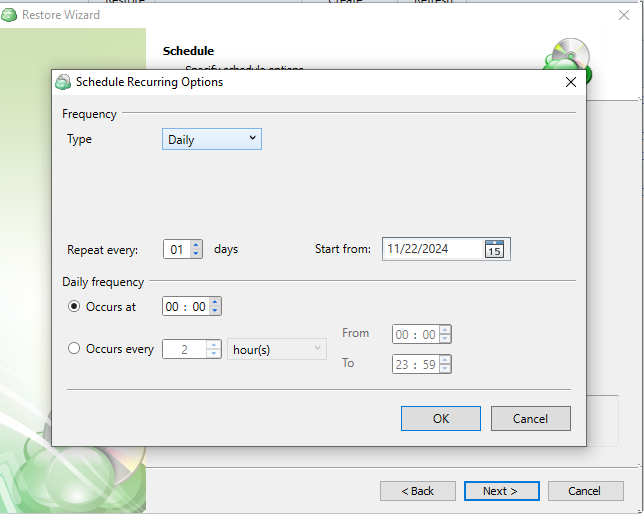
If you selected to save a created restore plan for further use, select schedule options
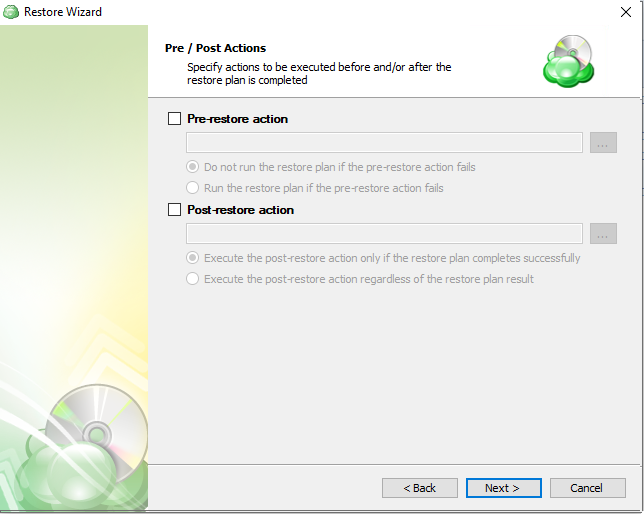
- Specify pre- and post-restore actions. Click Next.
Starting from Management Console version 5.0, pre- or post- actions for Backup Agents can be restricted by provider. To learn more about the pre-/post action settings, refer to the Global Agent Options and Companies chapters
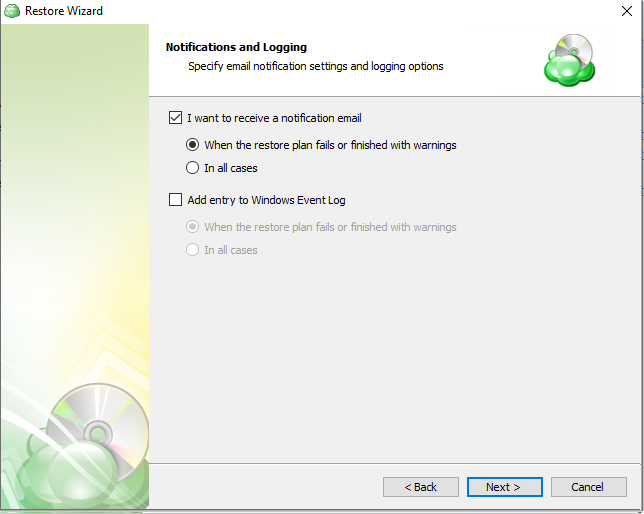
- Specify notification and logging settings.
On the Summary step, review the restore plan configuration, then click Next to create a restore plan.
Wait until the restore completion.
How to Mount MS SQL Database
The next step is going to be outside Managed Backup. Launch the Exchange Management Console.
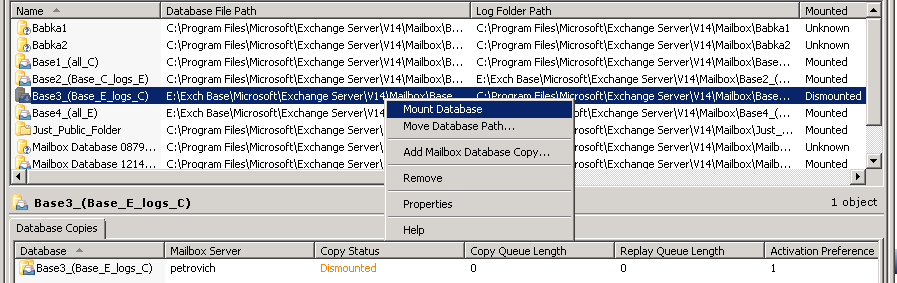
- Using Exchange Management Console dismount the database(-s) you would like to restore.
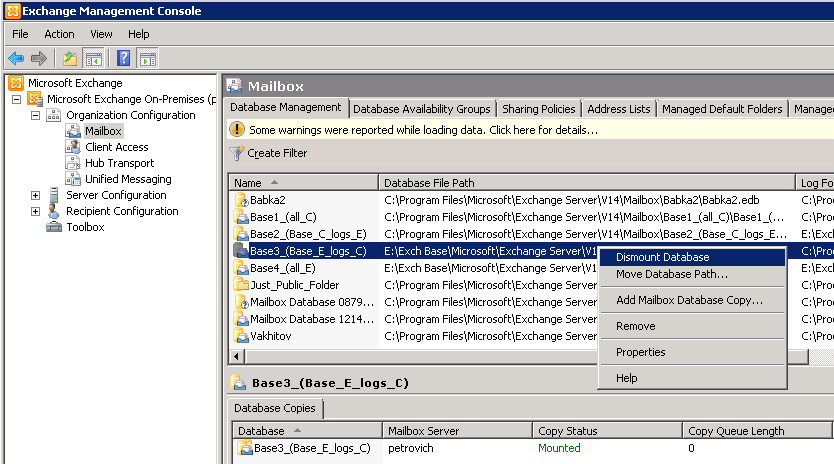
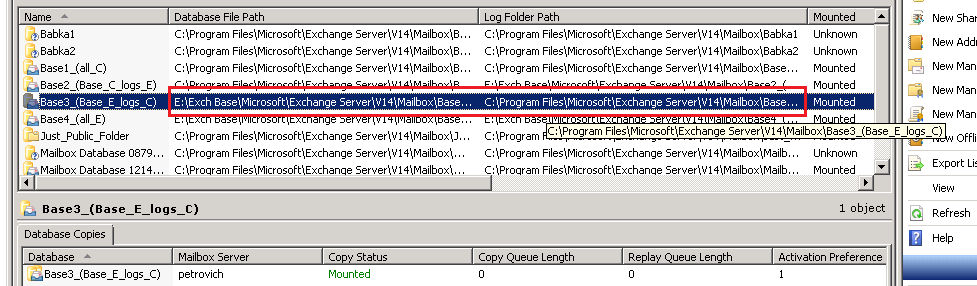
- Locate the log files (see Log Folder Path) and the .edb database file (see Database File Path).
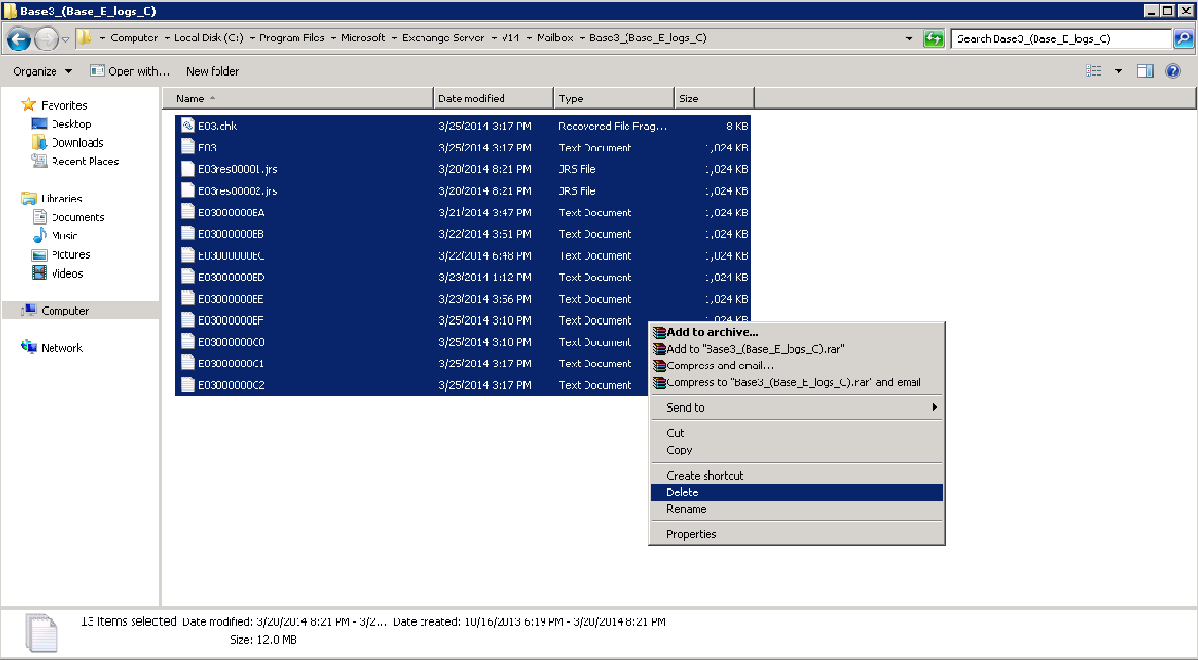
- Move them to another location (or delete if you no longer need them).
- Open the folder with the files you have restored and copy these files to the original folders ("Database File Path" for .edb file and "Log Folder Path" for the logs).
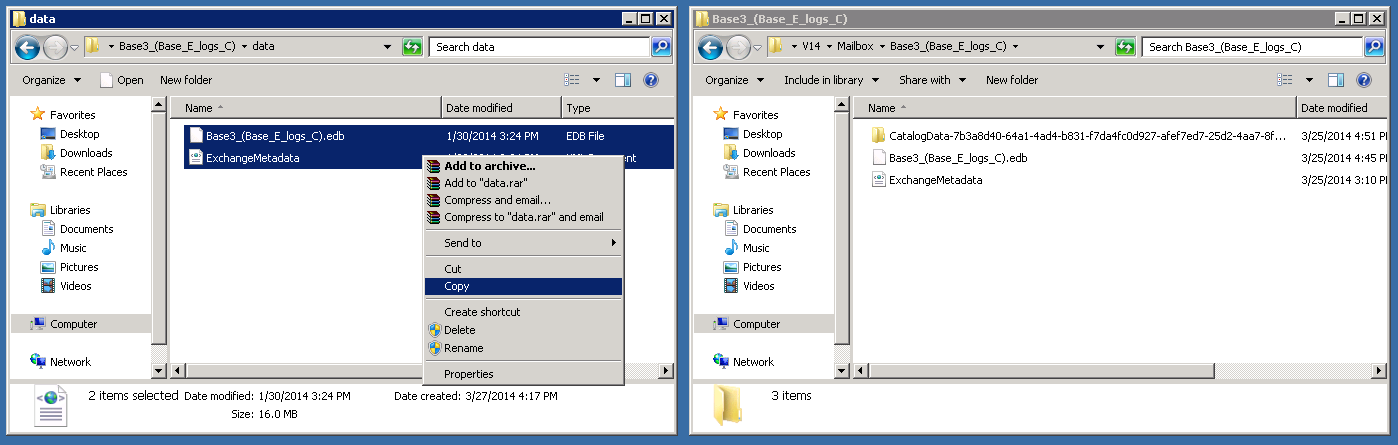
- Mount the Exchange database.
Edit a Restore Plan
To edit the restore plan, proceed as follows:
- Switch to the Restore Plans tab.
- Open the restore plan you want to edit by expanding it, then click Edit.
- Proceed through the Restore Wizard steps to adjust settings as needed.
- If the plan is currently running, you'll need to select one of the following options:
- Apply changes after the restore plan completes
- Stop the plan and apply changes.
- After choosing the desired option for the running restore plan, click Apply.
- Save the edited plan configuration.
You can edit certain scheduled restore plan parameters directly, without using the restore wizard, as long as the restore plan is not currently running. Editable parameters are marked with a pencil icon. To make a quick edit, simply click the pencil icon next to the parameter
Delete a Restore Plan
To delete the restore plan, proceed as follows:
- Switch to the Restore Plans tab.
- Open the plan to delete, expand it, then click Delete.
- Click Yes to confirm the restore plan deletion.