Article ID: m0807Last Modified: 26-Jun-2026
Restore to my Device (Download via Browser0
Required Permissions
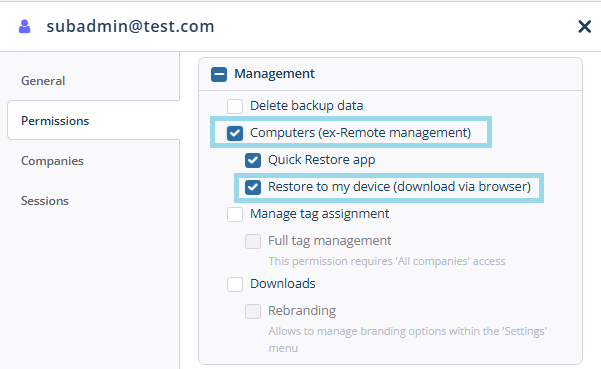
Restore Data to Local or User Computer
To restore data using Quick Restore:
- Open the Management Console.
- Navigate to Computers:
- New navigation menu: Go to Backup > Computers.
- Legacy menu: Go to Computers > Remote Management.
- Select the computer to perform restore from:
- In the Computer Name column, find and click on the required computer name.
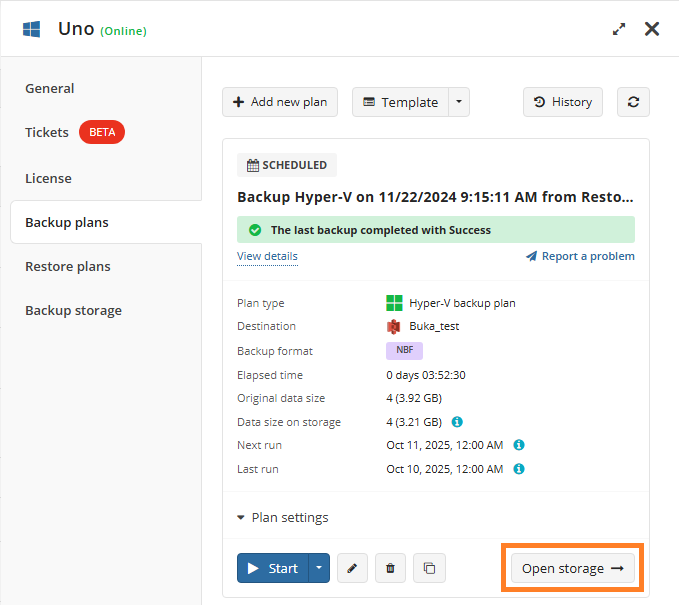
- Access backup storage:
- On the Backup plans tab in the right pane, click Open storage.
- Expand the backup plans for the required endpoint
- Locate the backup plan, and select the desired restore point in the right pane.
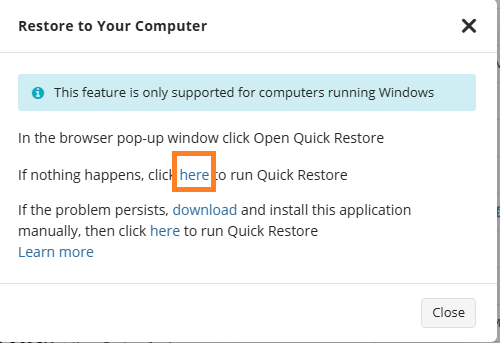
- Expand Restore at the end of the restore point entry, select the Restore data option, and then open Quick Restore application. If needed, you will be prompted to install or update the application.
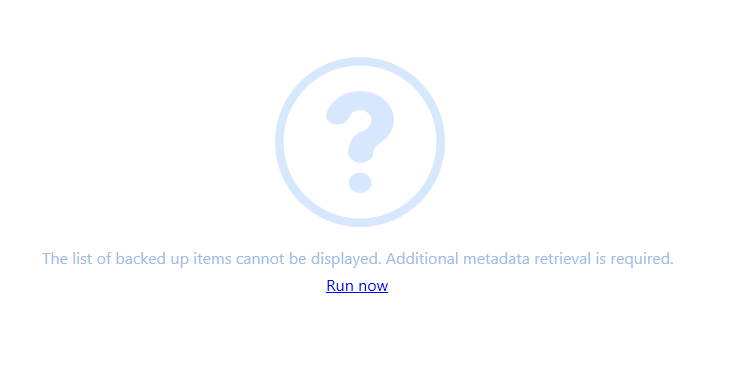
- If prompted, run the additional metadata retrieval. Wait until the backup data will be retrieved.
Initiate restore:
- Expand backup data to find the required file or folder.
- Click on the file or folder to restore.
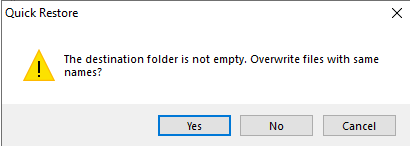
Select the target folder for the restored data.

- If the target folder is not empty, you will be asked to make decision whether the files with same names will be overwritten
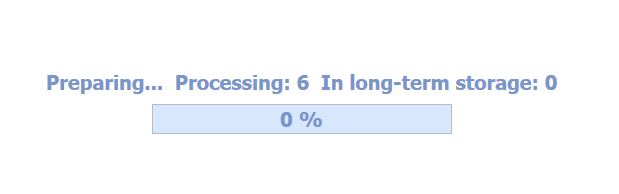
- The restore process will begin automatically. Restored files or folders will appear in the target folder

First-Time Usage:
On the first run, you will be prompted to install the Quick Restore application. The installation will be performed silently. After installation, proceed starting from the step 6 above/
Using Command Line Interface for Quick Restore
To collect and save logs of Quick Restore application for troubleshooting purposes and sending files to the Support team use Command Line Interface (CLI). To start using CLI for Quick Restore application, perform the following:
- Open Command Prompt. Change the working directory to where the Quick Restore tool is located.
By default, use the following location:
C:\Users\user>cd C:\Program Files\MSP360\Quick Restore\
- Run cbb.exe. This starts Quick Restore Command Line Interface
C:\Program Files\msp360\Quick Restore>cbb.exe
The following commands are available:
- sendLog Sends the log files to the Support team
- sendFileToSupport. Sends file to the Support team
- saveLog. Saves the log files to specific location
- ver. Displays the product version and settings.
- -?. Shows help
To send logs to Support Team use the sendLog command:
- Open Command Prompt. Change the working directory to where the Quick Restore tool is located.
- Run cbb.exe. This starts Quick Restore Command Line Interface.
- Run sendlogs command. Use the following syntax:
C:\Program Files\msp360\Quick Restore>cbb sendlog -u userName -e useremail [-m message] [-t ticketNumber]
Where:
- -u (-userName): Specify your name
- -e (-emailAddress): Specify your registered email for identifying purposes
- -m (-message): Add a description of the issue to help the Support team resolve it.
- -t (-ticketNumber): Enter the support ticket number if available.
- -l (-list): Include a list of files from the specified account in the diagnostic log.
- -windowsEventLogs (-w): Include Windows event logs into diagnostic log.
- -? Show help on sending logs to support.