File Restore in Backup Agent
If you need several files only, it is reasonable to use Quick Restore application. Navigate to backup storage browser in Management Console. You can use this functionality for restore to Downloads folder on your computer. You may be prompted to install the Quick Restore Application if it is not yet installed
If necessary to restore multiple files, you can restore your file backups to the users' computers via the Backup Agent installed on computers. If data restore takes place to the same computer, you can proceed to the data restore bypassing restoring peculiarities. However, if you restore from a different computer, first ensure that your configuration of MSP360 (CloudBerry) Backup meets the following requirements:
- The backup storage is the one that contains the backup data
- The required backup prefix is set for storage account
If necessary, switch the backup prefix.
Step 1
After launching the Online Backup, you can run the Restore Wizard by clicking on Restore on the Home tab if the horizontal menu.

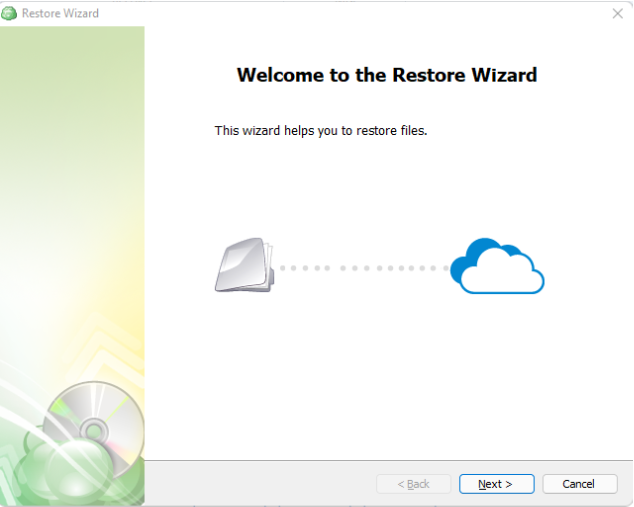
Step 2
Click on “Next” to advance past the welcome screen for the wizard
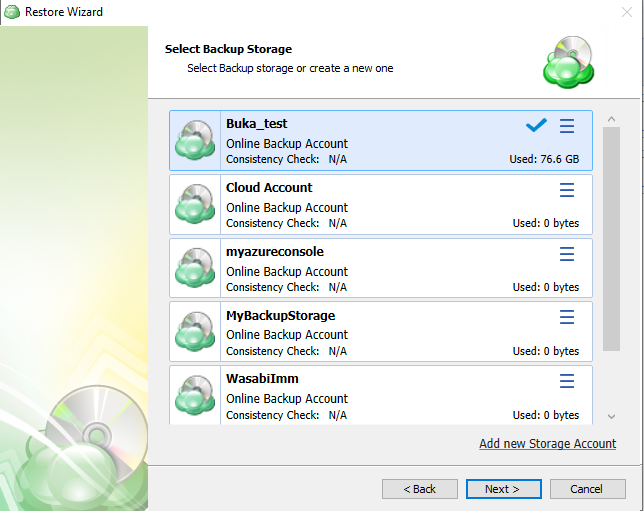
Step 3
The next step will prompt you to select the source for the restore.
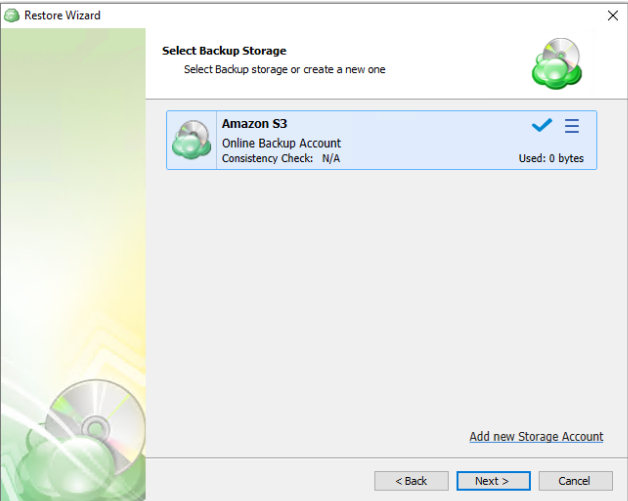
If the desired source is not in the list, you can click “Add new Storage Account” to add it.
- The backup storage is the one that contains the backup data
- The required backup prefix is set for storage account
If necessary, switch the backup prefix.
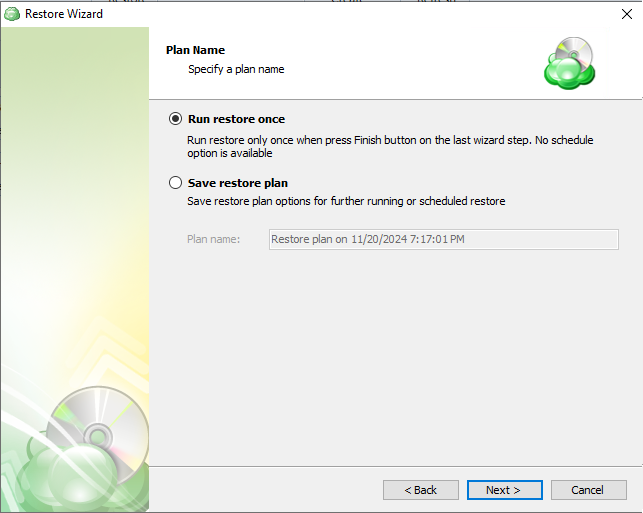
Step 4
Once the source has been selected, the next screen allows you to choose between running the plan a single time or saving it for later use.
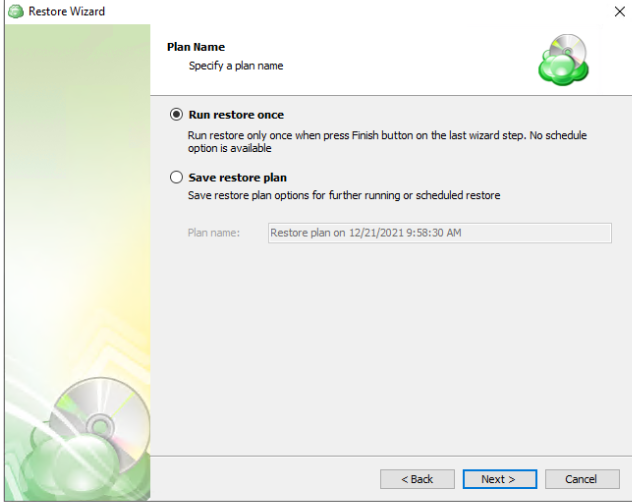
“Run restore once” will execute the restore immediately upon completing the wizard. There is no option to schedule this type of restore
“Save restore plan” will allow you to schedule the plan to run at a later time and also schedule repeating restorations if needed
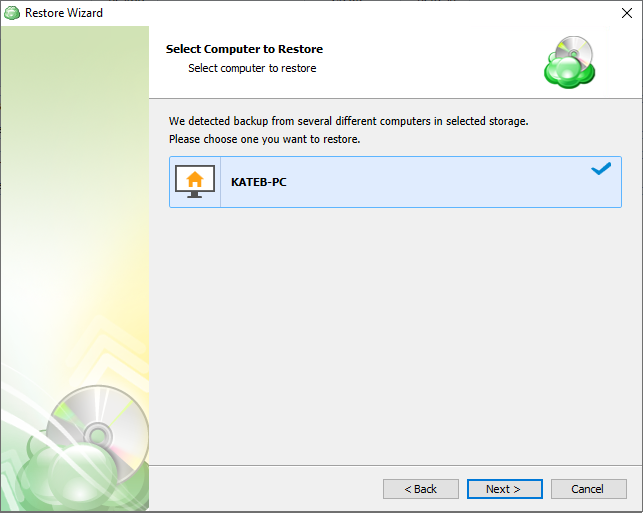
Step 5
The next step is to select the correct computer to be restored.
Step 6
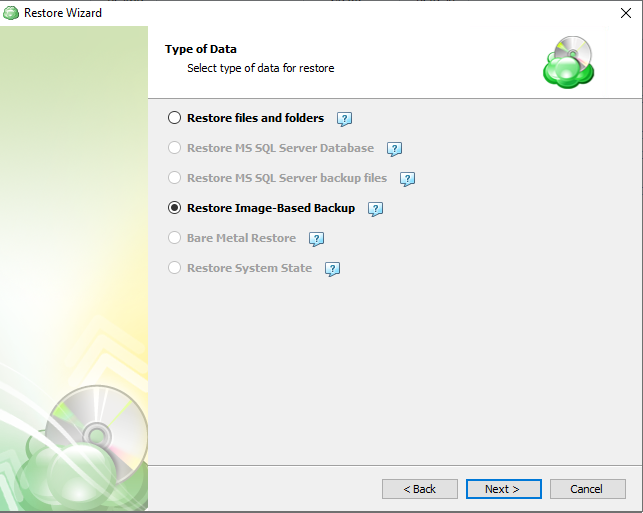
Next, you will be presented with a list of available backup types for the selected host. Select the “Restore files and folders” option to continue.
Step 7
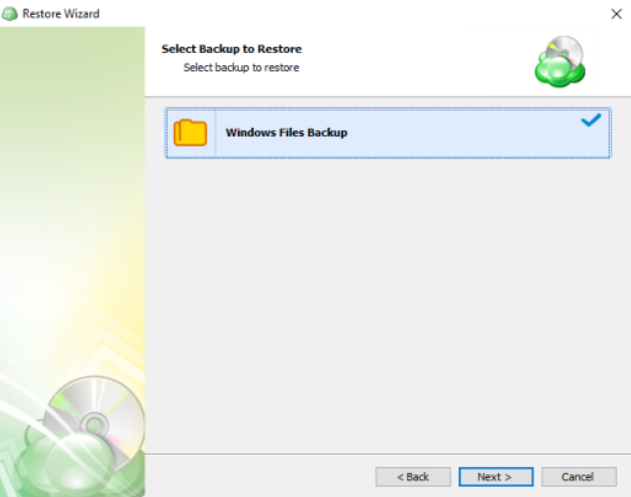
With the correct type of restore selected, the application will generate a list of available backup plans.
Step 8. Next you will be given a choice for what point in time you would like to restore the files to.
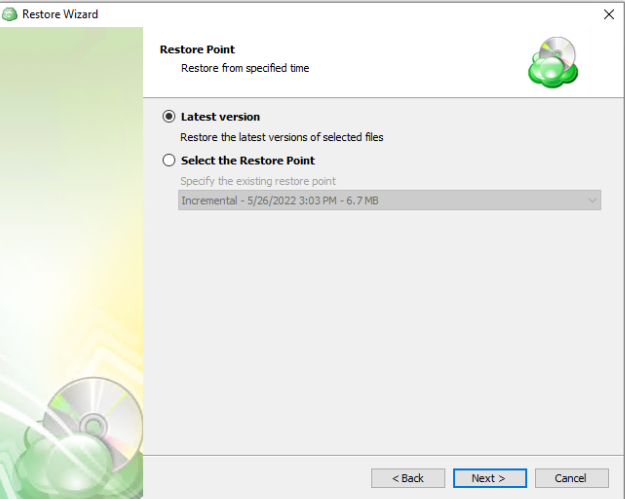
- Latest Version: Automatically restores the newest version of each file in the source regardless of which restore point it belongs to.
- Select the Restore Point: Restores the files as they existed at the specified restore point.
If there is no copy of a specific file at the selected restore point, the application will automatically select the newest version from previous restore points
Step 9
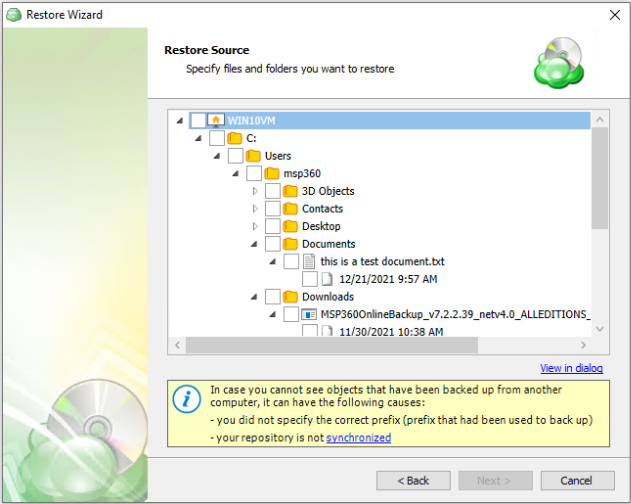
Next, you will be able to expand the restore source and browse through the available files and folders. If “Manually” was selected on the previous step you will also be able to expand each individual file to select which version to restore.
Step 10
After selecting the files or folders to restore, you are able to select the location they should be restored to.
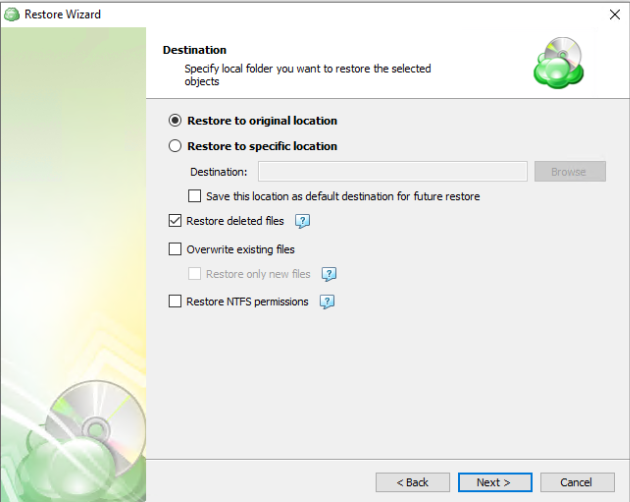
- Restore to original location: Automatically restores all files to their original location but does not overwrite existing files unless otherwise specified.
- Restore to specific location: Allows you to choose the path to where the files should be restored. Any files or folder structure needed will be created within the designated path.
- Restore deleted files: The application will restore files currently marked as having been deleted in the source but which were present at the point in time selected for the restore. Only applies if the backup plan was configured to track deleted files.
- Overwrite existing files: Allows existing files to be overwritten by the restore process.
- Restore only new files: The plan will intelligently detect the files currently in the destination and only files for which the version in the backup is newer than the destination.
- Restore NTFS permissions: Supported NTFS permissions that were backed up will be reapplied to the restored files. If this is left unchecked the restored files will inherit the permissions of the parent folder. Only applies if the backup plan was configured to backup the NTFS permissions.
Step 11
If “Save restore plan” was selected at the start of the wizard then the next step is to set the schedule for the restore plan. Otherwise this step will be omitted.
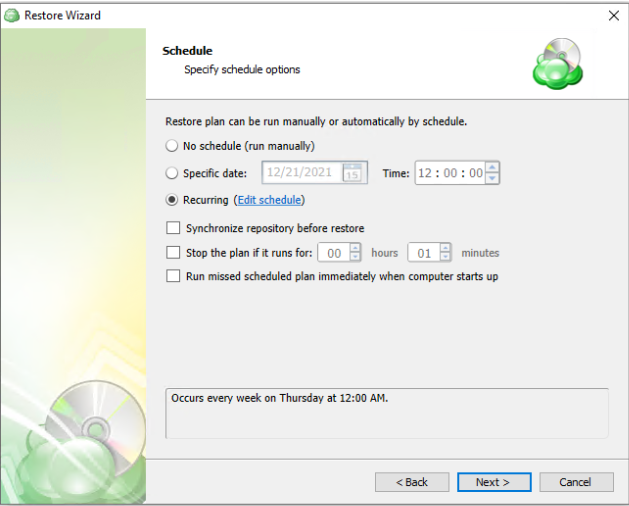
- No schedule (run manually): Use this option only when you wish to execute the Restore manually.
- Specific date: Use this to schedule a one-time Restore at the specified date and time.
- Recurring: Using this option enables you to schedule recurring Restorations based on the criteria in the fields below.
- Synchronize Repository Before Run: Enable this option to ensure the file tree reflects the latest modifications made to your storage. It is a good practice to use it when you restore to a different computer
Do not use the “Stop the plan if it runs for:” option if you have a slow or unstable internet connection
Enabling the “Run missed scheduled restore immediately when computer starts up” option will ensure that the restore plan will begin automatically after the computer starts up if it was unable to run at the scheduled time. This is only recommended for desktops and laptops. For servers, it is recommended that you run the restore plan manually when all maintenance works are completed to avoid adversely affecting server performance and internet bandwidth during working hours
Step 12
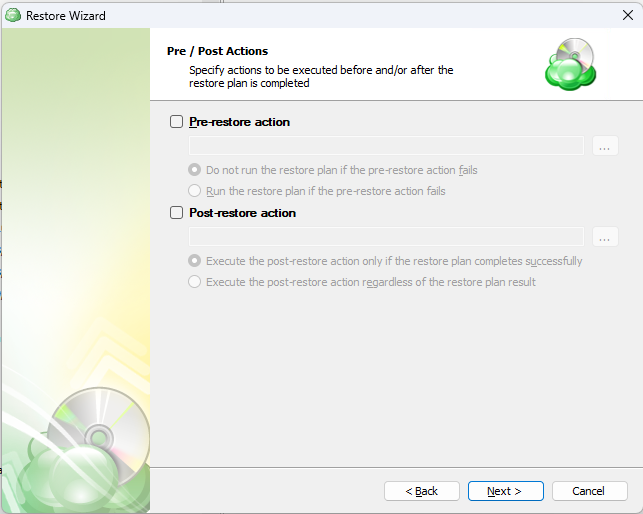
The next step is to set any custom scripts which should execute before and/or after the restore plan runs (optional).
Step 13
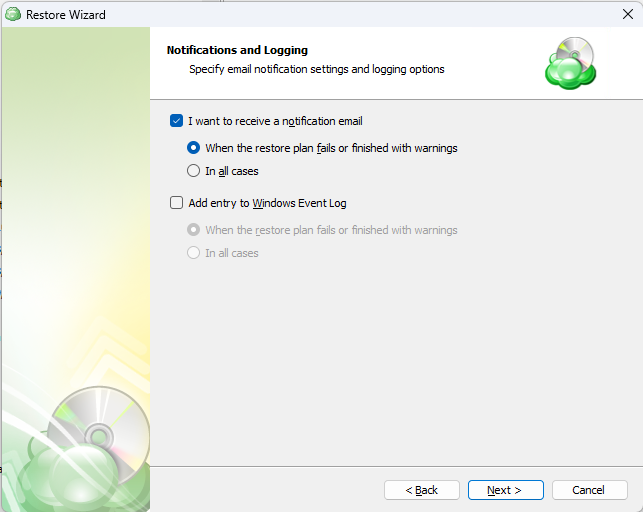
Specify the notifications options, then click Next.
Step 14
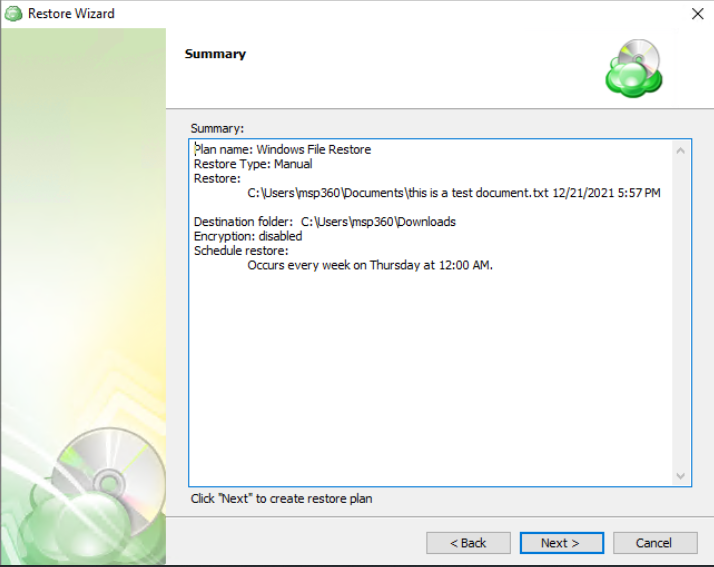
The next step of the Wizard displays a summary of the selections made throughout the process. Once you have reviewed your selections, click “Next”.
Step 15
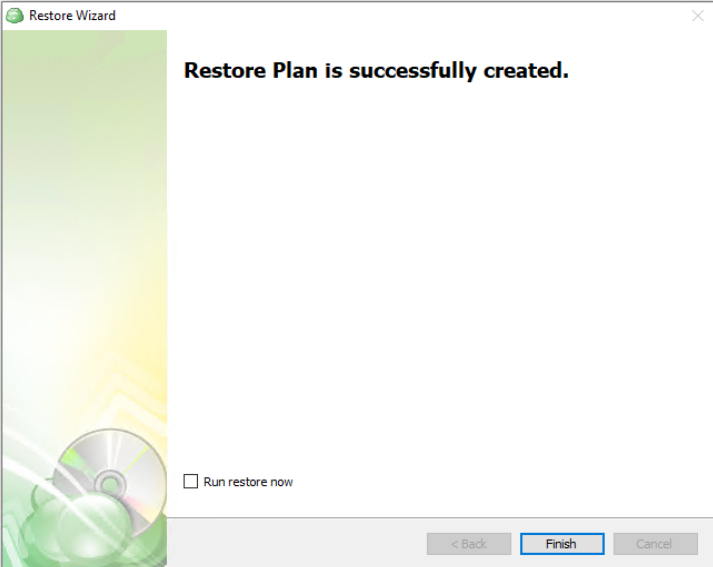
The final step in the wizard will confirm that the Restore Plan has been created successfully. If the plan was scheduled, you can opt to run it immediately by checking the Run restore now checkbox and clicking Finish. Otherwise, the plan will be set to run at the next scheduled time.
Restore files from Backup Storage tab
To restore files, proceed as follows:
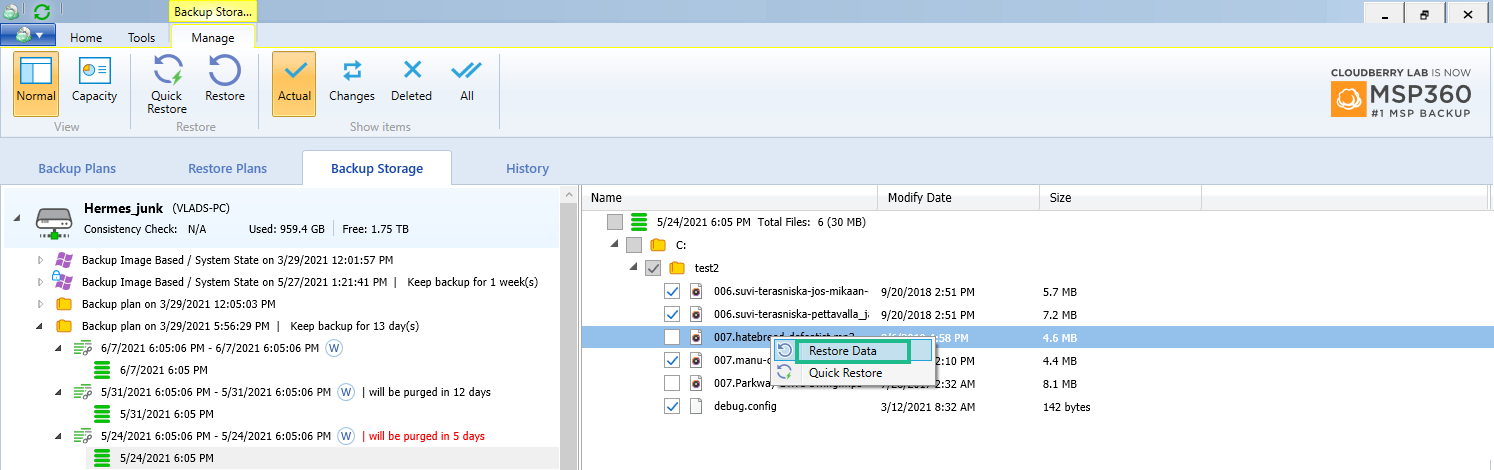
- Open the Backup Agent.
- Switch to the Backup Storage tab.
- In the left pane, browse to restore point containing the file or folder you want to restore.
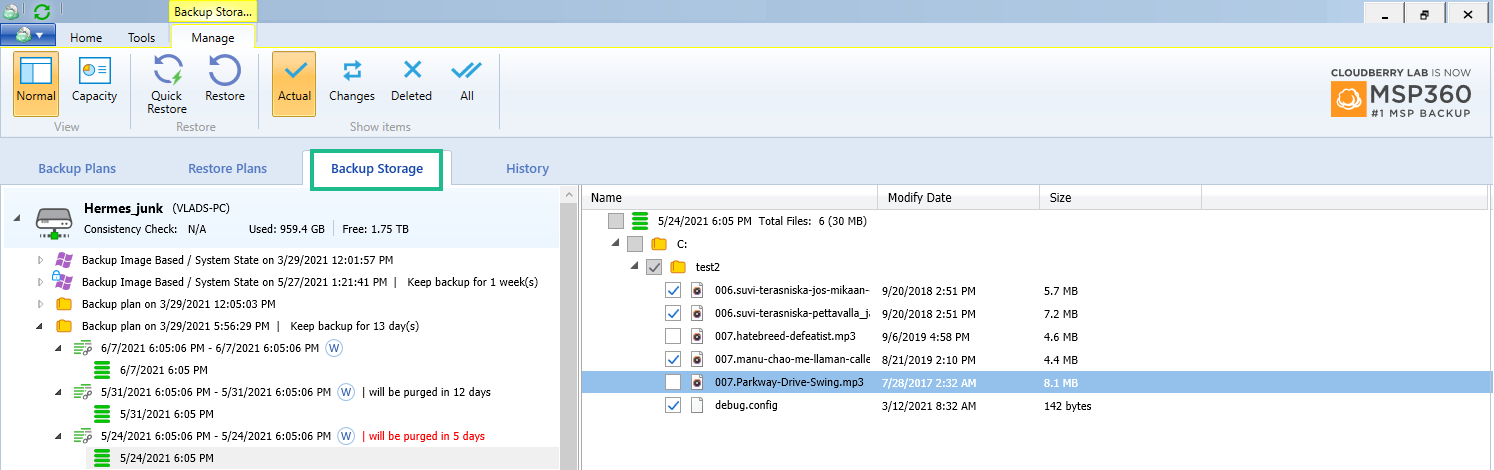
- In the right pane, right-click the item you want to restore, then select Restore Data. Restore wizard starts.
- Select the backup storage to restore required contents from.
- To use the restore plan on a constant basis, select the Save restore plan checkbox. Click Next.
- Select a computer to perform restore from the backup plan created on the computer. Click Next.
- On the Type of Data step, select Restore files and folders, then click Next.
- On the Select Backup to Restore step, select the required backup. Click Next.
- Select the required restore point or latest version. Click Next.
- Select the objects to restore. Click Next.
- On the Destination step, specify the destination settings. Provide the encryption password if a backup was encrypted.
- Specify the schedule settings for the restore plan. Click Next.
- Configure pre- or post- actions if required. Click Next.
- Configure notification settings. Click Next.
- On the Summary step, view the restore plan configuration to make sure everything is set up correctly. Select Run the plan now checkbox to run the plan immediately or leave it unselected and click Finish to run the plan later.
- You can see the created plan on the Restore Plans tab.
Edit a Restore Plan
To edit the restore plan, proceed as follows:
- Switch to the Restore Plans tab.
- Open the restore plan you want to edit by expanding it, then click Edit.
- Proceed through the Restore Wizard steps to adjust settings as needed.
- If the plan is currently running, you'll need to select one of the following options:
- Apply changes after the restore plan completes
- Stop the plan and apply changes.
- After choosing the desired option for the running restore plan, click Apply.
- Save the edited plan configuration.
You can edit certain scheduled restore plan parameters directly, without using the restore wizard, as long as the restore plan is not currently running. Editable parameters are marked with a pencil icon. To make a quick edit, simply click the pencil icon next to the parameter
Delete a Restore Plan
To delete the restore plan, proceed as follows:
- Switch to the Restore Plans tab.
- Open the plan to delete, expand it, then click Delete.
- Click Yes to confirm the restore plan deletion.