File-Level Restore (legacy wizard)
If necessary, you can restore data from a backup directly to the user's computer using Management Console.
To restore files, proceed as follows:
- Open the Management Console.
- On Computers select Remote Management if you use legacy main menu, or open Backup > Computers page in the new main menu.
- Find the required computer, then click the Configure icon in the Backup Plan Status column.
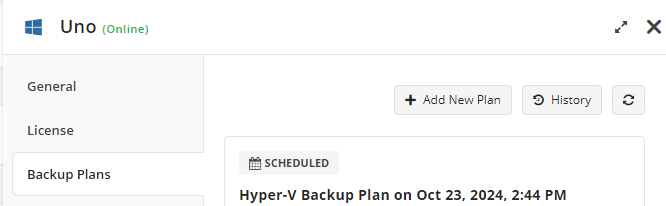
On the side panel, click + or +Add New Plan,
In the Restore group, select Files Restore Plan.
To configure the restore plan, expand the bars subsequentially.
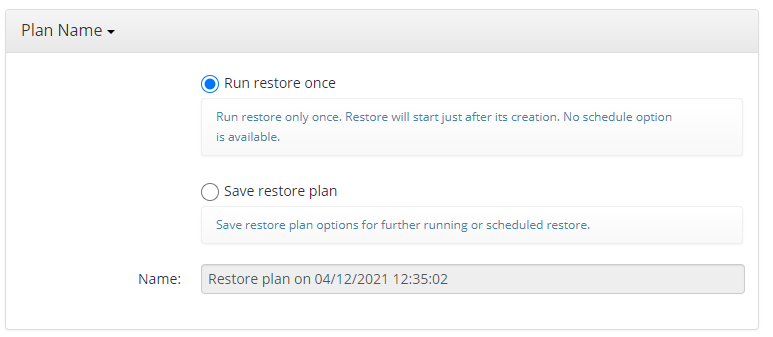
In the Plan Name group, specify whether you run the restore plan once or save the restore plan configuration.
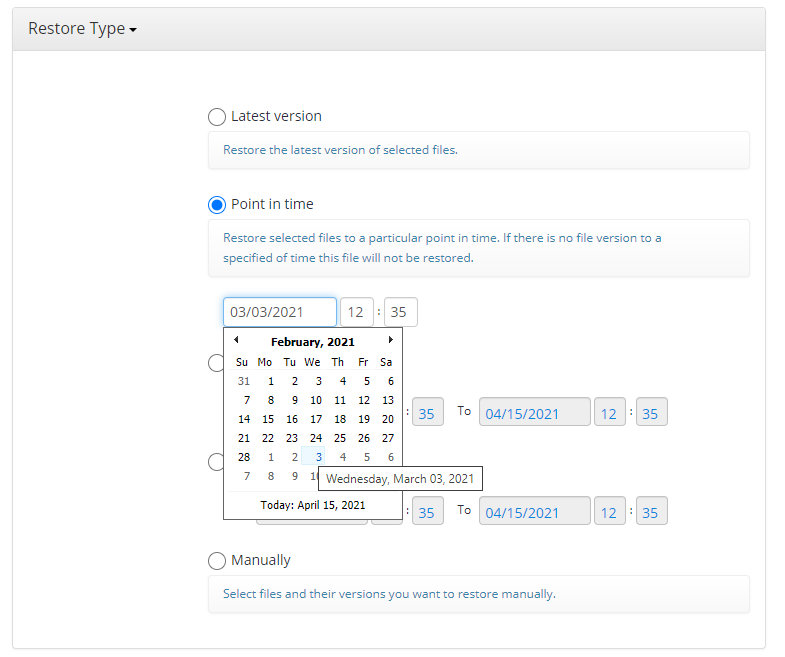
- In the Restore Type group, specify the point in time for the restore plan. Select one of the following options:
- Latest Version. Enables you to restore the latest versions of files available in backup storage
- Point In Time. Enables you to restore file versions available in your backup storage at the specified date and time
- Modification period. Restores the latest versions of files that were modified during a specific period of time
- Backup period. Enables you to restore the latest file versions from all backups that were made during a specific period of time
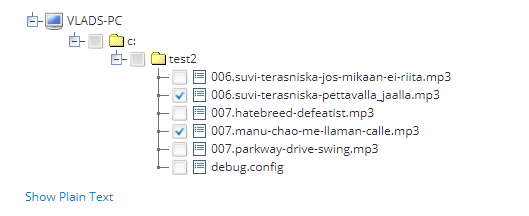
- Manually. Select the required files to be restored manually.
- In the Restore Source group, select the source backup storage and the backup data to restore.

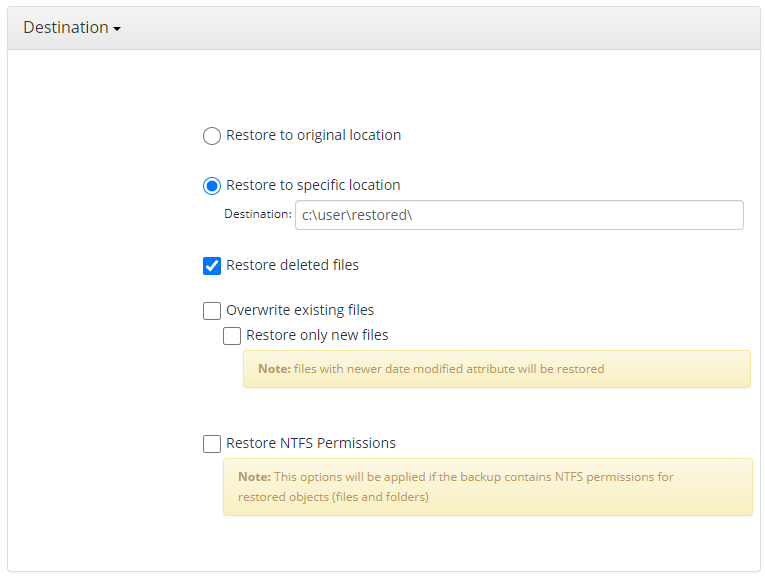
- In the Destination group, specify the restore destination settings. Select one of the following options:
- Restore to the original location. Select this option to restore the selected backup data to the same location specified while backing up
- Restore to a specific location. Select this option to restore the backup to a custom directory
- Restore deleted files. This option enables you to select if to restore locally deleted files in case the corresponding backup plan prior was configured to keep track of locally deleted files. Once you configure a new backup plan, the Backup Wizard enables you to choose whether or not the backup should store any data that has been deleted from local storage
- Overwrite existing files. This option specifies whether to replace the existing files in the destination folder with their newer versions or keep the older files and do not restore their newer versions. Different file versions are attributed to the same file only if their names are identical to that of the original file. This is why a file that has been renamed in local storage will not be considered to be a new version of the previously named file. When this option is enabled, you can also specify whether to restore only newer file versions or all files regardless of their modification time
- Restore NTFS permissions. If a backup contains NTFS permissions assigned to files and folders, you can enable this option to restore these permissions along with the selected files
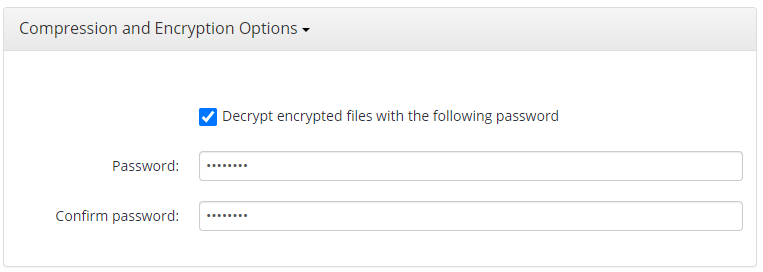
- In the Compression and Encryption Options group, specify the encryptions password in case your source backup was previously encrypted.
In the Notification group, specify the notification settings. Select one of the following options:
- Use company options. Select this option to apply the notification settings configured for the company the source computer is assigned to
- Specify custom. Select this option to specify the custom settings for this restore plan
To receive the notification after the restore plan completion, select the User receives a notification email when restore completes checkbox.
- Select the When restore fails checkbox if you want to receive the notification message only in case of the restore plan failure
- Select the In all cases checkbox if you want to receive notification messages in any case.
To record the event in the Windows Event Log, select the Add entry to Windows Event Log when plan completes checkbox.
- Select the When restore fails checkbox if you want to receive the notification message only in case of the restore plan failure
- Select the In all cases checkbox if you want to receive the notification message in any case.

- Once you are done, click Save.
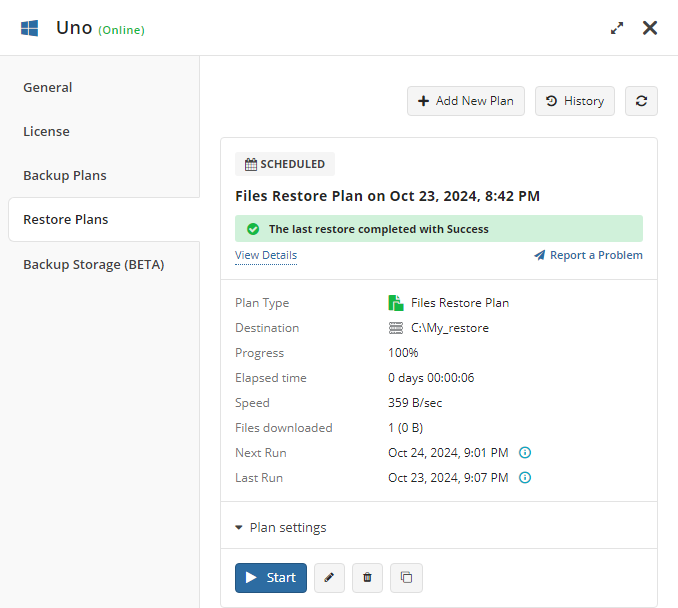
Run the Restore Plan
To run the restore plan, proceed as follows:
- On Computers select Remote Management if you use legacy main menu, or open Backup > Computers page in the new main menu.
- Find the required computer, then click the Configure icon in the Backup Plan Status column.
- On the side panel, click the Start button.
Edit the Restore Plan
To edit the restore plan, proceed as follows:
- On Computers select Remote Management if you use legacy main menu, or open Backup > Computers page in the new main menu.
- Find the required computer, then click the Configure icon in the Backup Plan Status column.
- On the side panel, click Edit icon below the backup plan tile.
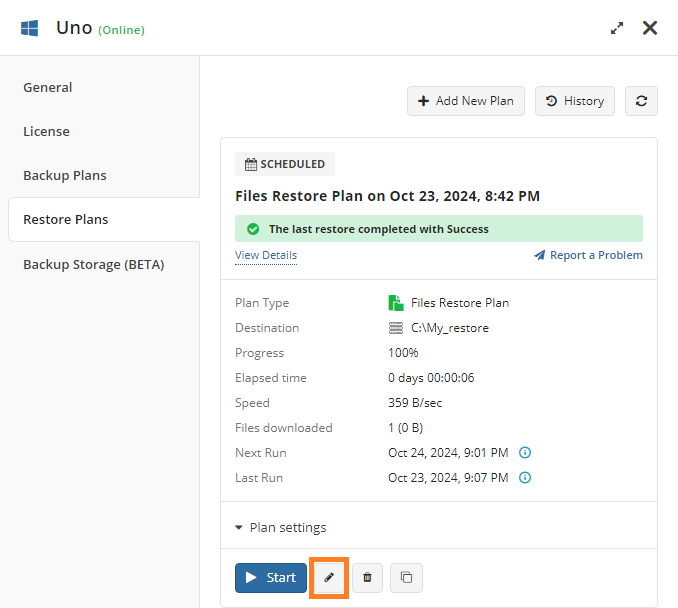
- Make the required changes, then click Save.
Delete the Restore Plan
To edit the restore plan, proceed as follows:
- On Computers select Remote Management if you use legacy main menu, or open Backup > Computers page in the new main menu.
- Find the required computer, then click the Configure icon in the Backup Plan Status column.
- On the side panel, click Edit icon below the backup plan tile.
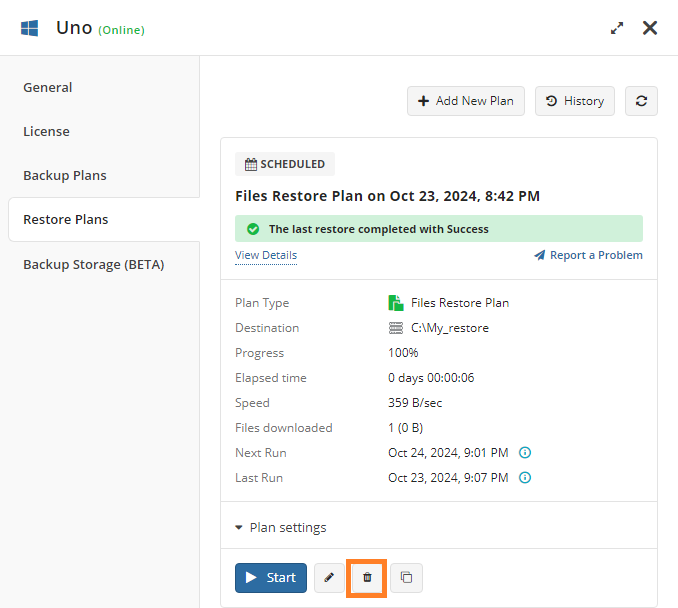
- Confirm the plan deletion.