VMware VM Restore in Management Console
Managed Backup supports restoring virtual machines as a virtual disk for further use or to an ESXi server as part of the VMware vSphere product.
Create New Restore Plan
Step 1
Open Backup > Computers in the Management Console.

Step 2
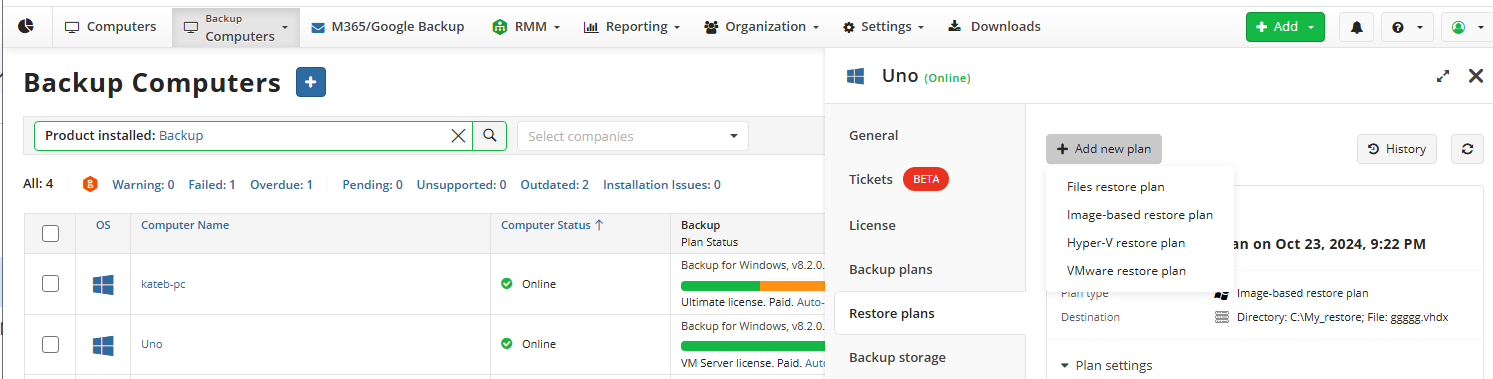
Locate the computer you wish to restore from on the list (make sure that it is online), then open the current list of plans by clicking on the name of the computer.
To create a new VMWare Restore Plan, click on “+ Add new plan” on the Restore Plans tab of the side panel, then click on “VMWare restore plan”.
Step 4
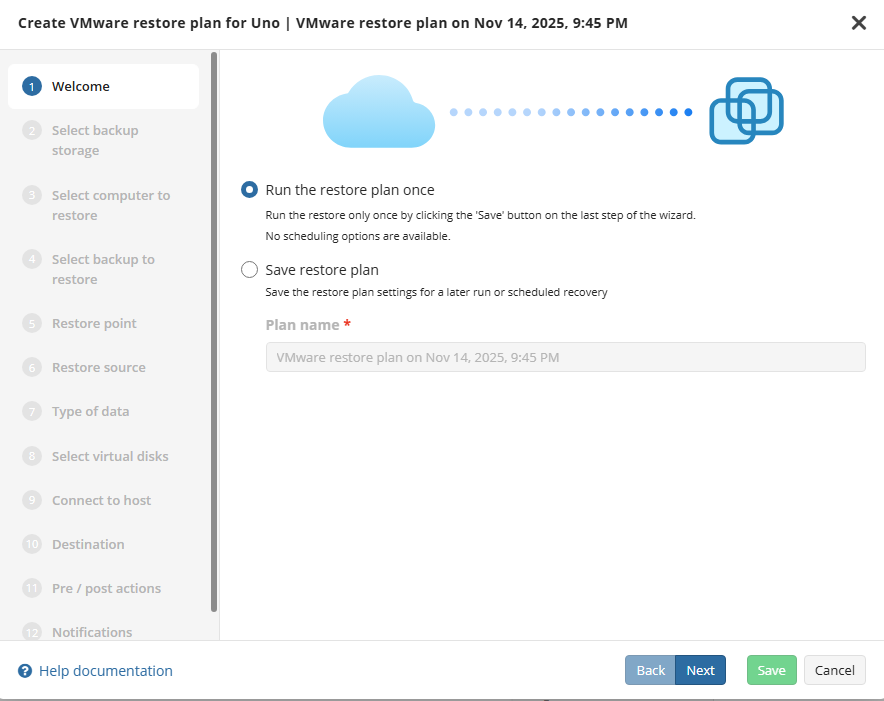
The first step when making a restore plan is to select if it should run only once, or if it should be saved for future or scheduled use. The latter will allow you to name the plan.
Step 5
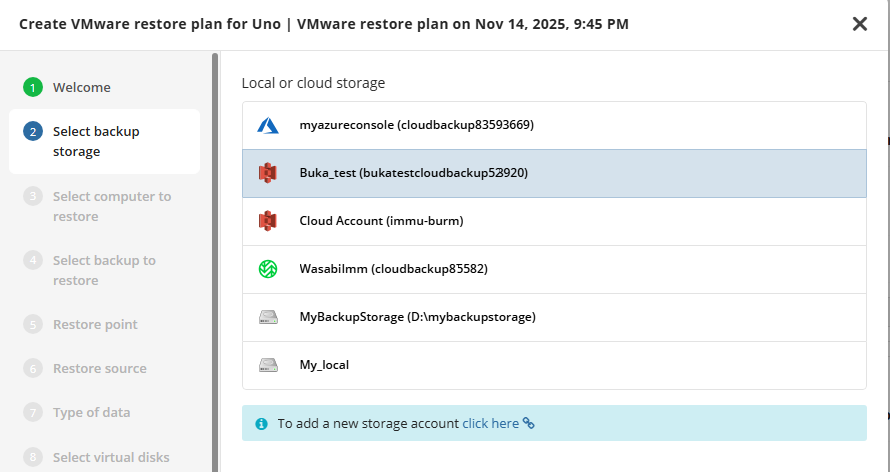
Now we have to select the storage source to restore the backup.
Step 6
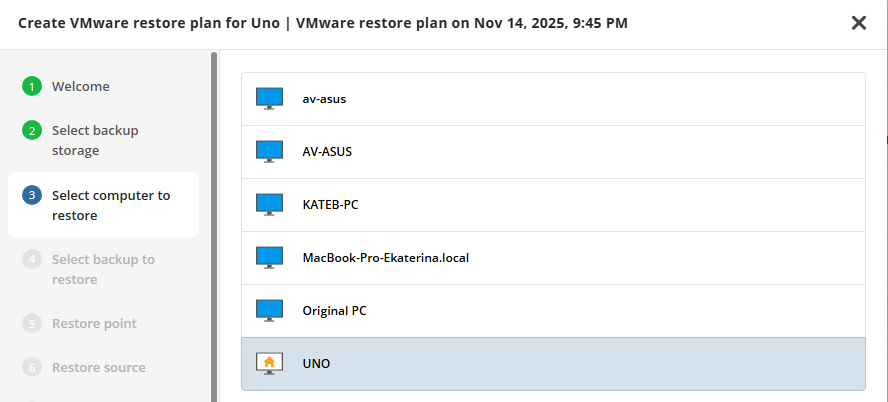
Select the host (computer or backup prefix) you want to get the VM backup from
Step 7
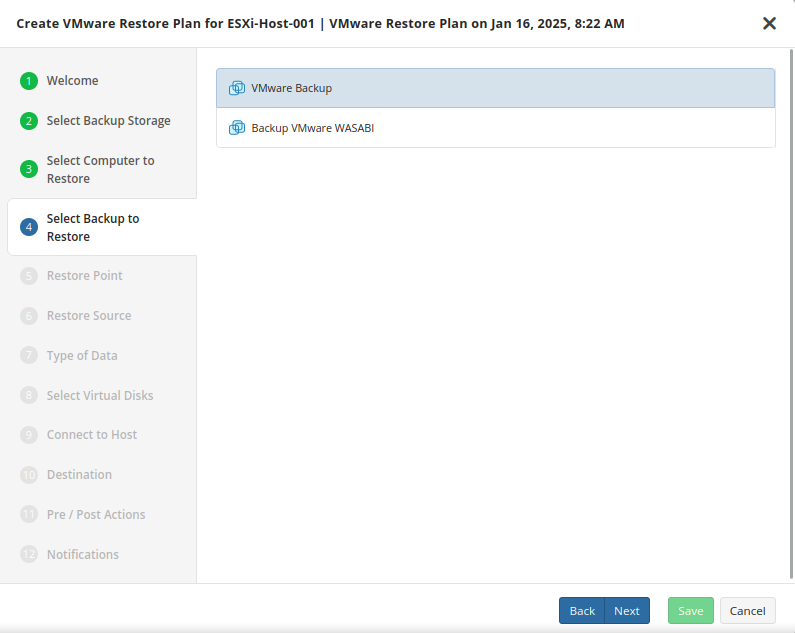
Next, select the Backup Plan you want to restore
Step 8
Next you will be given a choice for what point in time you would like to restore the VM to.
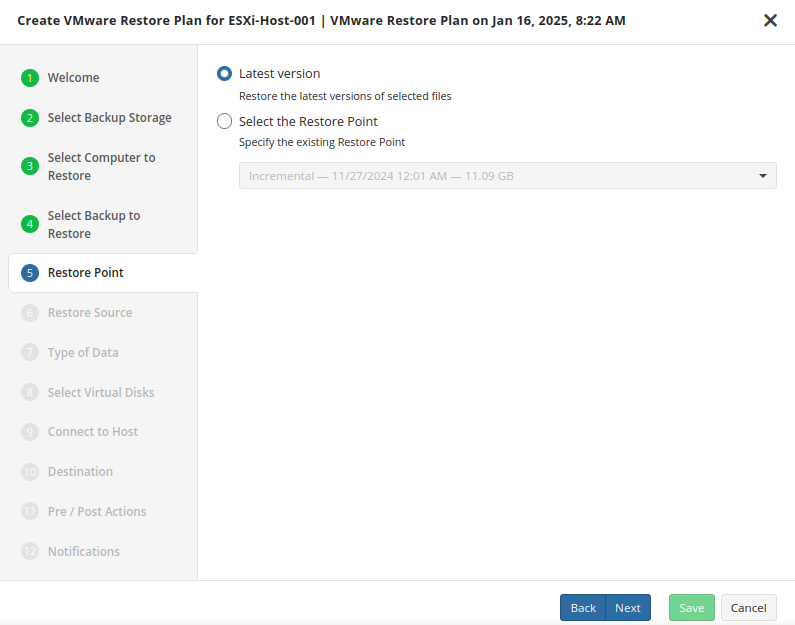
For backup made in the legacy backup format, select one of the available options:
- Select the Latest Version option to restore the latest image version of the selected backup
- Select the Point in Time option to restore the image version for the specified date and time
- Select the Modified Period option to restore the image version based on the modification period, then specify the period
- Select the Backup Period option to restore the image version based on the backup period, then specify the period
- Select the Manually option to proceed to manual image version selection
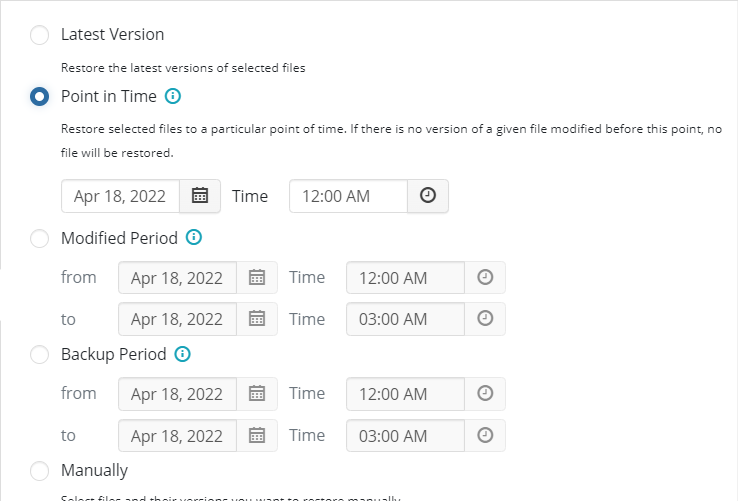
Note that the time must be specified in the provider time zone. Point the mouse to the hint icon to see the provider time zone
Encryption Options (optional)
Enter the encryption password if your backup is encrypted.
Step 9
Next, you will be able to expand the list of VM backups on the selected host and choose which VM to restore.
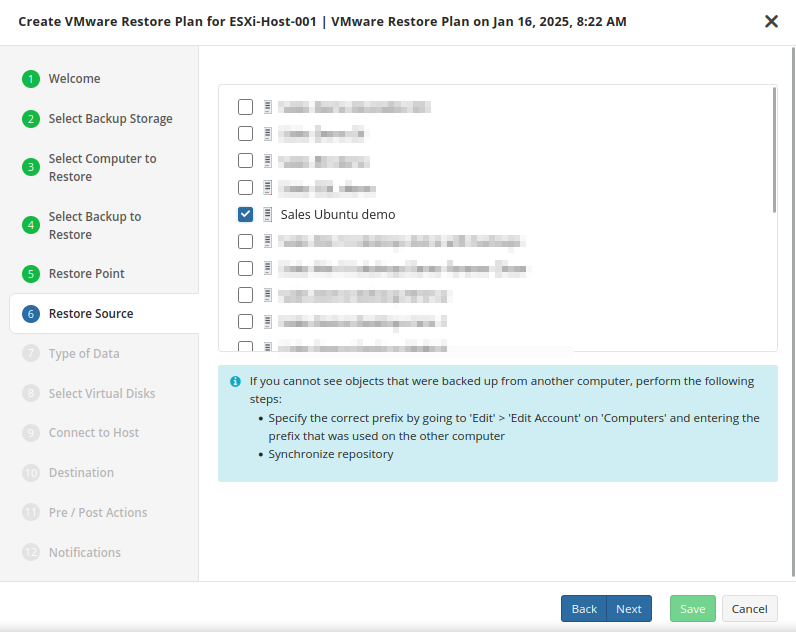
If backed-up objects are missing, ensure the correct prefix is specified (the same one used for backup) and verify that the repository is synchronized to update available backups
Step 10
The next step of the wizard allows you to choose how the VM data should be restored.

- Restore to VMware vSphere: Selecting this option restores the virtual machine configuration as well as the virtual disks to vSphere as a VM.
- Restore as virtual disk: Restores the virtual disks in the backup as a file which can later be mounted to a VM. No configuration files are included. Several formats are available:
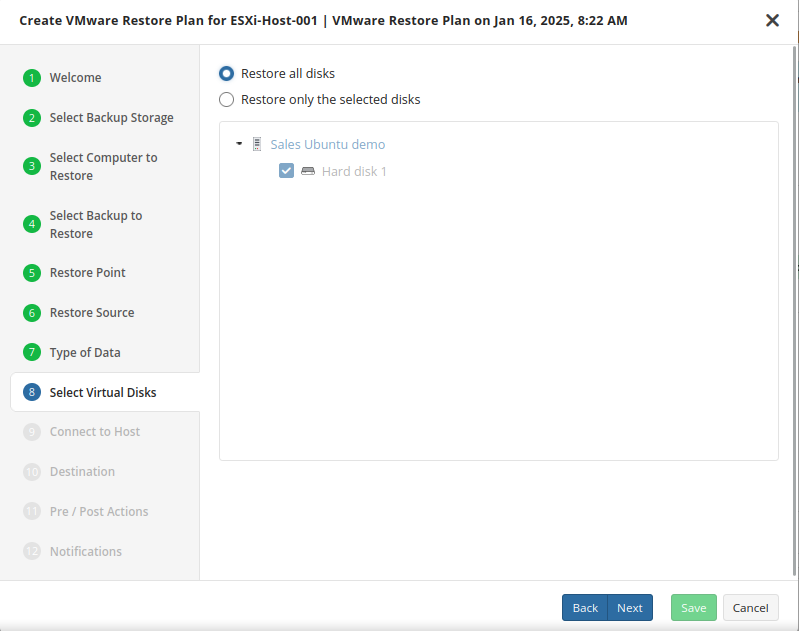
Step 11
The next step of the wizard allows you to choose the disks to be restored.
Step 12
Now you’ll have to connect to the host by either using its IP address or FQDN.
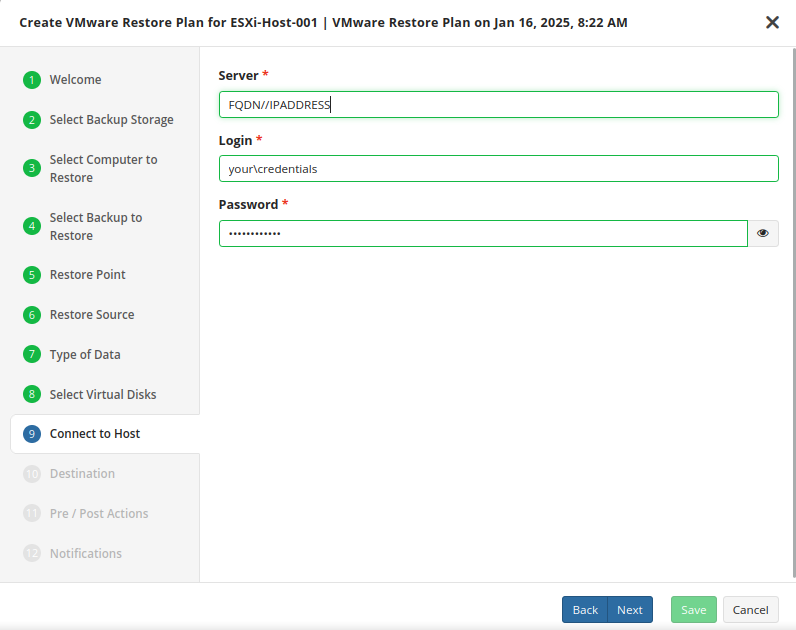
It is important to determine whether FQDN or IP addresses will be used for all future plan configurations. The application will consider each to be unique hosts, even if the target machine is the same
Step 13
In this step of the Restore Wizard, you configure where and how the virtual machine (VM) will be restored.
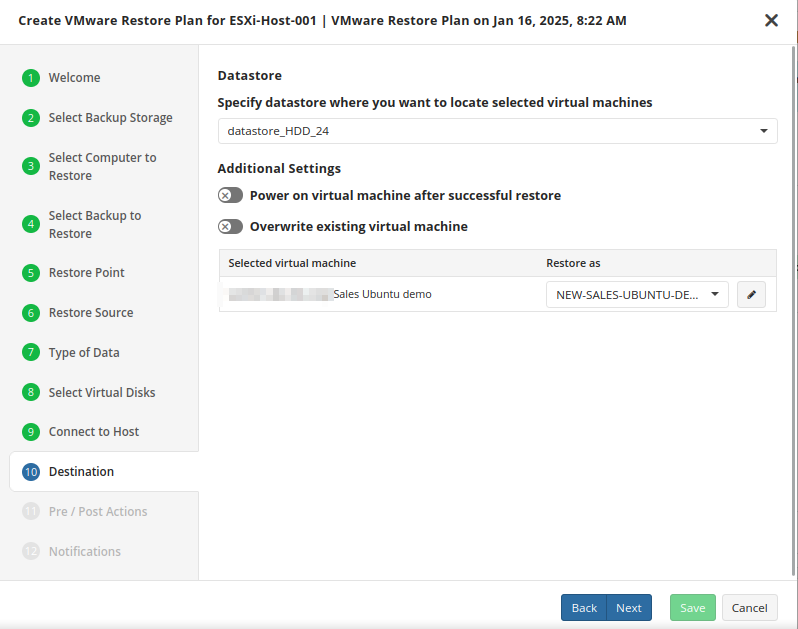
- Specify datastore: Select the destination disk on the VMware host where the VM should be restored to.
- Additional Settings: Choose the action to take if the target VM being overwritten is currently powered on. If you select “Skip” then any power on VMs will be ignored during the restore process.
If you wish to restore it as a different name or target VM, select or type over the value in the “Restore as” list
Step 14
If you choose to save the restore plan, the schedule is configured during steps 11 and 12 of the wizard.
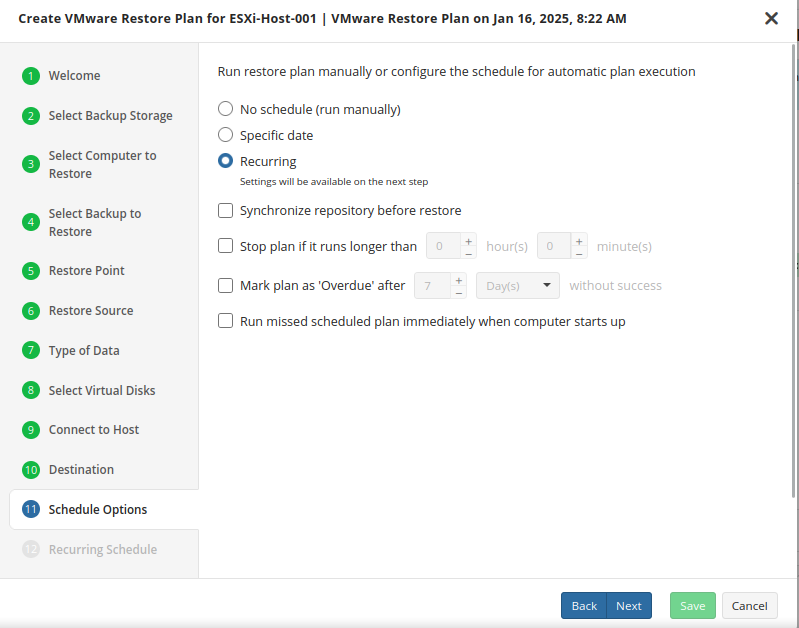
- No schedule (run manually): Use this option only when you wish to execute the Restore manually.
- Specific date: Use this to schedule a one-time Restore at the specified date and time.
- Recurring: Using this option enables you to schedule recurring Restorations based on the criteria in the fields below.
Do not use the “Stop the plan if it runs for:” option if you have a slow or unstable internet connection
Enabling the “Run missed scheduled restore immediately when computer starts up” option will ensure that the restore plan will begin automatically after the computer starts up if it was unable to run at the scheduled time. This is only recommended for desktops and laptops. For servers, it is recommended that you run the restore plan manually when all maintenance works are completed to avoid adversely affecting server performance and internet bandwidth during working hours
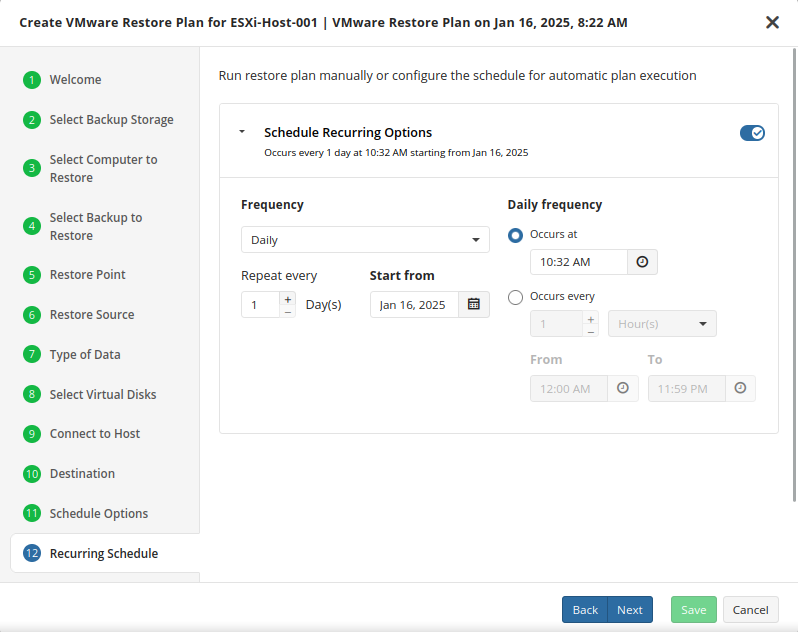
Step 15
If a recurring schedule was selected, now you can set up the frequency for the restore plan to be executed.
Step 16
Next, specify the pre/post actions if required.

Step 17
Specify notification settings for restore plan results. You can use the company notification settings or customize them as needed: specify the required recipients and customize the notifications for different restore plan results:
- Success
- Failed
- Warning

Select the I want to receive a notification email to enable notifications.
- Select When the restore plan fails or finished with warnings option if you want to receive the notification message in case the restore plan terminates with errors or warnings
- Select the In all cases option if you want the notification to be delivered in all cases
If you want the restore plan results to be added to Windows Event Log, select the Add entry to Windows Event Log checkbox
- Select When the restore plan fails or finished with warnings option if you want to receive the notification message in case the restore plan terminates with errors or warnings
- Select the In all cases option if you want the entry to be put in Windows Event Log in any case.
Step 18
Click on Save when you are happy with your selections. If the plan is set to run only a single time and has no set schedule, it will automatically start. Otherwise, if it is set to run only once and is scheduled, it will display in the list of plans until the scheduled time. If it is only set to run once, then when it completes successfully it will remove itself from the list of plans. Only Restore Plans which are saved will remain in the list for future use.
| Top |
Manage Plan
Refer to Manage Plans for details on how to run, edit, clone, or delete the plan.
| Top |