Manage Backup and Restore Plans
Managed Backup enables you to store the configuration of each backup or restore plan you create so that you can run it at any time, either manually or on schedule. This configuration is stored as a backup plan or restore plan, which you can create using the Backup or Restore Wizards.
For remote management of plans, the Management > Computers, ex-Remote management permission should be granted as an administrator permission on the Organization > Administrators page.
Once a backup plan is configured, you can locate it in the Management Console on the Computers page using the Configure icon.
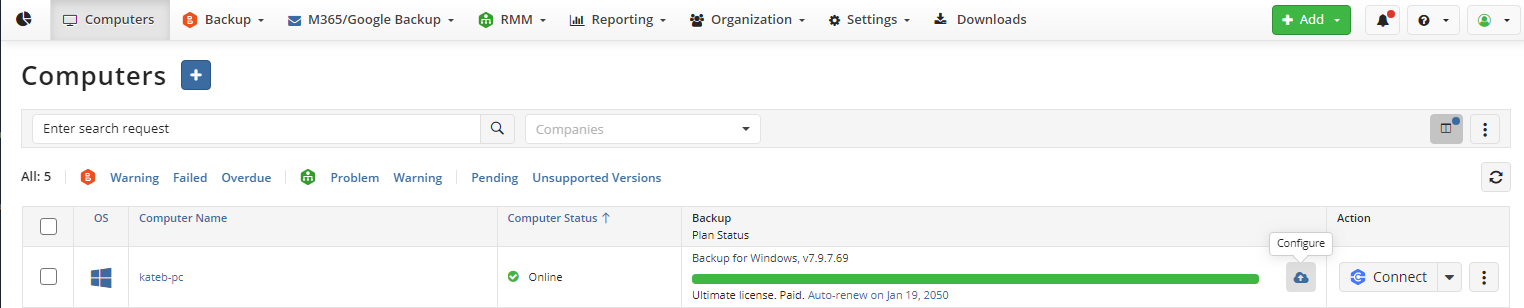
You can also see the backup plan on the Backup Plans tab of your Backup Agent instance.
Context Menu for Remote Management
Manage plans on your computers remotely in the Computers menu. The new context menu helps you quickly navigate to the important features. Right-click the required computer entry to access the context menu:
Computers and Backup > Computers. The following options are available:
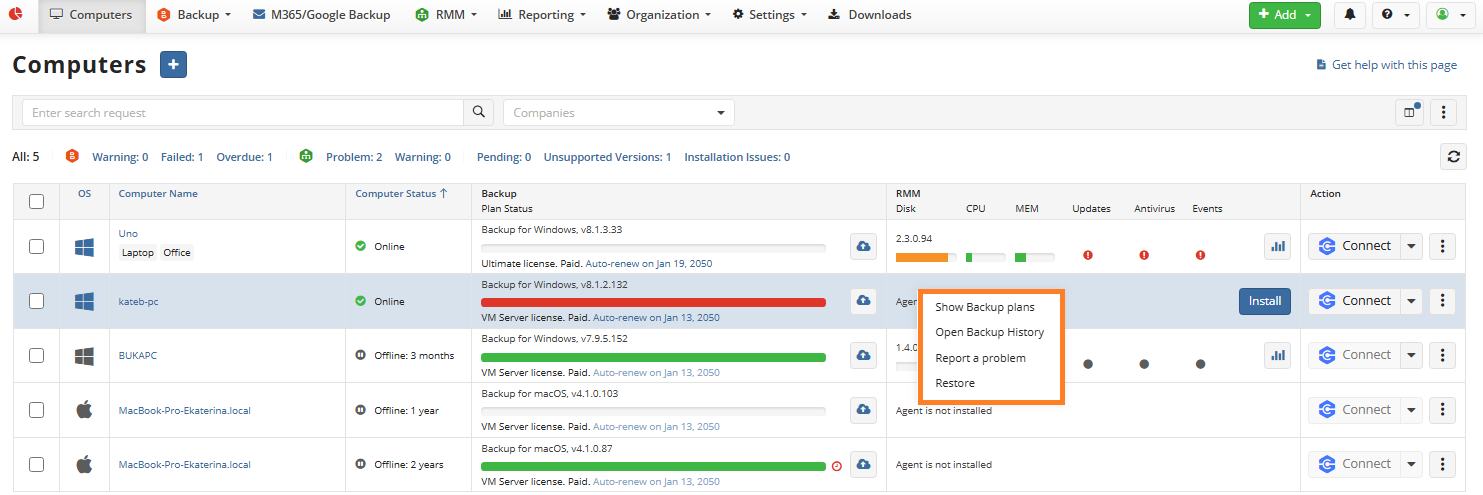
- Show backup plans. Navigate to the Backup Plans tab on the side panel.
- Restore. Navigate to the restore plans on the side panel.
- Open Backup History. Open the Backup History grid in a new tab to view plan results.
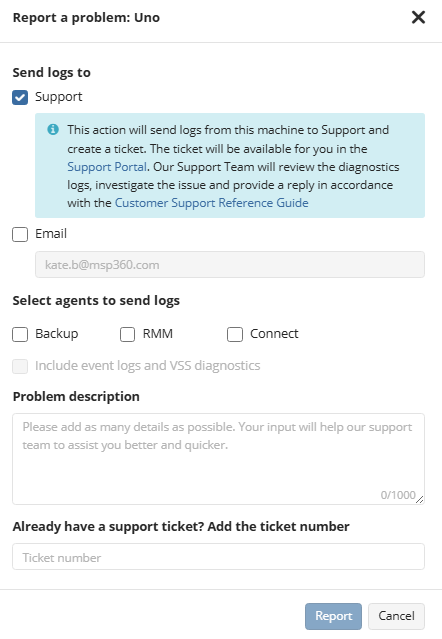
- Report a problem. Create a support ticket with attached logs.
Create a Backup Plan from Template
- Open the Management Console.
- In the Computers menu, select Remote Management if you use the legacy main menu, or open the Backup > Computers page in the new main menu.
- Find the required computer, then click the computer name.
- On the side panel, navigate to the Backup Plans tab.
- Expand the Template control and select Create template.
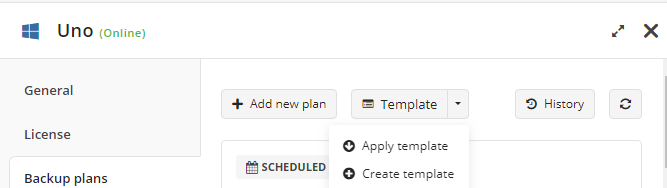
- Choose a pre-existing template from the list.
- The list displays only templates applicable to the selected computer.
- To view templates for all companies or a specific company, go to the Backup > Backup Templates page.
- Click Apply.
- Click Continue and apply. The new backup plans from the template will be added to the list of backup plans.
- Check the list of computers to add and save to apply the backup template. Refer to the Backup Templates article for details.
Manage Plans in Management Console
The Management Console functionality provides remote backup and restore plan management. You are able to manage backup and restore plans on managed computers remotely, as well as configure and reconfigure them at any point on the planet with an Internet connection. You have the following remote management options:
- Backup > Computers page in the new main menu. The new enhanced main menu introduces this separate page where you can see the computers with Backup Agent installed. To use the new menu, turn the new navigation menu on in the personal settings on the Settings > General page.
- Computers page in the new main menu
- Computers > Remote Management in the legacy main menu
You can create, edit, or delete backup plans in the new backup format on the computers that are currently offline. Once the computer becomes online, all changes will be applied. This feature is available in the beta version and requires Backup Agent version 7.9.3 or higher for Windows. For details on how to allow offline editing, refer to the Offline Backup Plan Management chapter.
Create a Plan
- In the Management Console, navigate to Computers or Backup > Computers.
- Click the name of the computer you want to create a new plan for or click the Configure icon.
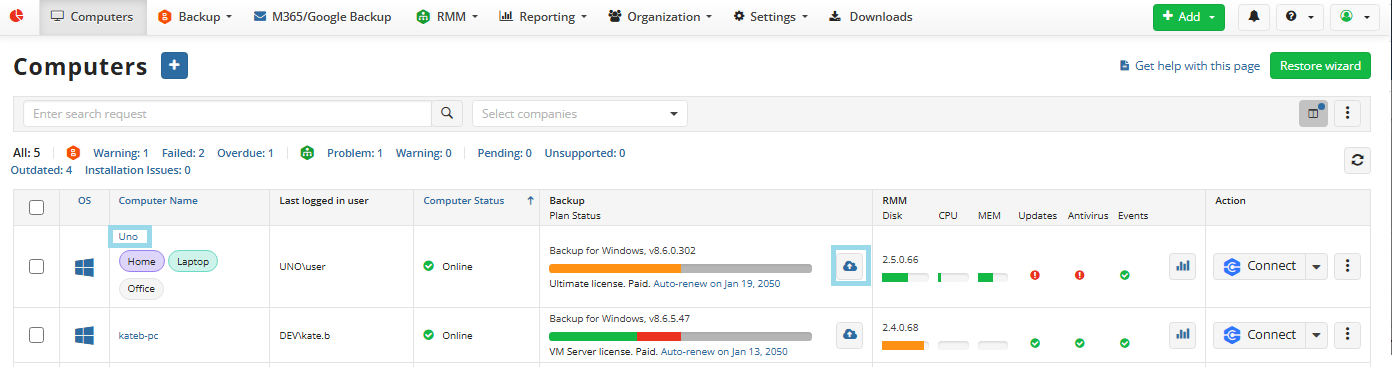
- Select the Backup Plans or the Restore Plans tab.
- Click +Add new plan.
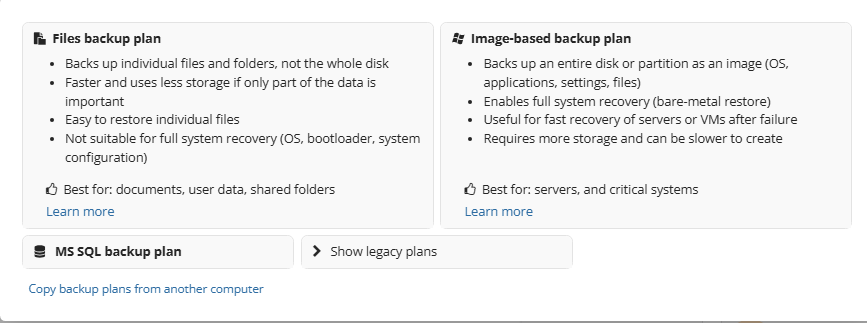
You can create the following backup plans depending on the license type assigned to the computer:
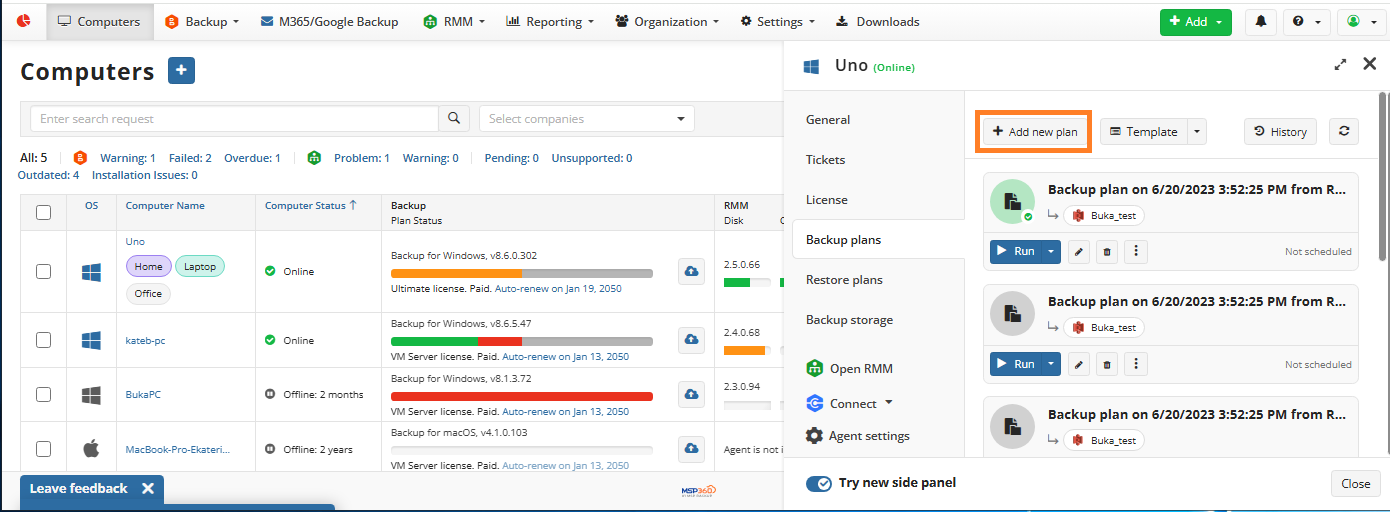
- Files Backup Plan
- Files Backup Plan (Legacy)
- Image-based Backup Plan
- Image-Based Backup Plan (Legacy)
- Exchange Backup Plan
- MS SQL Backup Plan
- Hyper-V Backup Plan
- Hyper-V Backup Plan (Legacy)
- VMware Backup Plan
- Consistency Check Plan
You can create the following restore plans depending on the license type assigned to the computer:
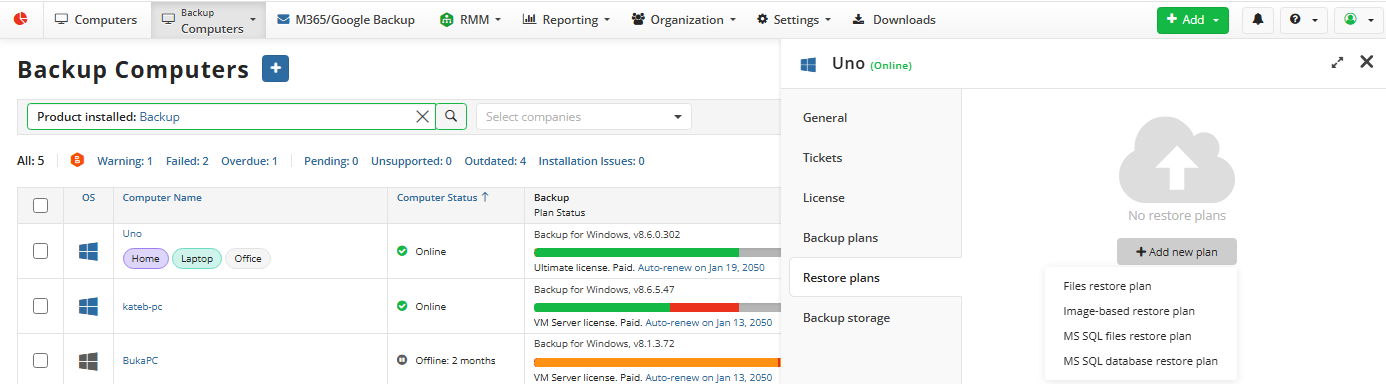
- Files Restore Plan
- Image-Based Restore Plan
- Hyper-V Restore Plan
- VMware Restore Plan
- MS SQL Restore Plan
The simplified Restore wizard helps you start the restore.

Refer to the Restore Strategy article to see all available restore options.
Note: the types of available plans depend on the license type of Backup Agent. Check out License Types for details.
View Plan Details
Click the plan tile to view the full plan details.

You can also expand the plan details.
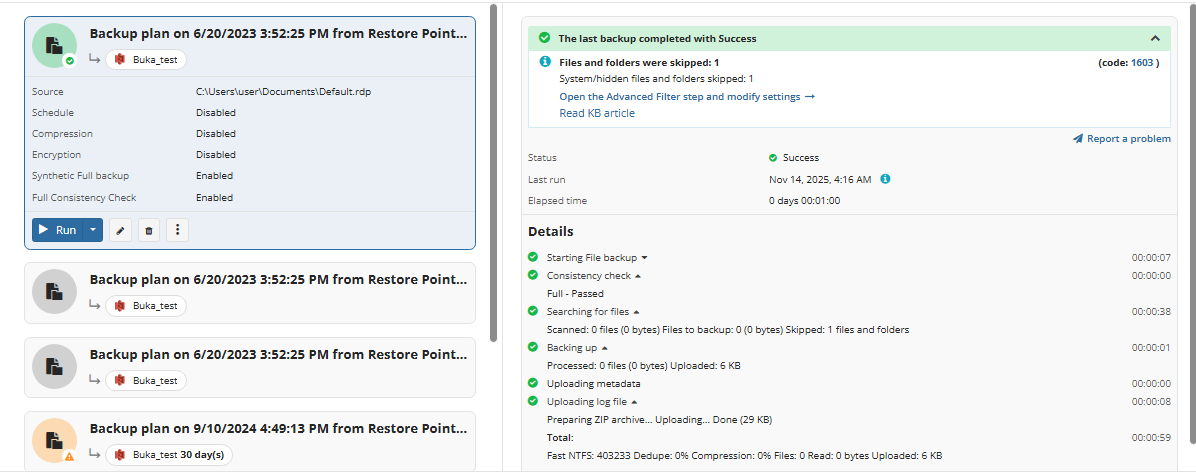
If necessary, navigate to the Backup History page with the History button.
Run Plan
To start the existing plan:
- Open Backup > Computers.
- Find the required computer, then click the Configure icon in the Backup Plan Status column.
- On the side panel, navigate to the Backup Plans tab or the Restore Plans tab, depending on the plan type.
- Find the plan to run.
- Click the Run button to run the backup plan.
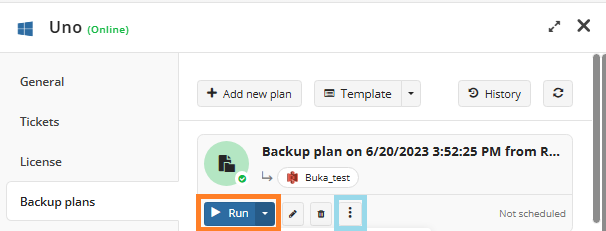
To stop the running plan, click the red stop button.
Force Full Backup
To Force Full Backup for the Backup Plan
- Open Backup > Computers.
- Find the required computer, then click the Configure icon in the Backup Plan Status column.
- On the side panel, navigate to the Backup Plans tab.
- Find the plan to force.
- Expand the Start control and click Force Full Backup. You can expand this control to use one of the available options:
- Run Backup
- Force Full Backup
- Force Synthetic Full Backup
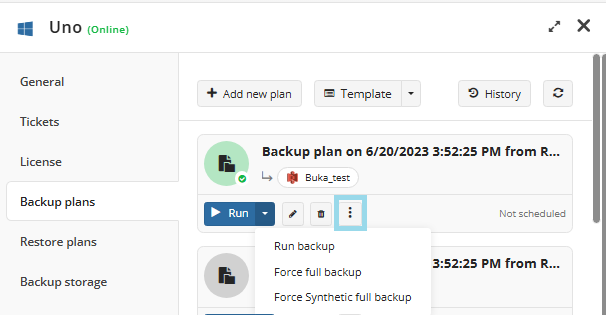
To configure regular full backup runs, refer to the Schedule step of the backup wizard.
Edit a Plan
To edit the existing plan To edit the backup plan, proceed as follows:
- Open Backup > Computers.
- Click the name of the computer you want to edit.
- On the side panel, navigate to the Backup Plans tab or the Restore Plans tab, depending on the plan type.
- Find the plan you want to edit, then click Edit.
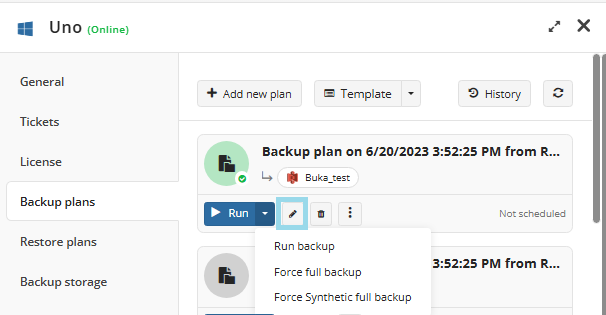
- Proceed through the wizard steps to adjust settings as needed.
- If the plan is currently running, you'll need to select one of the following options:
- Apply changes after the plan completes
- Stop the plan and apply changes.
- After choosing the desired option for the plan, finish the plan.
Copy / Clone Backup Plan
To Clone or Copy the Existing Plan from Another Computer
Use backup templates or simply copy the plan from another computer as described below.
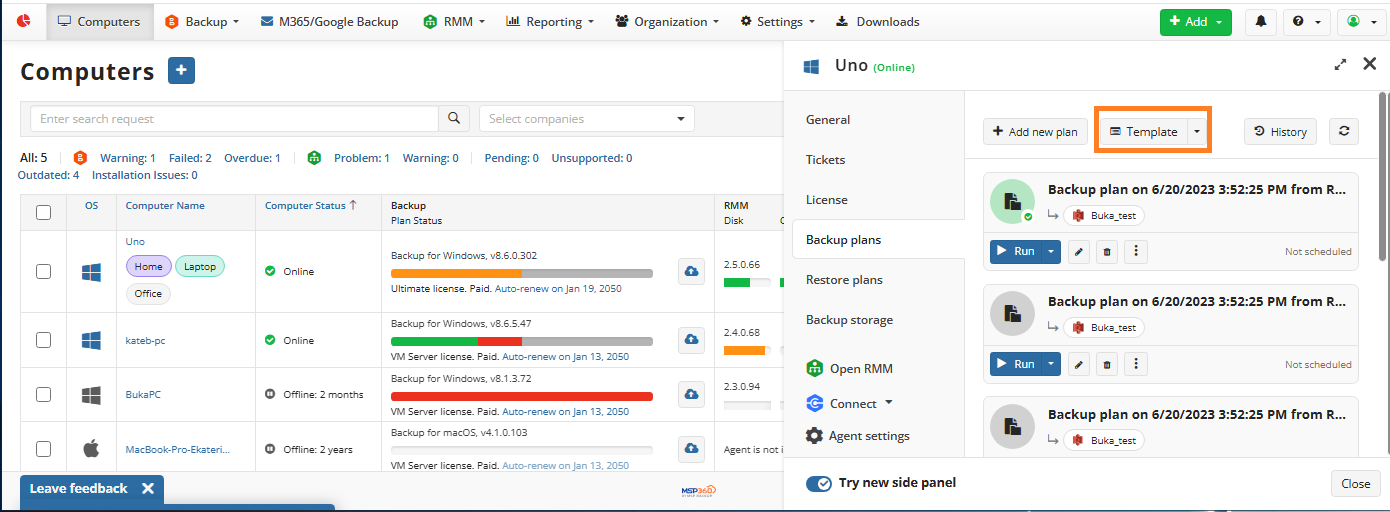
To copy the plan, the Agent version must be 8.6.5 or later.
- Open Backup > Computers.
- Find the required computer, then click the Configure icon in the Backup Plan Status column.
- On the side panel, navigate to the Backup Plans tab or the Restore Plans tab, depending on the plan type.
- Click +Add new plan.
- Click Select backup plan from another computer.
- Select the computer to copy the plan from.
- Select the plan to copy.
- Specify the name of the copied plan.
- Click Save.
Delete a Plan
To Delete the Existing Plan
- Open Backup > Computers.
- Find the required computer, then click the Configure icon in the Backup Plan Status column.
- On the side panel, navigate to the Backup Plans tab or the Restore Plans tab, depending on the plan type.
- Find the plan you want to delete, then click the deletion icon.
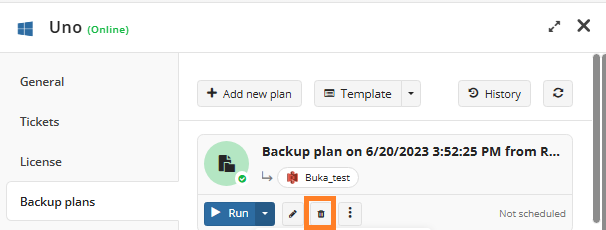
- In the dialog box, select whether the associated backup data will be deleted along with the backup plan, then confirm the deletion.
To delete associated backup data, you need the Delete backup data permission granted on the Organization > Administrators page and Two-Factor Authentication (2FA) enabled.
Restore Backup Plans in Management Console
As of Management Console 8.5, you can restore backup plans by creating a copy. This feature helps you restore a backup plan in the new backup format as a copy on the computer where this backup plan was created. This feature is supported for the new backup format only and requires Backup Agent 8.1.3 for Windows on the computer where you want to restore the backup plan. To restore a deleted backup plan on the same computer, perform the following:
- Navigate to Backup > Computers and click the required computer.
- Navigate to the Backup storage tab.
- Find the backup plan to restore in the list of backup plans on the selected computer.
- Expand the Restore actions and select Restore Backup plan.
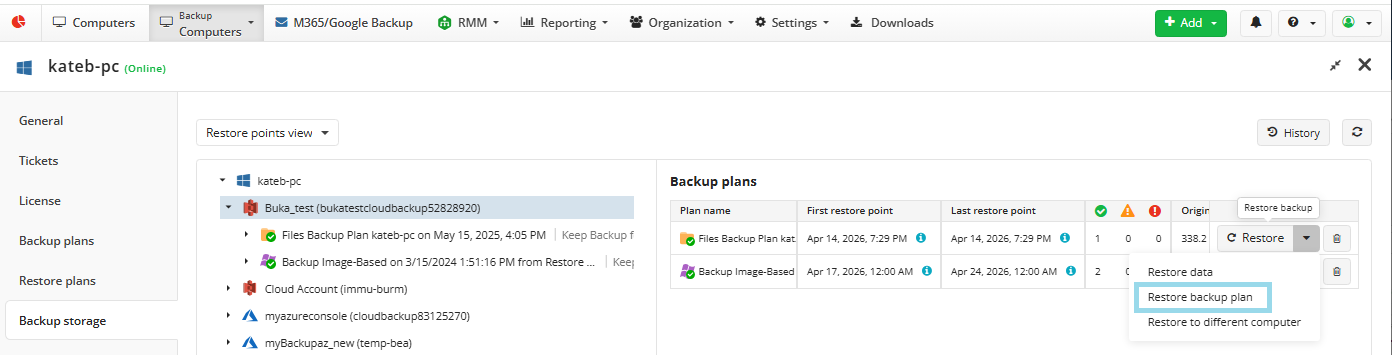
- Click Proceed to create a copy from the required restore point.
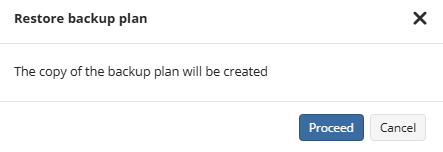
- The backup plan restore will be initialized. The restored plan appears on the Backup plans tab of the computer side panel in Backup > Computers. The name of the restored plan will contain the restore point timestamp.
| Top |