Article ID: m0303Last Modified: 05-Oct-2026
Manage Tags
This article covers the following topics:
- Permissions required for tag management
- How to create tags
- How to add tags
- How to edit tags
- How to use tags
- How to delete tags
Required Permissions
The following permissions are required for tag management:
- Computers, ex-Remote Management. Admins granted this permission are allowed to manage users' and companies' settings remotely and have access to the Computers grids. To learn more, refer to the Management chapter.
- Manage tag assignment. Administrators granted this permission are allowed to manage existing tags: assign and remove them for computers in all companies these admins are allowed to manage.
- Full tag management. Administrators granted this permission are allowed to create, assign, edit, and delete tags. These administrators should have the right to manage all companies.
Create Tags
To create tags:
- Open the Management Console.
- On the Computers page, expand the action menu.

- Click Manage tags.
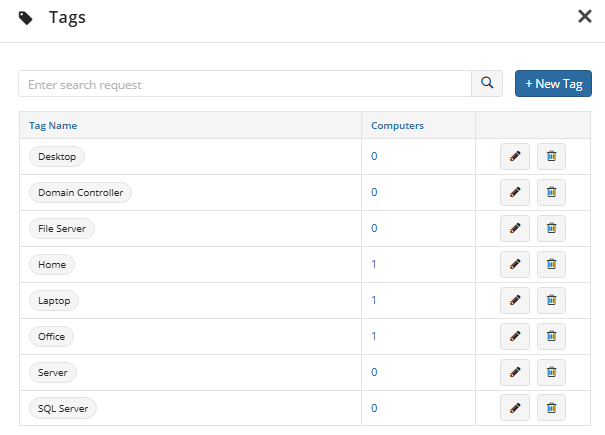
- Click +New tag.
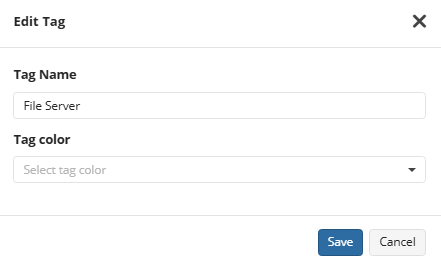
- Type or enter one or multiple new tags separated by commas. Press ENTER when you have finished typing.
- Select the tag color.
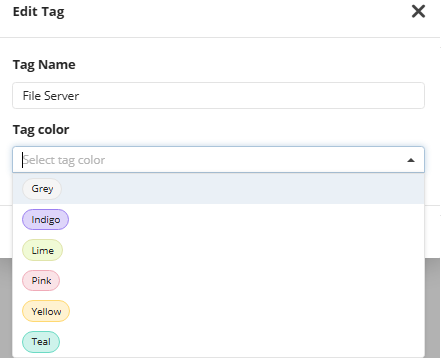
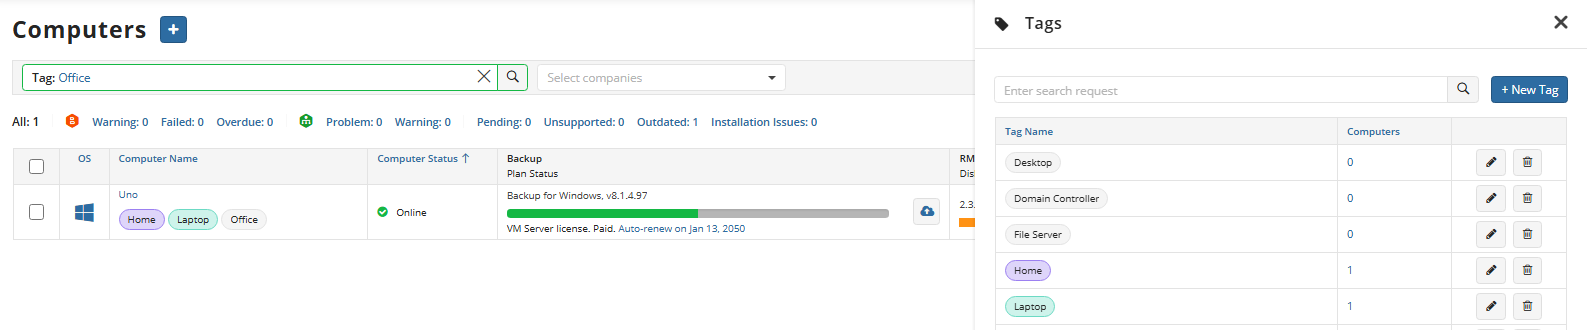
- Click Save. The created tags appear in the tag table. Now you can add (assign) tags to managed computers.
Add Tags to Computers
To assign tags to a computer or multiple selected computers:
- Open the Management Console.
- On the Computers page, select the computers you want to add tags for.

Click Add tags in the actions menu above.
Select one of the existing tags, or enter one or multiple new tags separated by commas.

- Click Save. The dialog disappears and tags will be added to the selected computers.

Edit Tag
To edit a tag:
- Open the Management Console.
- On the Computers page, expand the action menu.
- Click Manage tags.
- Select the tag you want to edit, and then click the edit icon.
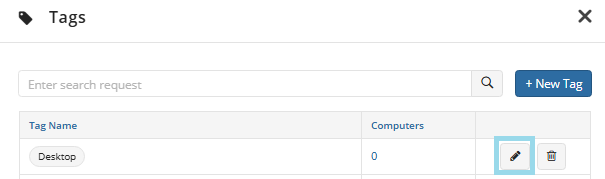
- Once the editing is complete, click Save. The change will be applied to all tagged computers.
Use Tags
Currently, the following features are supported for tags:
- Tags can be used for search purposes on the Computers page as described in the Manage Computers chapter.
- Tags can be used to set the scope for group action tasks.
Delete Tags from Computer
To remove a tag that is already assigned to a computer:
- Open the Management Console.
- On the Computers page, select the computers you want to remove tags from.
- Click in the Computer Info column. The Computer Info dialog appears.

- Select the tag you want to remove, and then click the remove icon.
- Click Save. The selected tag will be removed from the selected computer, but if a scheduled or running group action task includes this computer because of the removed tag, the group action task will still be executed for this computer.
Delete Tag
To delete a tag:
- Open the Management Console.
- On the Computers page, expand the action menu.
- Click Manage tags.
- Select the tag you want to delete, and then click the delete icon.
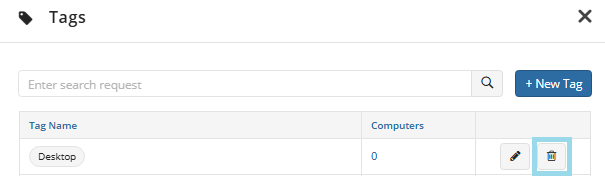
- Confirm the deletion. The tag will be removed from all tagged computers, but if a scheduled or running group action task includes computers tagged with the deleted tag, the group action task will still be executed for these computers.