MSP360 Control Mobile App (iOS)
This chapter covers the following topics:
- MSP360 Control key features
- Install MSP360 Control
- Log In
- Notifications
- View Computers
- Confirm 2FA Actions
- Add New Device
- Application Settings
Key Features
MSP360 Control (formerly MSP Admin) for iOS key features are:
- Remote monitoring of users' computers
- Remote backup/restore plan execution
- Enhanced 2FA management
- Receiving push notifications for alerts and events if enabled.
- Receiving news and changelogs
| Top |
Install MSP360 Control
MSP360 Control requires iOS version 17.6 and higher
To install the MSP360 Control application, proceed as follows:
- In the App Store, find the MSP360 Control.
- Tap the download button.
- As the installation completes, tap Open.
| Top |
Log In
You can log in using two options:
- Provide the email address and password you use to authenticate in Managed Backup
- Enable push notifications
- Enable MSP360 Control to send you notifications
- Enable access to the camera
- Scan the QR code (it is shown in the Management Console)
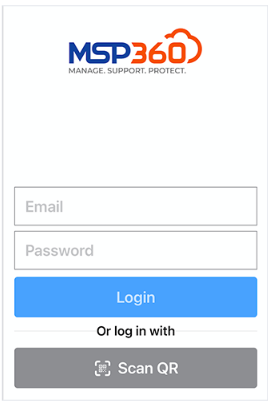
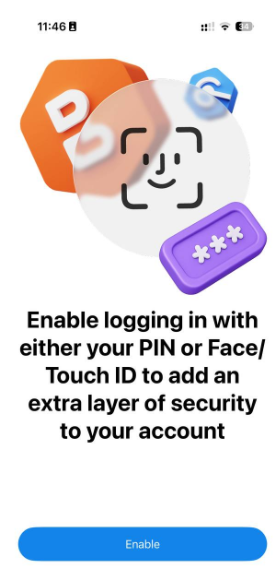
After signing in, you must set a passcode and, if available, enable Face ID. Face ID or your passcode is required to open the app. You can turn Face ID on or off in Settings. You can change your passcode, but you will be required to sign out and sign back in to do so.
| Top |
Notifications
View the event notifications in your MSP360 Control application.
To view notifications, tap the bell icon in the application.
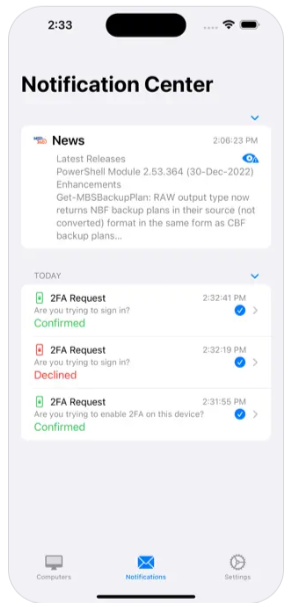
To get the details of the event, tap it.
View Computers
You can perform some basic actions with your users' computers.
To manage computers and their backup/restore routines, tap the computer icon in the application.
Users' computers are grouped by company. Find the required company in the list, then find the computer to view and manage.
You can view the computer's backup and restore history (failed and successful plans are displayed with different colors). To view the plan details, tap it: the expanded page contains comprehensive information on the plan.
For example, the detailed plan information on file backup contains the following data:
- Plan status
- Plan type
- Storage account
- Last run
- Plan duration
- Last result (success, error message, or warning)
- Number of files backed up
- Number of failed files
- Number of copied files
- Copied size
- Backup size
- Total size
- Date and time of the next plan start
Run Plan
With MSP360 Control, you can run the backup/restore plan on the user's computer at any time. Tap the computer icon, find the required computer, then find the required plan in the list, then tap the play icon.
The plan results appear in the Notifications section as the plan is complete.
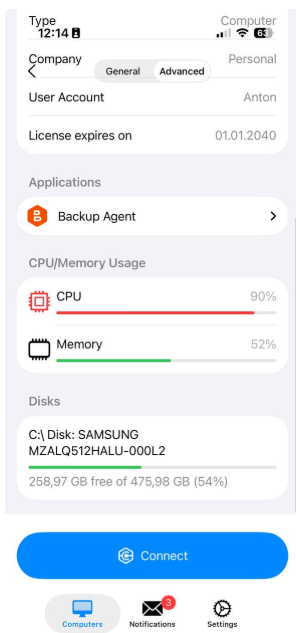
View Computer State
You can check the health of the computer. To do this, find the required computer, tap it, then tap the Advanced tab.
Confirm 2FA Actions
If you use the MSP360 Control application for 2FA purposes, the notifications on the events on Managed Backup will appear on the screen of the device on which the application is installed. To confirm or reject the action, unlock the device.
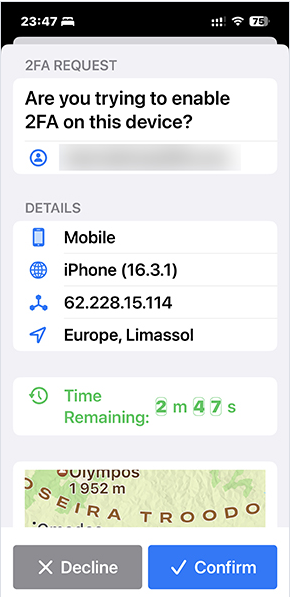
Open MSP360 Control, then in notification select whether to confirm the action or decline it. You can view the history of confirmed or declined requests on Notifications.
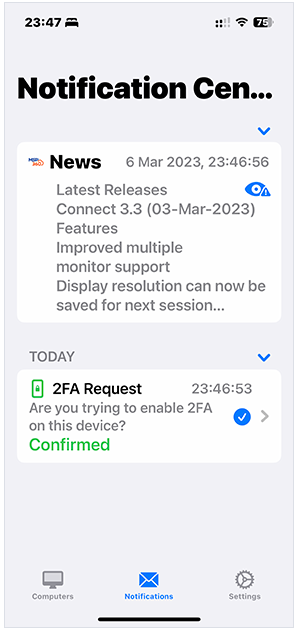
As you confirm the action, the mobile application sends a confirmation to the Management Console, and the action is allowed for execution. If no confirmation arrives, the rejection message is sent to the Management Console and is written to the Audit Log.
| Top |
Add New Device
You can have several devices in the device list for notification purposes (for 2FA confirmations, only one device is allowed). To do this, proceed as follows:
- Open the Management Console.
- In the Settings menu, select General.
- In the right pane, find the device list. As you enable 2FA for the first time, it is empty.
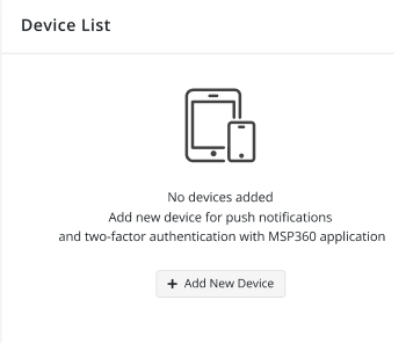
- Click Add New Device.
- Proceed with adding your device with the installed MSP360 Control as described in the Add New Device dialog.
- Open the MSP360 Control, proceed with automatic authentication or scan the QR code.
- Confirm the action with the device you use for 2FA confirmations.
If you use more than one device for 2FA purposes, refer to the Manage Devices chapter
| Top |
Application Settings
Configure the application settings. To do this, proceed as follows:
Open MSP360 Control.
Tap the Settings icon.
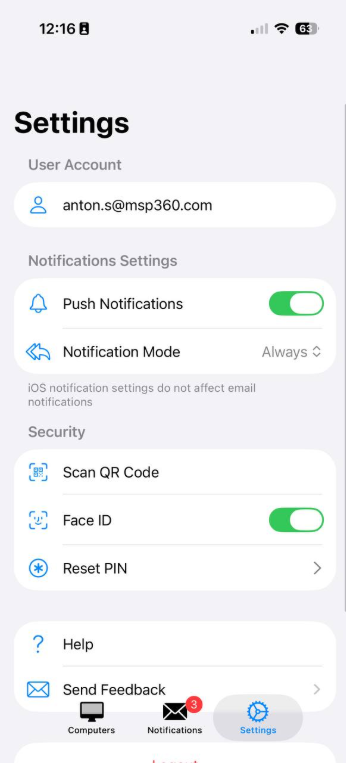
Configure application settings:
- Face ID: Enable or disable Face ID authentication if supported by your device.
- Notification mode: Specify the categories of notifications you wish to receive. (Note: 2FA confirmation requests are sent regardless of this setting.)
- Scan QR code: Authenticate by scanning a QR code.
- Send feedback: To report an issue or inquiry, use this option to send a descriptive email.
- This opens the Logs page, where you can enable logging and configure the log level (By default, the following log level is enabled: Error).
- From the Logs page, use the Send feedback option to email the logs as an attachment.
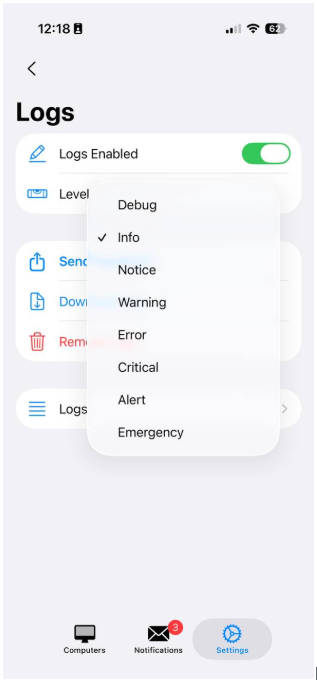
On the Logs page, use the Download logs and Remove logs options to download or clear the logs..
| Top |