MSP360 Control Mobile App 3.0 (Android)
MSP360 Control is a mobile application designed to manage backup and restore routines directly from your mobile device without accessing the Management Console.
This chapter covers the following topics:
- MSP360 Control key features
- Install MSP Control
- Log In
- Dashboard
- Notifications
- View computers
- 2FA actions
- Application settings
- Hide MSP360 Control App Suggestions
Key Features
MSP Control for Android key features are:
- Remote monitoring of users' computers
- Remote desktop connection to computers
- Remote backup/restore plan execution
- Enhanced 2FA management
- Receiving push notifications for alerts and events if enabled
- Receiving news and changelogs
| Top |
Install MSP360 Control
To install the MSP360 Control application, proceed as follows:
- In Google Play, find the MSP360 Control (for Android).
- Tap Install.
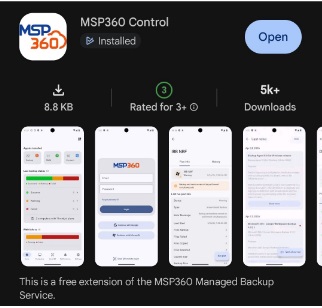
- The application will be installed automatically. As the installation completes, tap Open.
| Top |
Log In
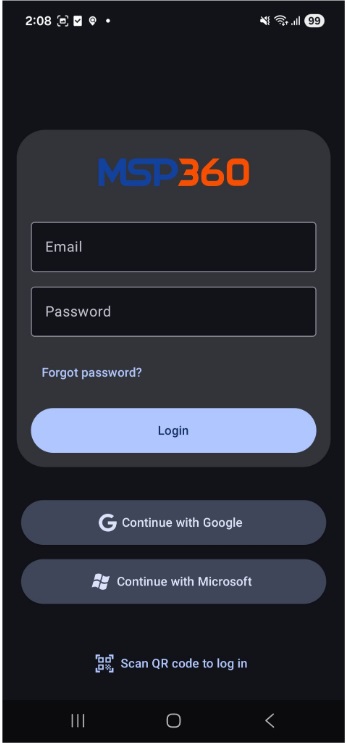
You can log in using two options:
- Provide the email address and password you use to authenticate in Managed Backup
- Scan the QR code (it is shown in the Management Console)
- Use your Google or Microsoft account
| Top |
Dashboard
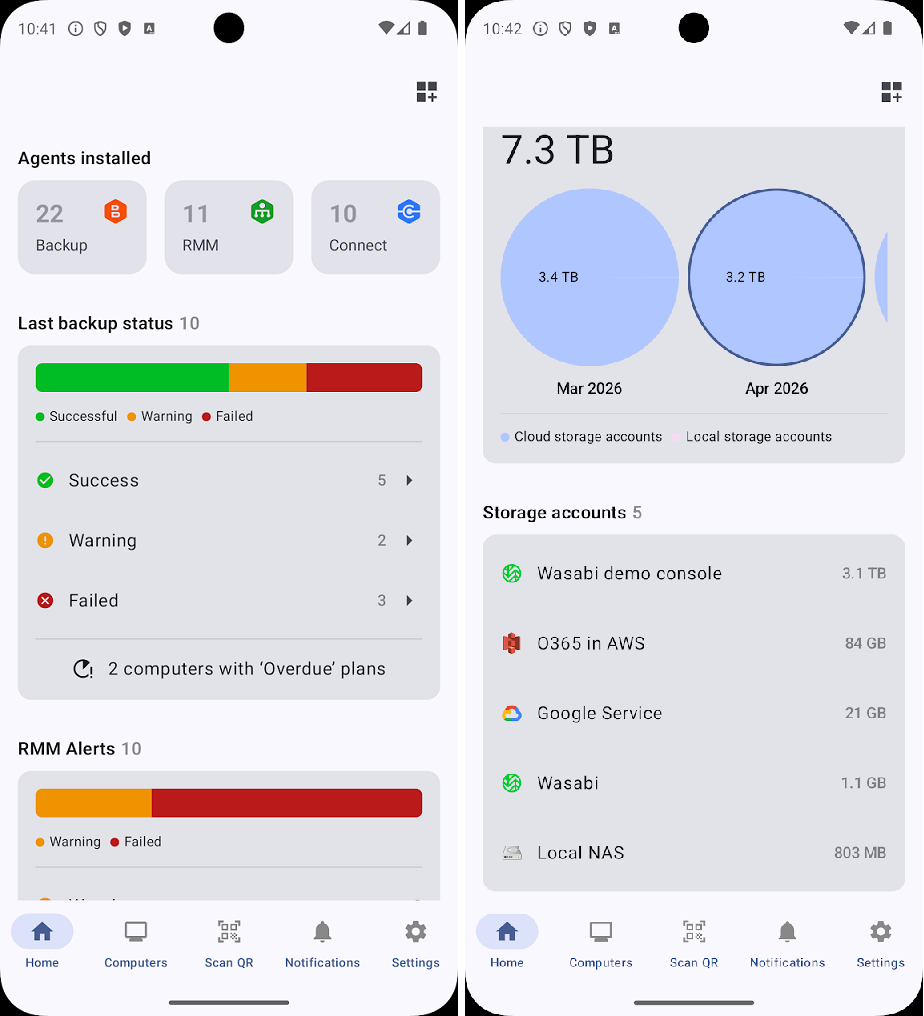
The home page of the MSP360 Control mobile app contains a customizable dashboard with the following information:
- Agents installed
- Storage consumption
- Storage accounts
- Last backup status
- RMM alerts
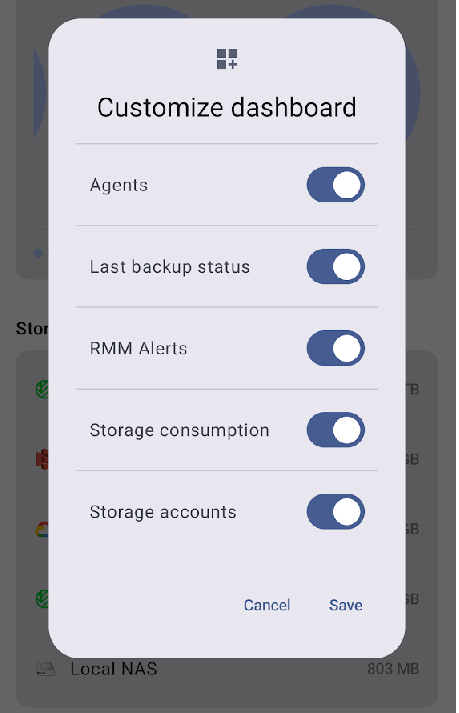
To customize the dashboard, use Edit in the top right corner, select the required information blocks and clear the blocks you do not need.
| Top |
Notifications
View the event notifications in your MSP360 Control application.
To view notifications, tap the bell icon in the application.
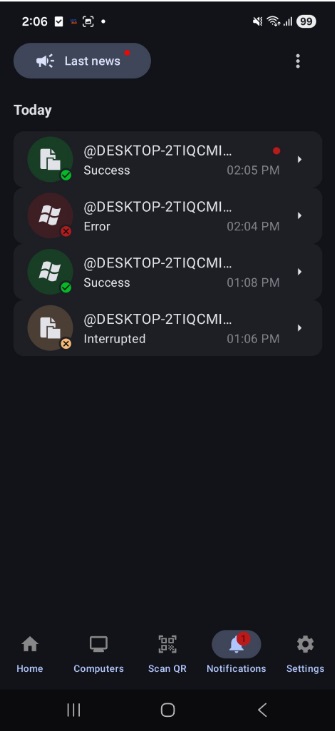
To get the details of the event, tap it.
You can customize notifications on Notification settingss: enable push notifications, or select a notification mode to receive only the messages you need.
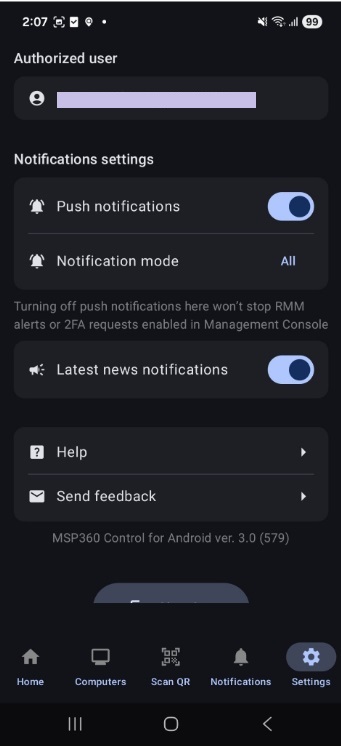
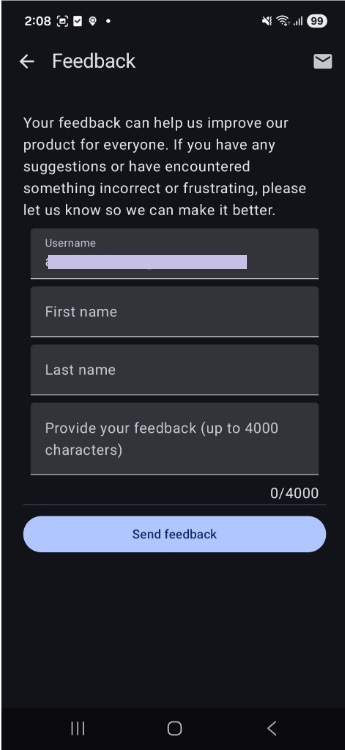
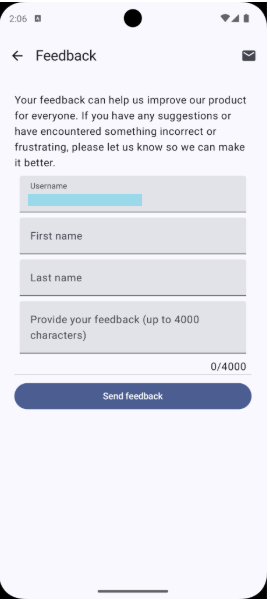
Also you can browse Help and send feedback to MSP360.
View Computers
You can perform some basic actions with your users' computers.
To manage computers and their backup/restore routines, tap the computer icon in the application.
Users' computers are grouped by company. Find the required company in the list, then find the computer to view and manage.
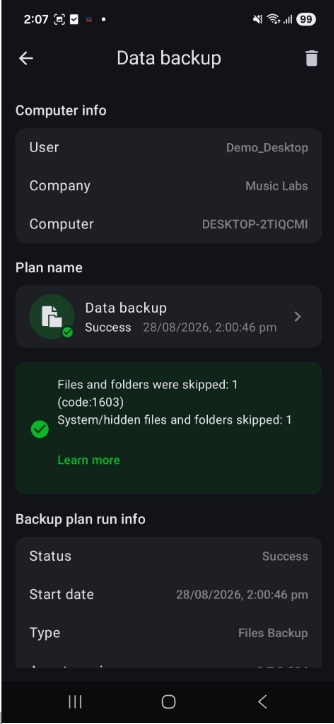
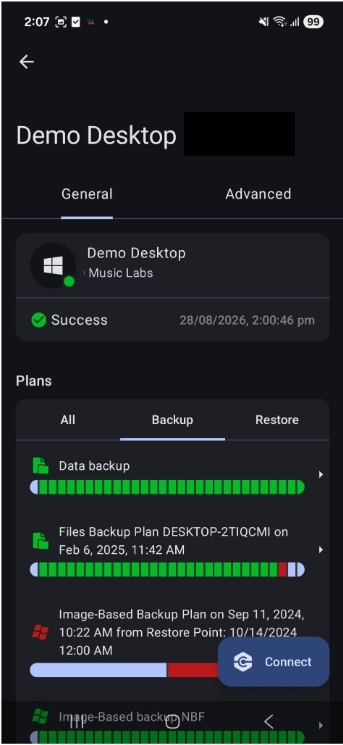
You can view the computer's backup and restore history (failed and successful plans are displayed with different colors). To view the plan details, tap it: the expanded page contains comprehensive information on the plan.
For example, the detailed plan information on file backup contains the following data:
- Plan status
- Plan type
- Storage account
- Last run
- Plan duration
- Last result (success, error message, or warning)
- Number of files backed up
- Number of failed files
- Number of copied files
- Copied size
- Backup size
- Total size
- Date and time of the next plan start
Create Remote Desktop Connections to Computers
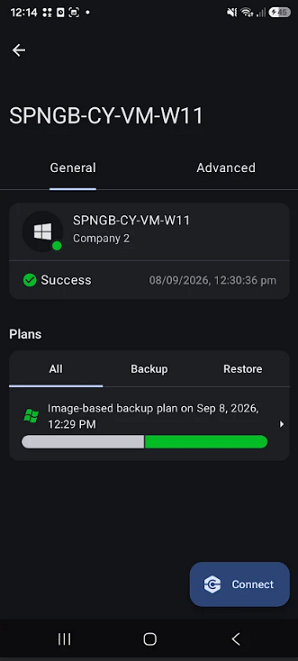
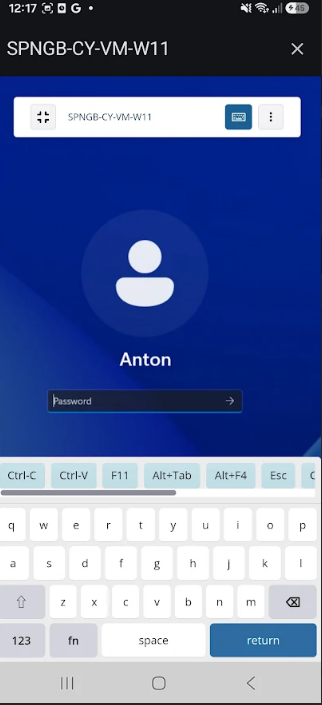
To manage computers and their backup/restore routines, tap the computer icon in the application. Users' computers are grouped by company. Find the required company in the list, then find the computer to view and manage. To create a remote desktop connection to computer. This feature requires any backup license, Connect, or RMM + Connect license assigned to the computer.
- Click the Connect button on the bottom.
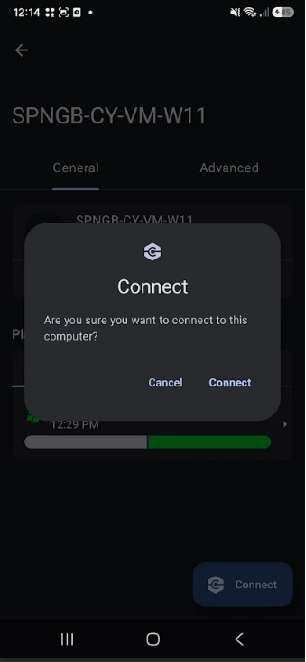
- Confirm the connection.
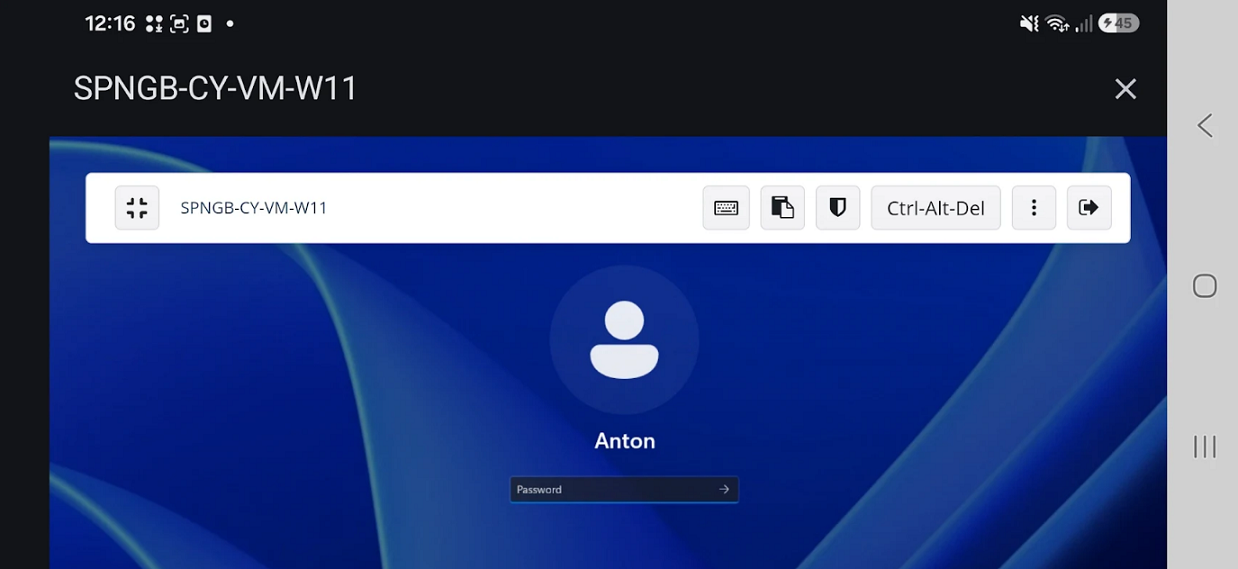
- Provide credentials to open the session.
- From session menu you can:
- Paste Windows password
- Control remote screen and input
- Toggle full screen mode
- Disconnect the session.
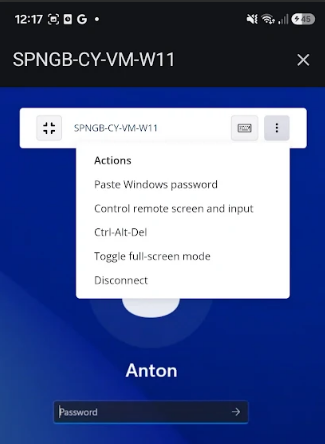
For the full list of session options, refer to the In-Session Options article.
- You can also use Use CTRL+ Alt+Delete to access the following menu:
- Lock. Stops others from accessing a computer until the user signs back in.
- Switch User. Enables another user to use the computer without closing all applications and windows of the current user. These remain open in a suspended state -not visible to the new user -for when they switch back to the previous user.
- Sign Out. Signs the user out of their account; closes all application windows.
- Change Password. Enables the user to change the password when using an offline account on their PC. Forgotten passwords cannot be reset here, however, as the user must know the current one to change it.
- Task Manager. Brings up the Task Manager Windows tool for managing running applications, processes, and services.
- Other keyboard shortcuts are available to simplify session management.
Manage Plans
With MSP360 Control, you can Management the backup/restore plan on the user's computer at any time. Find the required computer in the list,tap it to open the computer page, then find the required plan in the list. You can see the plan details and tap the play icon to run it.
The plan results appear in the Notifications section once the plan is completed.
View Computer State
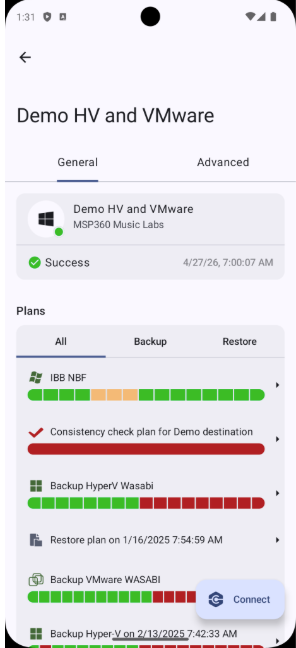
You can check the health of the computer. To do this, find the required computer, tap it, then tap the Advanced tab.
| Top |
Manage 2FA Actions
If you use the MSP360 Control application for 2FA purposes, notifications about events in Managed Backup will appear on the screen of the device on which the application is installed. To confirm or reject the action, unlock the device.
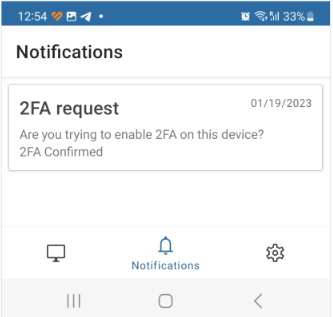
Open MSP360 Control, tap the bell icon, find the required notification, then select whether to approve the action or reject it.
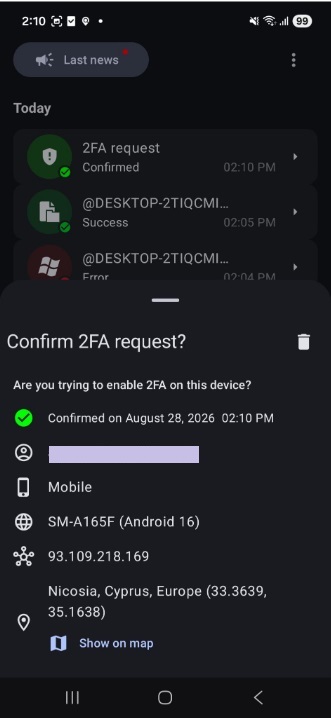
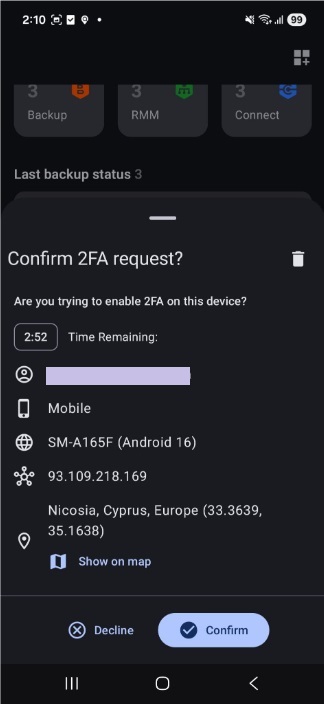
As you confirm the action, the mobile application sends a confirmation to the Management Console, and the action is allowed for execution. If no confirmation arrives, the rejection message is sent to the Management Console and is written to the Audit Log.
| Top |
Add New 2FA Device
You can have several devices in the device list for notification purposes (for 2FA confirmations, only one device is allowed). To do this, proceed as follows:
- Open the Management Console.
- In the Settings menu, select General.
- In the right pane, find the device list. As you enable 2FA for the first time, it is empty.
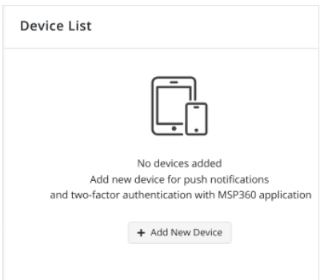
- Click Add New Device.
- Proceed with adding your device with the installed MSP Control as described in the Add New Device dialog.
- Open MSP360 Control, proceed with automatic authentication, or scan the QR code.
- Confirm the action with the device you use for 2FA confirmations.
If you use more than one device for 2FA purposes, refer to the Manage Devices chapter.
| Top |
Application Settings
Configure the application settings. To do this, proceed as follows:
- Open MSP360 Control.
- Tap the gear icon.
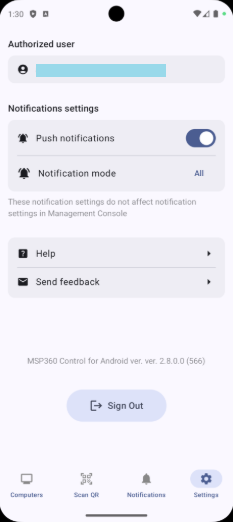
- Configure the application settings:
- Notification mode: Specify the categories of notifications you want to receive. (2FA confirmation requests are sent regardless of this setting.)
- Help: Access the product documentation.
- Send feedback: Report an issue or submit an inquiry by email. Application logs are automatically attached to assist with troubleshooting.
Hide MSP360 Control App Suggestions
To hide MSP360 Control app suggestions for all selected administrators:
- Navigate to Organization > Administrators.
- Click the administrative account you want to edit. The side panel opens.
- On the Permissions tab, clear the following permission in the Miscellaneous area:
| Permission | Description |
|---|---|
| Show MSP360 Control mobile application | Allows MSP360 Control app suggestions in 2FA dialogs and advertisements |
- Save the settings.
| Top |
| Top |