Configure Email Notifications with Amazon SES
Managed Backup allows you to configure email notifications using the Amazon Simple Email Service if you have an Amazon AWS account. This service may be useful when you need to send big amount of email messages simultaneously, view email sending statistics, etc. To manage notifications, the Reporting > Notifications permission should be granted as the administrator permission on Organization > Administrators.
SES-configured AWS account needs to be added to the Management Console even if you do not use Amazon S3 as your backup storage provider.
To estimate your expenses using Amazon SES, refer to the Amazon SES pricing chapter at aws.amazon.com
Note that with the Amazon SES selected, in order to return using the MSP360 email service you need to address to MSP360 technical support team for assistance
Select Amazon SES as Email Service
To start using Amazon SES for user notifications, select Amazon SES as an email service. To do this, proceed as follows:
- Open the Management Console.
- In the Settings menu, select Email Service.
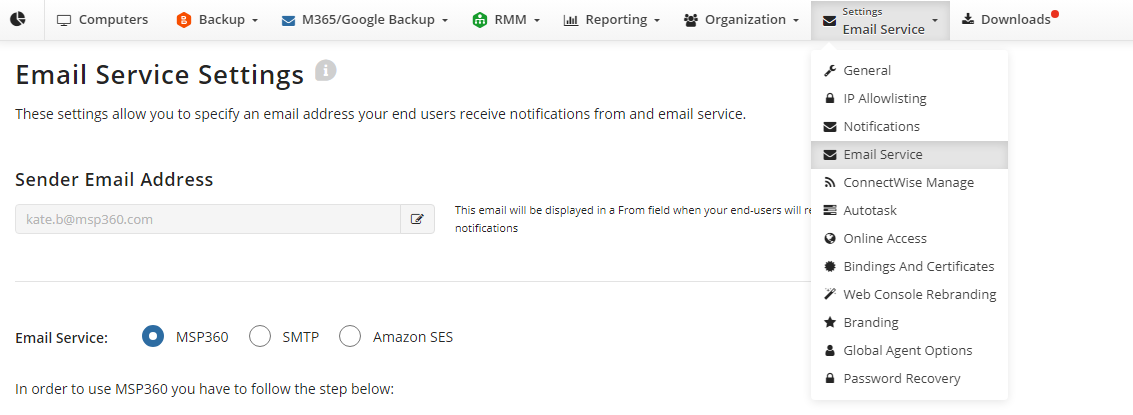
- Select Amazon SES.
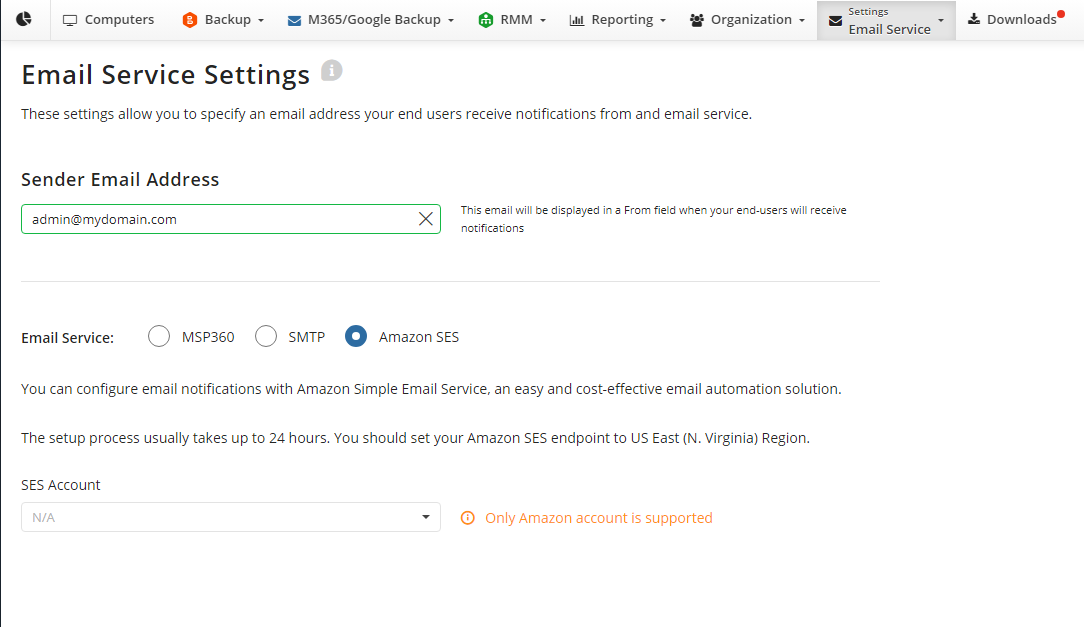
Select SES configured AWS account that was added to the Management Console.
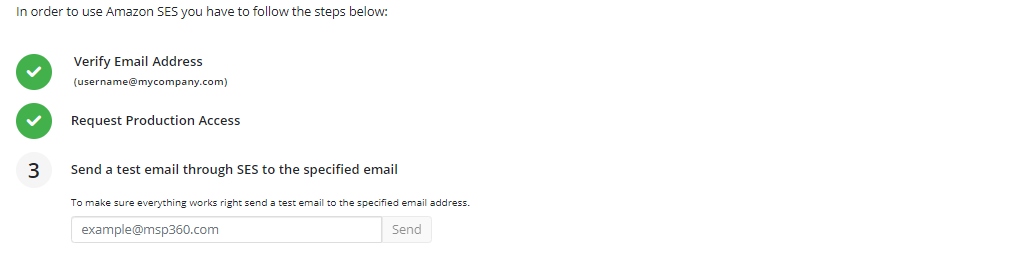
Proceed with the steps provided for the Amazon SES email service:
- Verify your email. Click Verify Email, then wait until your email address is verified
- Request production access. Once your email address is verified, your SES account is put into a sandbox. While your Amazon SES account is in the sandbox, several restrictions are applied:
- You can only send mail to verified email addresses and domains, or the Amazon SES mailbox simulator
- You can only send mail from verified email addresses and domains
- You can send a maximum of 200 messages per 24-hour period
- You can send a maximum of 1 message per second
Read the instructions in the Actions in AWS Console paragraph.
To request that your account be removed from the Amazon SES sandbox using the AWS Management Console, proceed with the instructions given in the Moving out of the Amazon SES sandbox chapter at docs.aws.amazon.com
- Send a test email through SES to the specified email.
- Once you are done, click Save Changes.
Prepare Email Service in AWS Console
Verify Your Email Address
Note: SES notifications for the "N.Virginia" region are supported. Make sure to choose "US East (N.Virginia)" in your Amazon AWS console
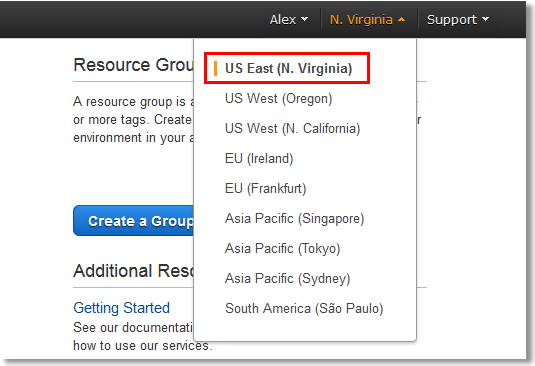
- Open your AWS Console.
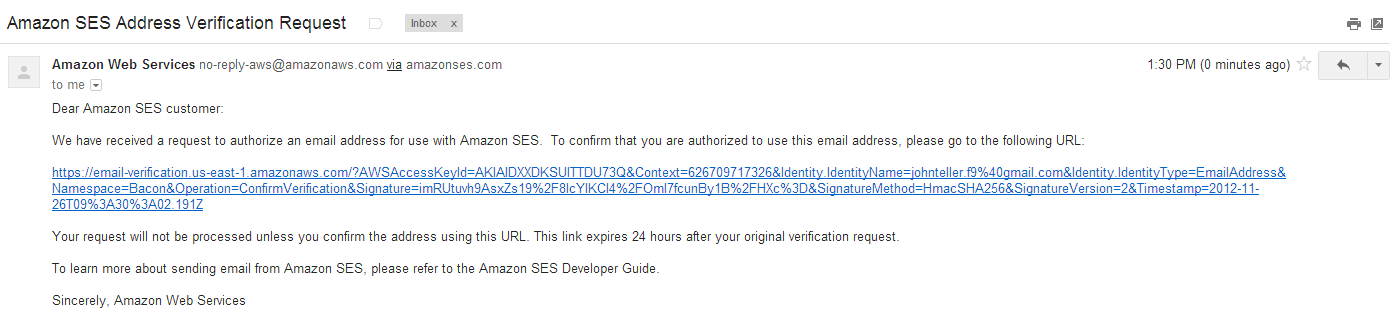
- Check your mailbox. To the email address you specified, a message with the link to the confirmation page must arrive Follow this link to finish the verification process.
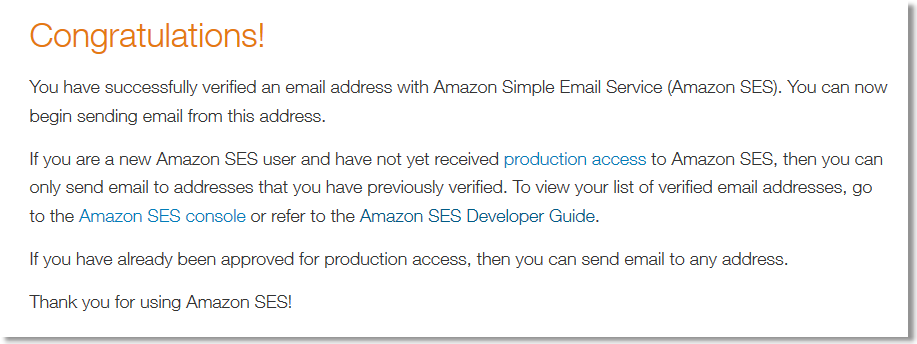
- Once your email address is verified, the following notification message appears.
Production Access
Obtain production access. To do this, click the Request Production Access link.
- Submit a new support case. In the case submission form, click Service Limit Increase, then select SES Sending Limits as the limit type.
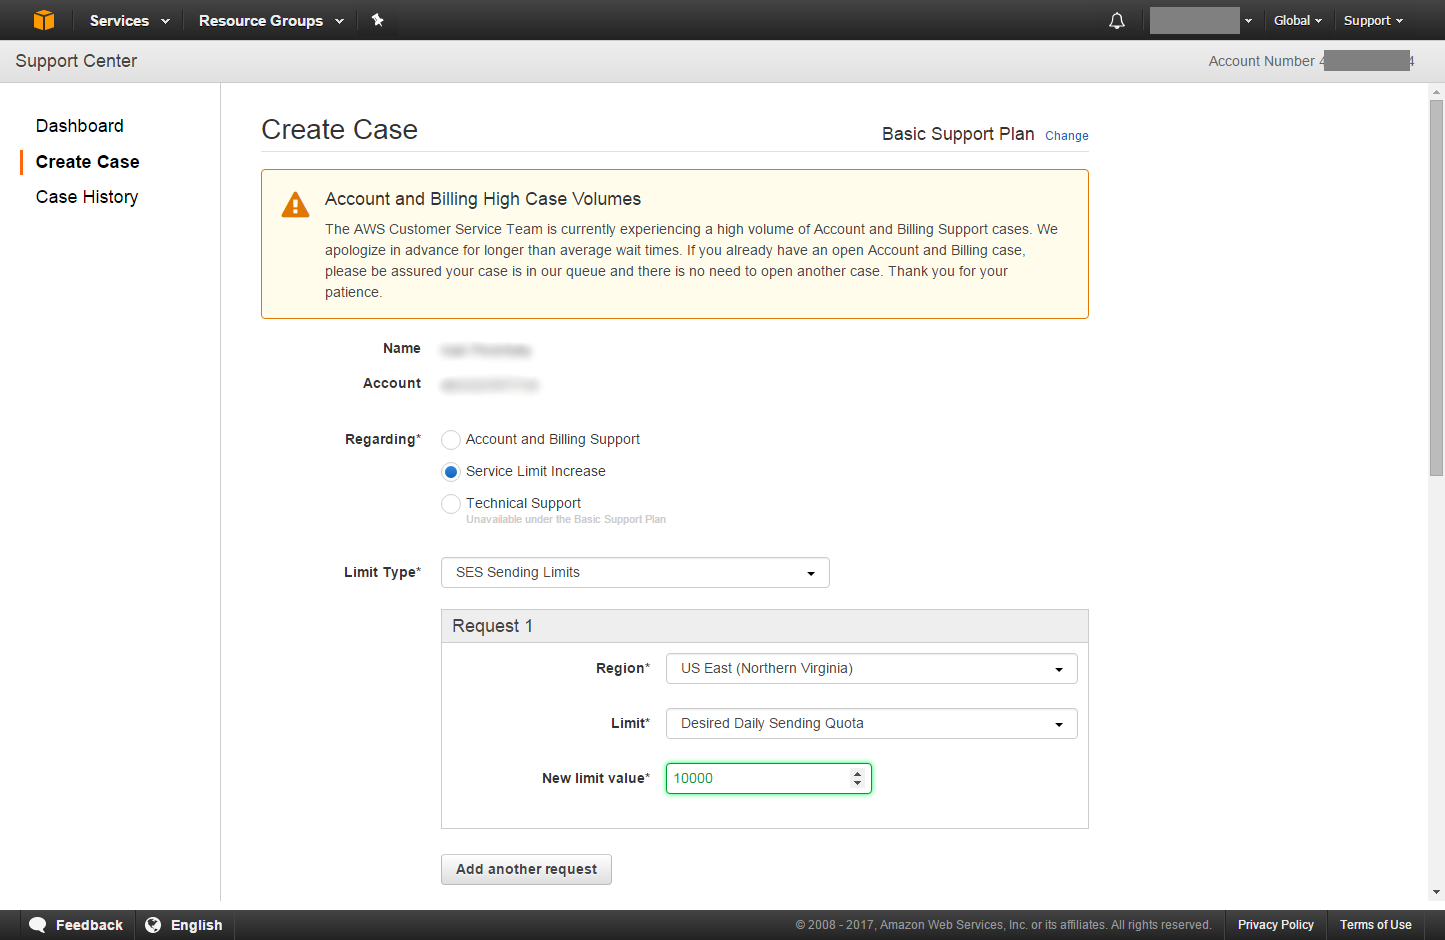
- In the Request1 section, specify the following information:
- Region: Specify US East (Northern Virginia).
- Limit: Specify one of the two options below:
- Desired Daily Sending Quota. The maximum number of emails that you can send within 24 hours
- Desired Maximum Send Rate. The maximum number of emails that Amazon SES can accept from your account per second
- New limit value: Enter the required limit.
- Scroll down to complete the second part of the case form.
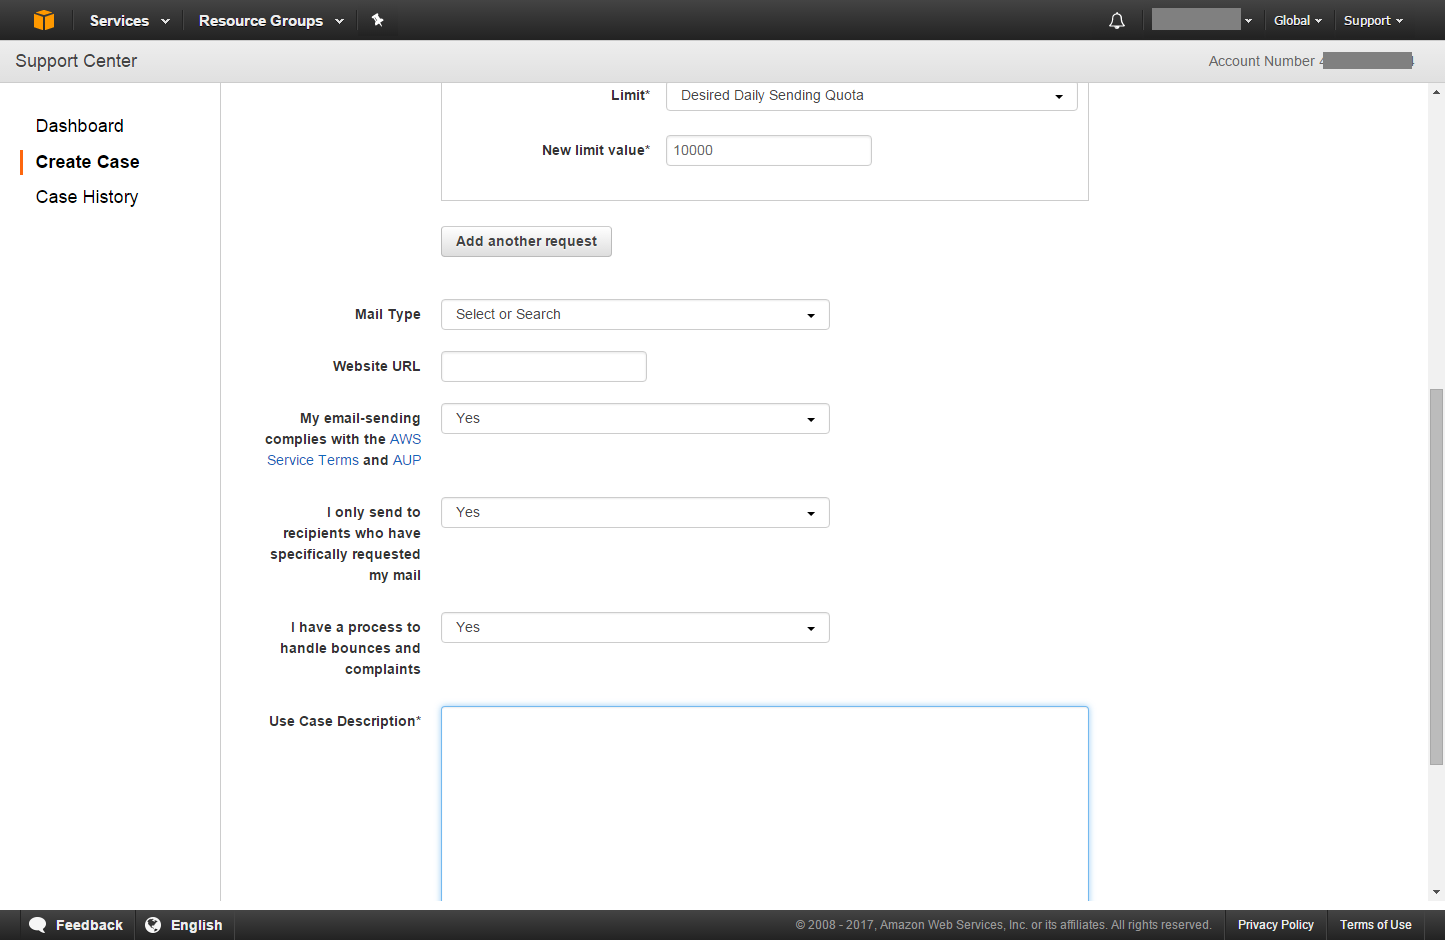
Mandatory fields:
- My email-sending complies with the AWS Service Terms and AUP. Select Yes. Otherwise, the request will be rejected by AWS.
- I only send to recipients who have specifically requested my mail. Select Yes. Otherwise, the request will be rejected by AWS.
- I have a process to handle bounces and complaints. Select Yes. Otherwise, the request will be rejected by AWS.
- Use Case Description: In this field, explain your situation in as much detail as possible. For example, describe the type of emails you are sending and how email-sending fits into your business. The more information you provide in this field, the more likely the Amazon support team approves your request.
- Support Language: choose your preferred correspondence language for this case.
- Contact method: Select Web option to get emails from Amazon support.
The rest of the fields are optional.
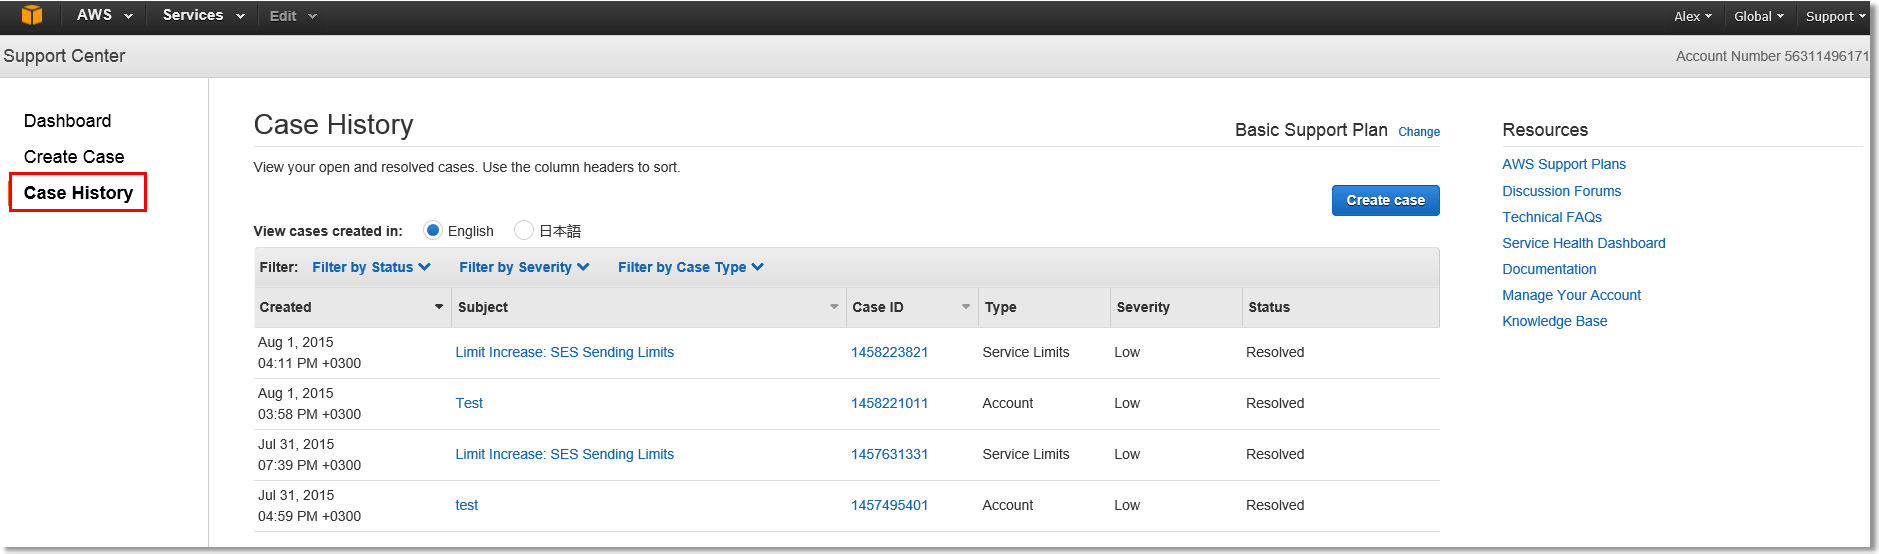
- Once you are done, wait for a reply from the Amazon support team to get the limit increased. Meanwhile, you can review all your cases in the Case History section of the Support Center.