Restore as a Virtual Disk in Backup Agent
Managed Backup supports restore of Hyper-V machine as a virtual disk.
- Hyper-V server on Windows Server 2012 or higher
Step 1
After launching the Backup Agent, you can run the Restore Wizard by clicking on Restore on the Home tab of the horizontal menu.

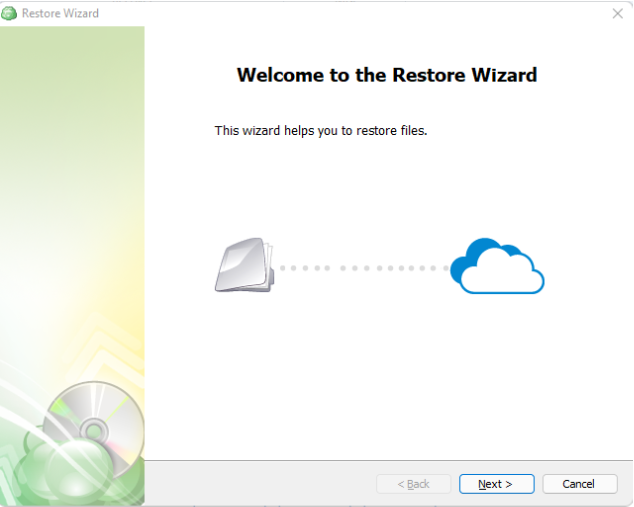
Step 2
Click on Next to advance past the welcome screen for the wizard
Step 3
The next step will prompt you to select the source for the restore.
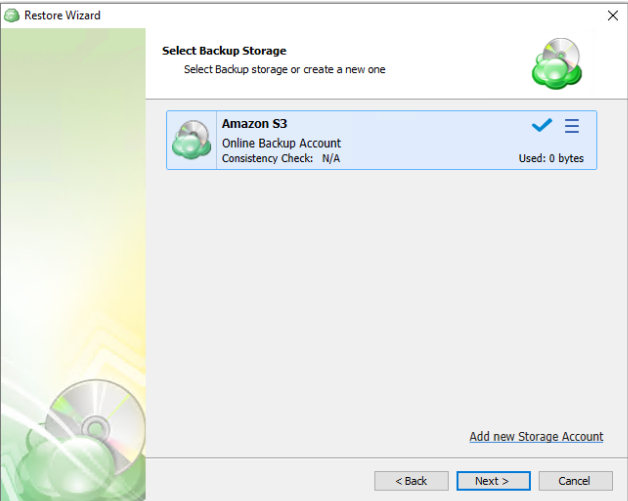
If the desired source is not in the list, you can click Add new Storage Account to add it.
- The backup storage is the one that contains the backup data
- The required backup prefix is set for the storage account
If necessary, switch the backup prefix.
Step 4
Once the source has been selected, the next screen allows you to choose between running the plan a single time or saving it for later use.
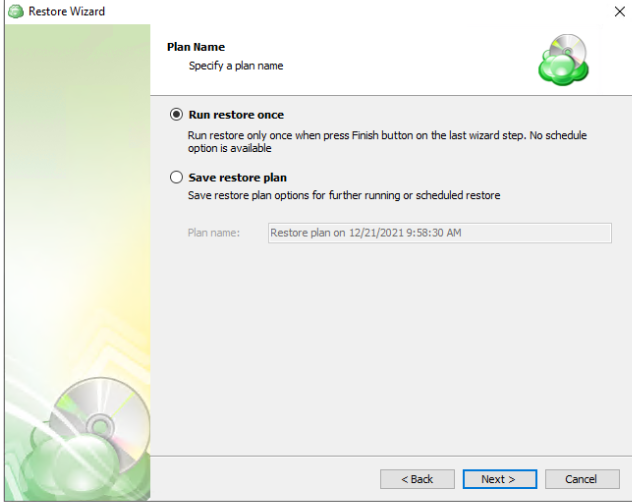
Run restore once will execute the restore immediately upon completing the wizard. There is no option to schedule this type of restore
Save restore plan will allow you to schedule the plan to run at a later time and also schedule repeating restorations if needed
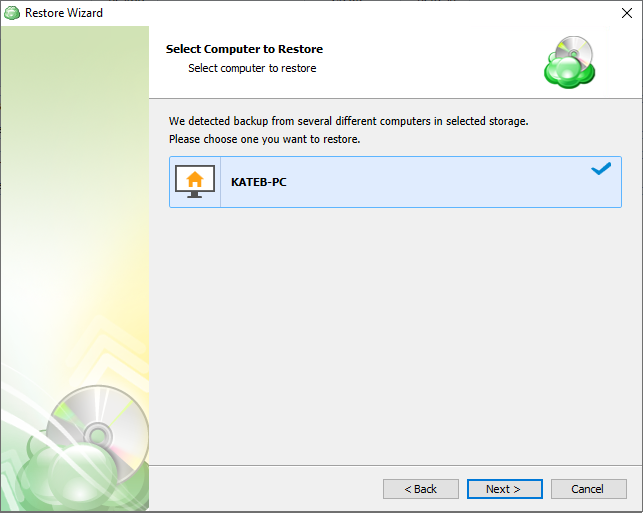
Step 5
With the type of restore selected, the next step is to select the correct Host server which the VM resides on.
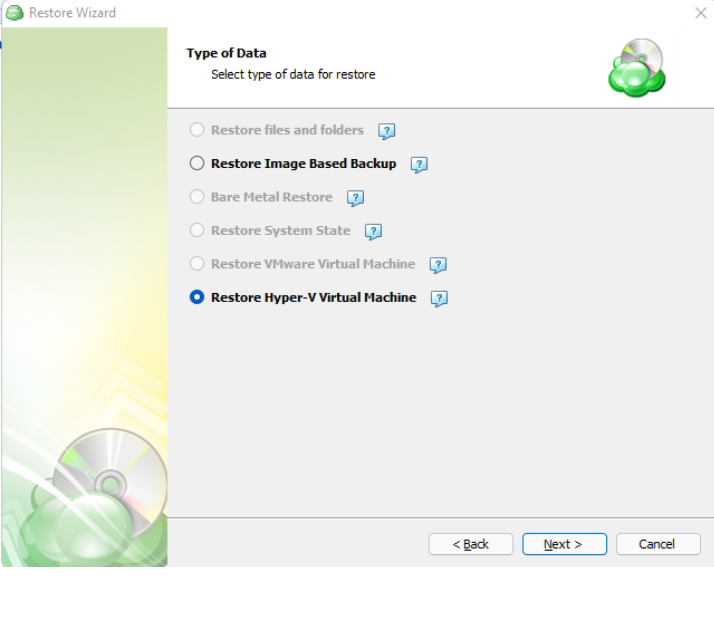
Step 6
Next, you will be presented with a list of available backup types for the selected host. Select the Restore Hyper-V Virtual Machine option to continue.
Step 7
With the correct type of restore selected, the application will generate a list of available backup plans to restore from.

Step 8
Next you will be given a choice for what point in time you would like to restore the VM to.
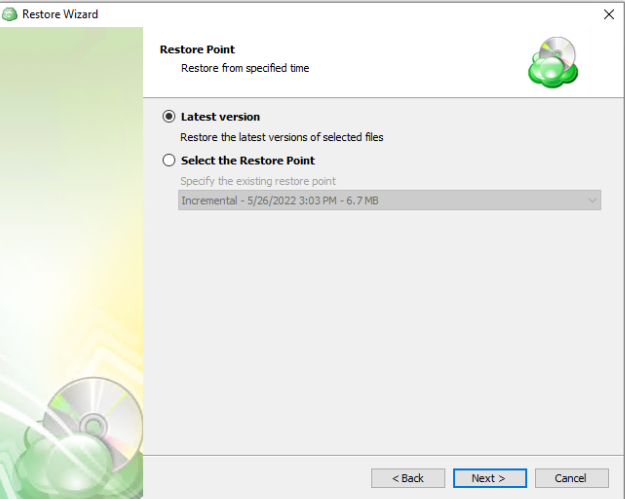
- Latest Version: Automatically restores the newest version of each file in the source regardless of which restore point it belongs to.
- Select the Restore Point: Restores the files as they existed at the specified restore point.
If there is no exact match for the point in time selected, the application will automatically select the closest previous restore point
Step 9
Next, you will be able to expand the list of VM backups on the selected host and choose which to restore.

Step 10
After selecting the files or folders to restore, you are able to select the restore type. In this example we perform restore as a virtual disk.
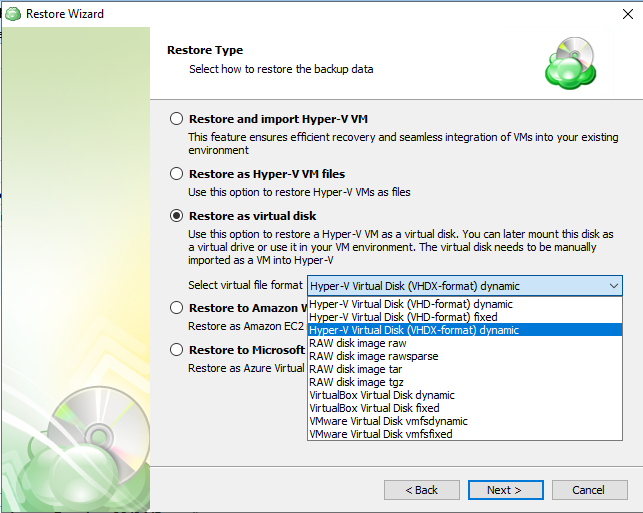
Restore and import Hyper-V machine: Selecting this option restores the virtual machine configuration as well as the virtual disks as files. Use this option to have the VM automatically imported to the hypervisor.
Restore as Hyper-V VM files:. Use this option to restore Hyper-V VMs as files.
Restore as virtual disk: Restores the virtual disks in the backup as a file which can later be mounted to a VM. No configuration files are included. Several formats are available:
Restore to Amazon Web Services: If enabled, this will restore the selected VM directly to AWS Cloud either as an EC2 instance, EBS volume, or AMI.
Restore to Microsoft Azure: This will restore the VM directly to Azure as either an Azure Virtual Machine or Azure Data disk.
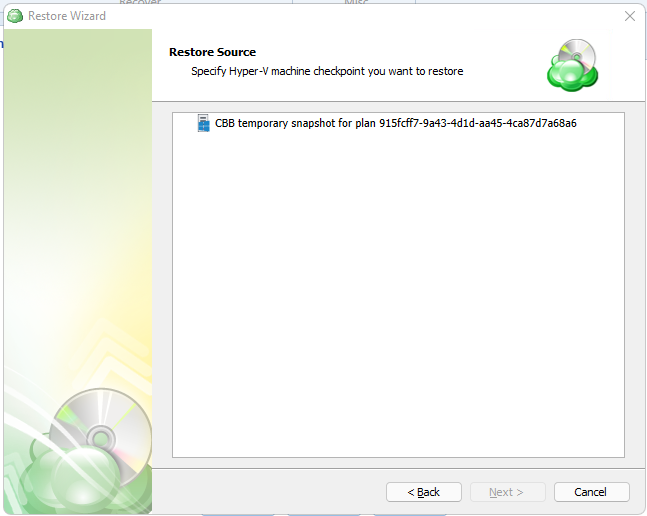
Step 11
Next you will need to determine which available checkpoint to restore for the virtual disk..
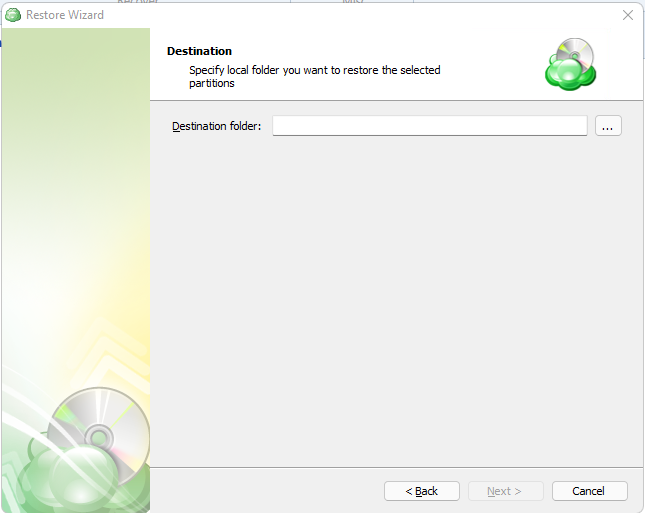
Step 12
The next step is to choose a destination for the restored virtual disk.
Step 13
After selecting the destination and any associated options, you will be prompted to provide the password to decrypt the VM backup data, if encrypted

Step 14
(Optional) If you restore data from the S3 Glacier Flexible Retrieval or Glacier Deep Archive storage classes, specify Smart Restore options.
Step 15
If Save restore plan was selected at the start of the wizard then the next step is to set the schedule for the restore plan. Otherwise this step will be omitted.
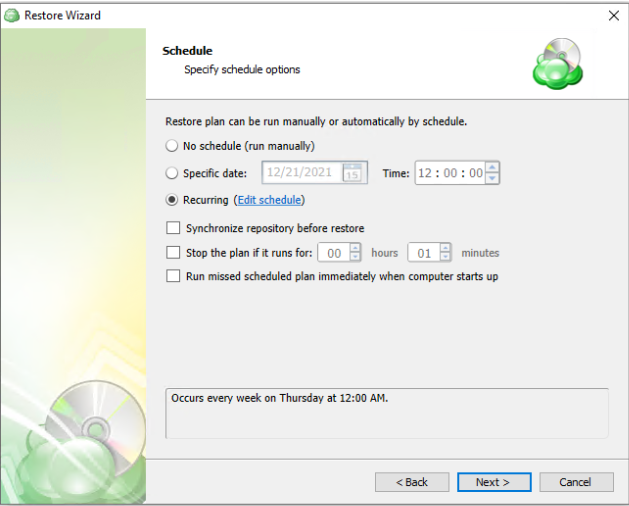
- No schedule (run manually): Use this option only when you wish to execute the Restore manually.
- Specific date: Use this to schedule a one-time Restore at the specified date and time.
- Recurring: Using this option enables you to schedule recurring Restorations based on the criteria in the fields below.
- Synchronize repository before run: Enable this option to ensure the file tree reflects the latest modifications made to your storage. It is a good practice to use it when you restore to a different computer
Do not use the Stop the plan if it runs for: option if you have a slow or unstable internet connection
Enabling the Run missed scheduled restore immediately when computer starts up option will ensure that the restore plan will begin automatically after the computer starts up if it was unable to run at the scheduled time. This is only recommended for desktops and laptops. For servers, it is recommended that you run the restore plan manually when all maintenance works are completed to avoid adversely affecting server performance and internet bandwidth during working hours
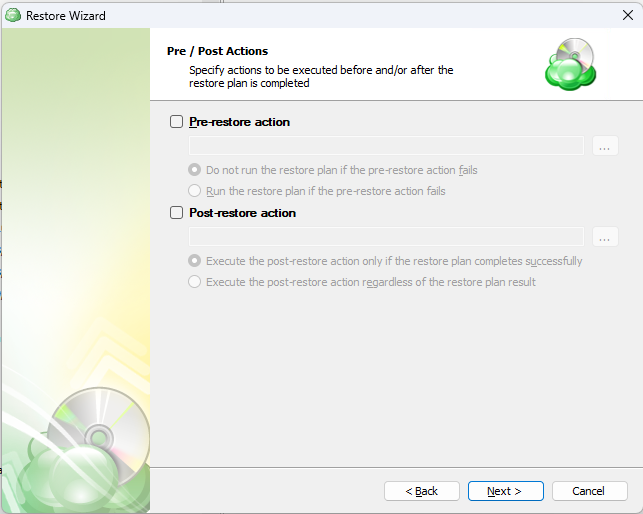
Step 16
The next step is to set any custom scripts which should execute before and/or after the restore plan runs.
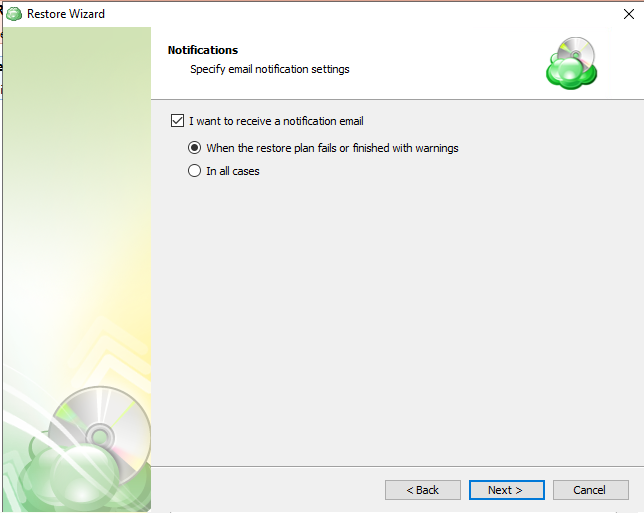
Step 17
Specify the notifications options, then click Next.
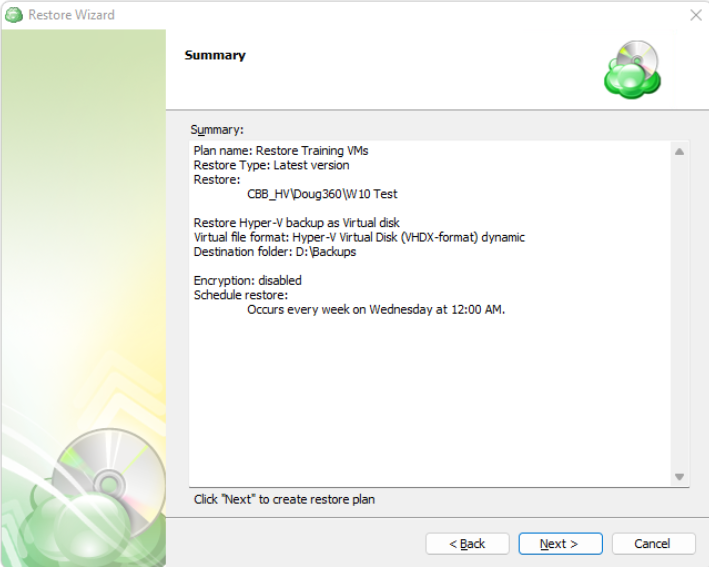
Step 18
The next step of the wizard displays a summary of the selections made throughout the process. Once you have reviewed your selections, click “Next”.
You can see the saved plan on the Restore Plans tab. If Run restore once was selected at the beginning of the wizard, the plan will immediately execute once you click Next.