Products: Managed Backup (Agent), Managed Backup (Web)
Article ID: m0268Last Modified: 12-Nov-2024
Branding Settings
Once you start working with branding, you always have a base branding. This is the default layout of the Backup Agent with the minimum settings available for editing.
Base Branding
To view and edit the Base Branding settings, proceed as follows:
- Open the Management Console
- In the Settings menu, select Branding

- Click Base Branding
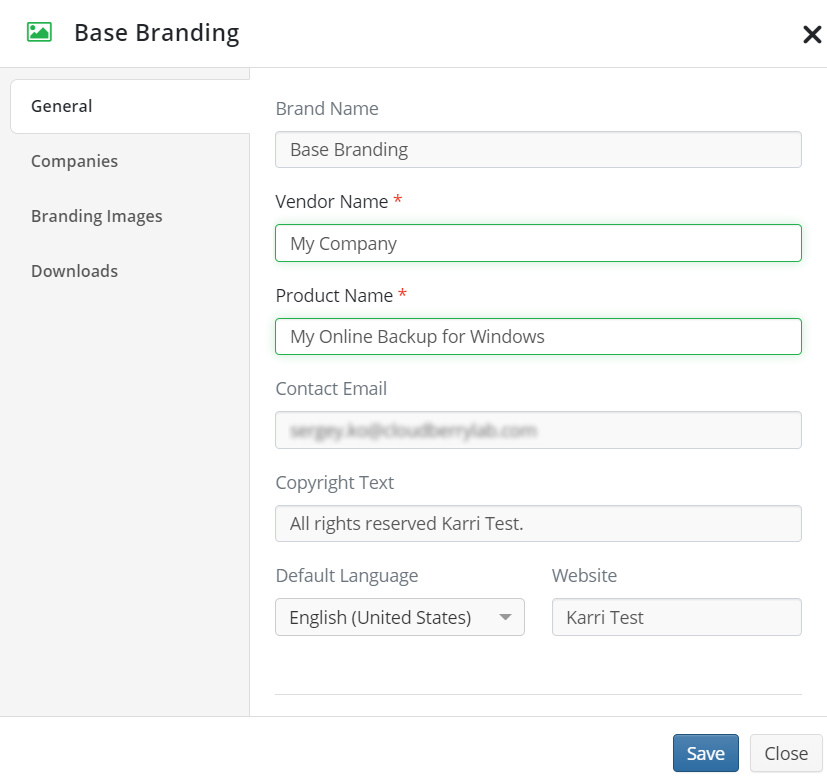
The following fields are available for editing:
- Vendor Name. The MSP provider name
- Product Name. The name that is used for Backup Agent (for example, MyCompany Backup Service)
- Once you are done with editing, click Save
Basic branding applies to all computers that do not have custom branding applied to them. In case the license for custom branding expires, the base branding will be applied instead the custom one
Learn more about Branding feature in the Rebranding chapter
Create Branding
To create your own branding, proceed as follows:
- Open the Management Console
- In the Settings menu, select Branding
- Click Create Branding
- On the General tab specify your branding name, vendor name, product name, and the copyright text. Set the default language and, optionally, add your website, if any.
- On the Companies tab select companies you want the created branding to be applied to. You can select the Apply to all companies option to create a default branding. Default branding will be used for all your companies. Only one default branding is allowed. In case you want this branding to be applied to specific companies only, click the Apply to specific companies option, then select the companies this branding will be applied to.
- On the Branding Images tab you can add your corporate identity images to replace the default images.
- On the Downloads tab you can add branding to downloads. This feature requires licensing.
- Once you are done with editing, click Save
Learn more about Branding feature in the Rebranding chapter