General Settings for Management Console
This chapter describes the available general Management Console settings. For specific settings, refer to the following chapters:
- IP Allowlisting
- Notifications
- Email Service
- ConnectWise Manage
- Autotask
- Online Access
- Binding And Certificates
- Web Console Rebranding
- Branding
- Global Agent Options
- Password Recovery
To manage general settings, proceed as follows:
- Open the Management Console.
- On the Settings menu, select General.
- Select the area for the settings you want to change:
Personal Info
If you want to manage your personal data and settings, contact email, change expired password, and enable/disable the expired license replacement, proceed as follows:
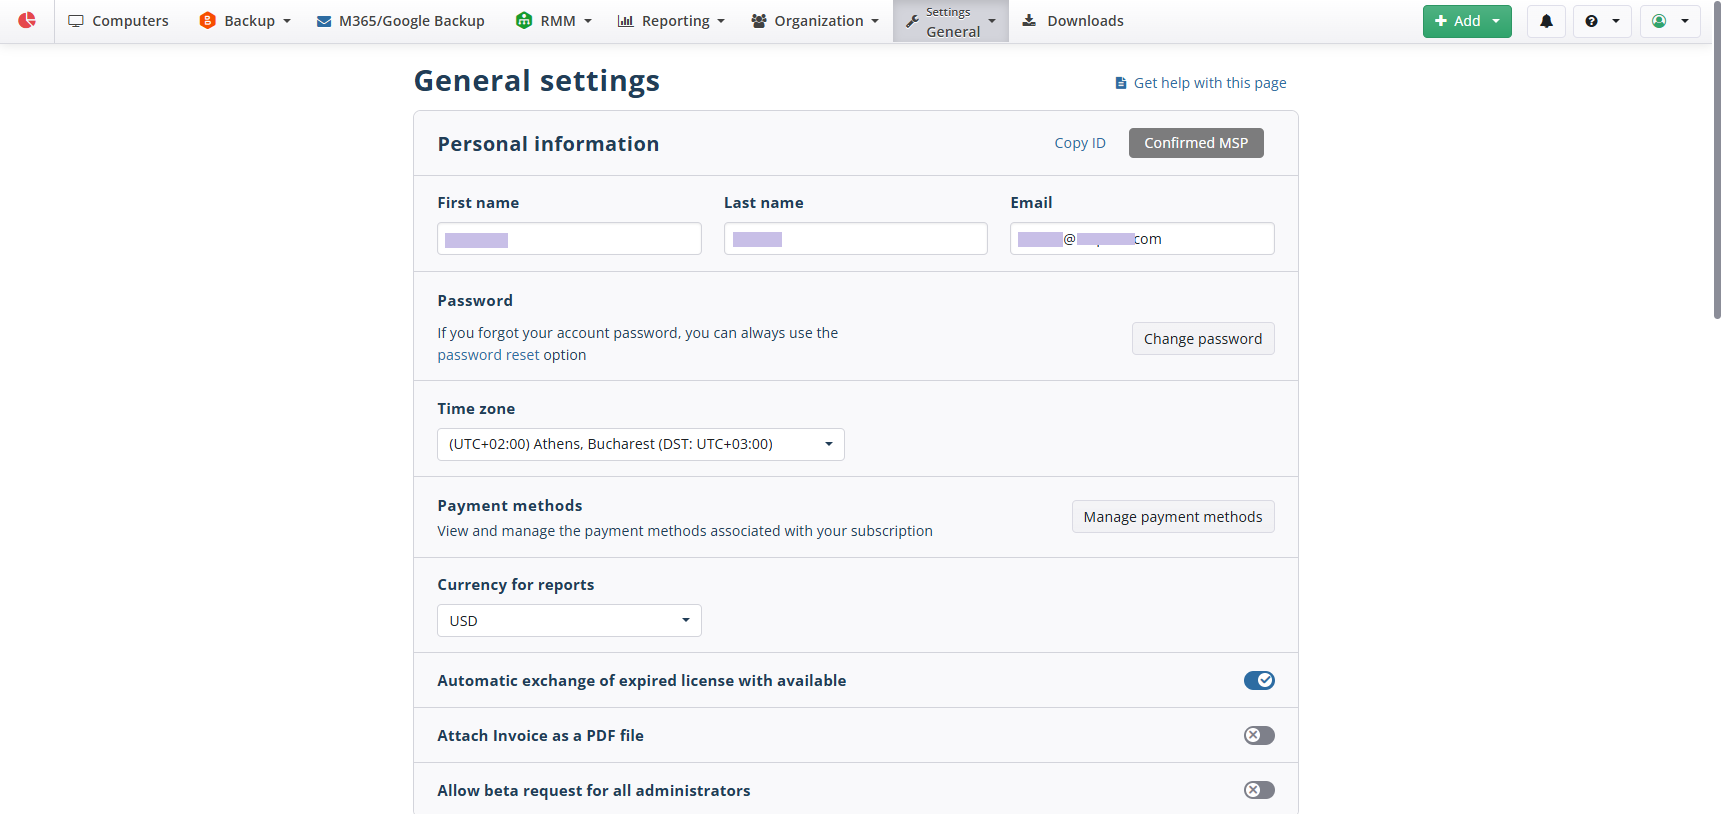
- In the First Name and the Last Name fields, enter your data.
- To edit the contact email address, click the icon to the right of the Email field.
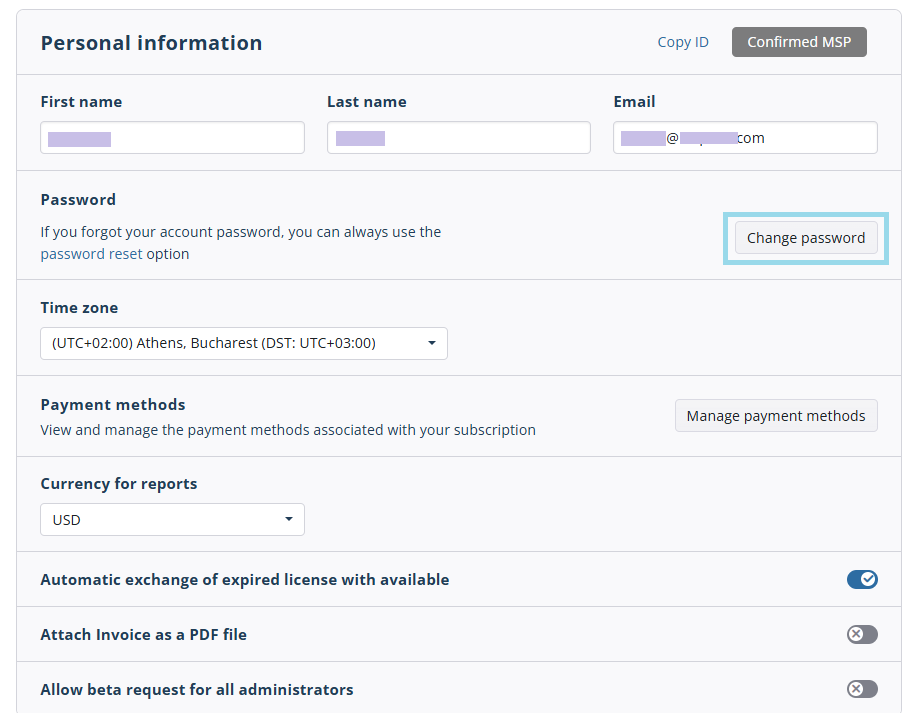
- If you need to change the password to access the Management Console, click Change password.
- Specify the correct time zone. To do this, select the required zone from the drop-down list. You can verify your system time on The World Clock site.
- View and manage the payment method associated with your subscription. Click Manage payment methods to view the current payment method or to change it, if necessary.
- Set the required currency for your bills, reports, and Management Console GUI. To do this select the required currency in the Currency Sign drop-down list.
- Configure how to handle your expired license with Automatic exchange of expired license with available option. Turn selector on to change your expired license to available valid license.
- Specify whether a PDF of the invoice will be attached to the payment confirmation from MSP360. Upon processing your payment, MSP360 will send a payment confirmation email. This email will include a PDF attachment of the invoice for your records.
- Allow beta requests for all administrators, if needed. Your administrators can request beta versions of Backup Agents for testing purposes.
- Once you are done, click Save to the bottom of the page.
Security
This section contains security settings.
If you want to enable/disable the Two-Factor Authentication (2FA), proceed as follows:
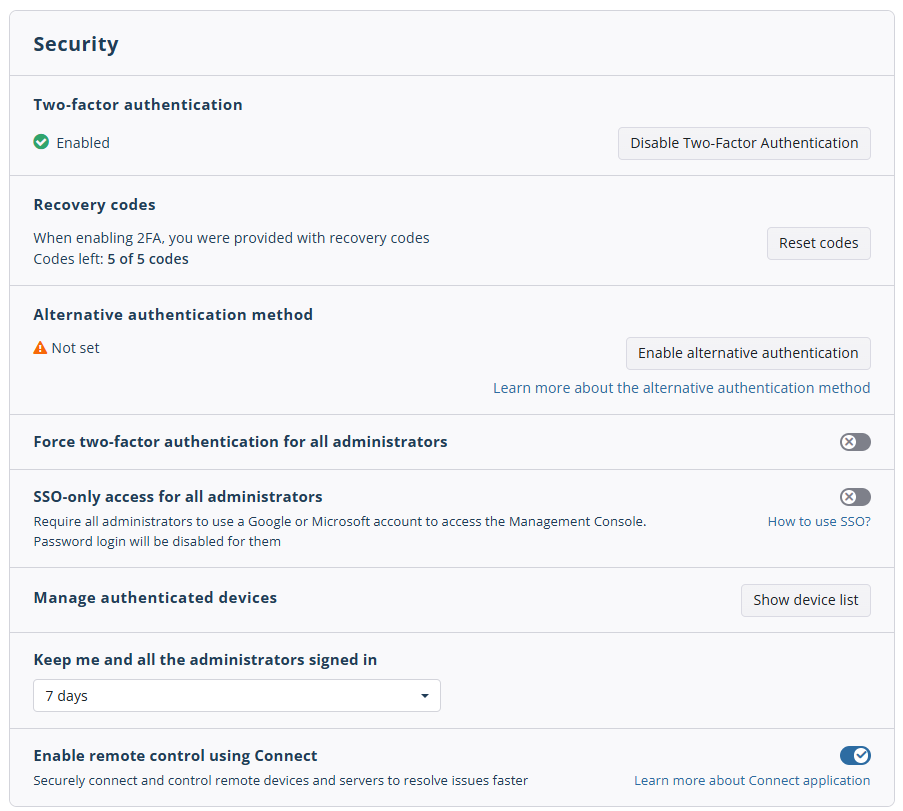
- To enable or disable the Two-Factor Authentication, click the Enable Two-Factor Authentication button as described in Enable 2FA chapter.
To learn more about the Two-Factor Authentication, refer to the Two-Factor Authentication chapter
- To force your administrators to use the Two-Factor Authentication, turn on Force Two-Factor Authentication for all administrators selector.
- To force all your administrators to use a Google or Microsoft account to access the Management Console, turn on SSO-only access for all administrators. Password login will be disabled for them
- You can manage your devices used for authentication purposes. Click Show device list to access your devices.
- You can temporarily suppress 2FA for login with Keep me and all the administrators signed in option. All actions that require 2FA confirmation will not be affected.
- To enable or disable the remote access to all computers with Connect (formerly Remote Desktop), select the Enable Remote Control Using Connect selector, read the caution, click I understand security risks, then click Enable Connect.
Once you are done, click Save at the bottom of the page.
Additional Emails
You can flexibly configure which emails should be used to send various notifications to:

- To edit email addresses, click the appropriate icons to the right of the email fields.
- Product Notifications. This email address is used for notifications and other updates. Scheduled reports will be sent to this email address.
- Support and Troubleshooting. This email address is used for technical assistance
- Payments. Billing. Licenses. This email address is used for notifications about payments, licenses and other financial mails
- Once you are done, click Save at the bottom of the page.
Branding
MSP360 Managed Backup Service provides flexible customization and Branding options for your backup agents. This allows you to provide an easy-to-use and efficient cloud backup solution under your own brand.
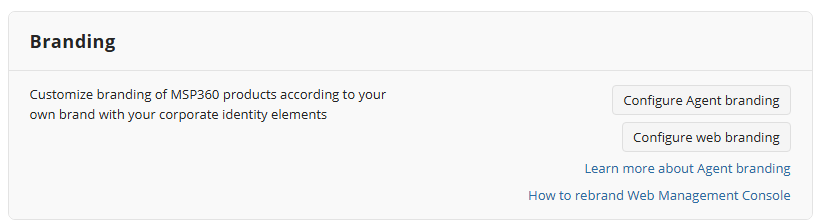
- To navigate to Web Console (Management Console) rebranding, click Configure Web Branding.
- To navigate to Online Agent rebranding, click Configure Agent Branding.
To modify your company name (do not confuse with your customer companies in the Organization section) and product name, go to the Branding section.
Once you are done, click Save at the bottom of the page.
API
If you need to use the Managed Backup API or PowerShell Module, generate/edit the credentials to access API, or access API documentation.
Prerequisites
- Windows operating system with Windows PowerShell 3.0 or higher
- Administrator privileges
- Provider or Administrator (All Companies) access to Managed Backup
- In API area click Add Credentials if API Credentials are not yet generated and Change Credentials if the previous creds were lost.

If you change existing API credentials, old ones expire automatically. Note that changed API Credentials should also be used for Managed Backup API

- Generate new API credentials and copy them. We will need them for the PowerShell script or Managed Backup API later.
If you need to use the RMM API, generate/edit the tokens to use RMM API. Refer to the Get Started with RMM API article for details
Prerequisites
- Windows operating system with Windows PowerShell 3.0 or higher
- Administrator privileges
- RMM + Connect license
Appearance
A dark UI theme is now available and can be enabled. By default the light theme is used.

Once you are done, click Save at the bottom of the page.