Products: Managed Backup (Web)
Article ID: m0768Last Modified: 08-Apr-2026
RMM Tickets
To configure how the tickets for RMM Agent will be created and managed, perform the following:
- Open the Management Console.
- In the Settings menu, select HaloPSA.
- On the RMM tickets tab, select general settings for RMM Agent tickets. RMM tickets can be created, if a creating ticket post-action is selected in RMM alert profile settings.
- Specify statuses for created or closed RMM tickets.
- Save the settings.
General Settings
The options you can select for RMM tickets are loaded from HaloPSA. If you cannot see any options, first create them in HaloPSA.
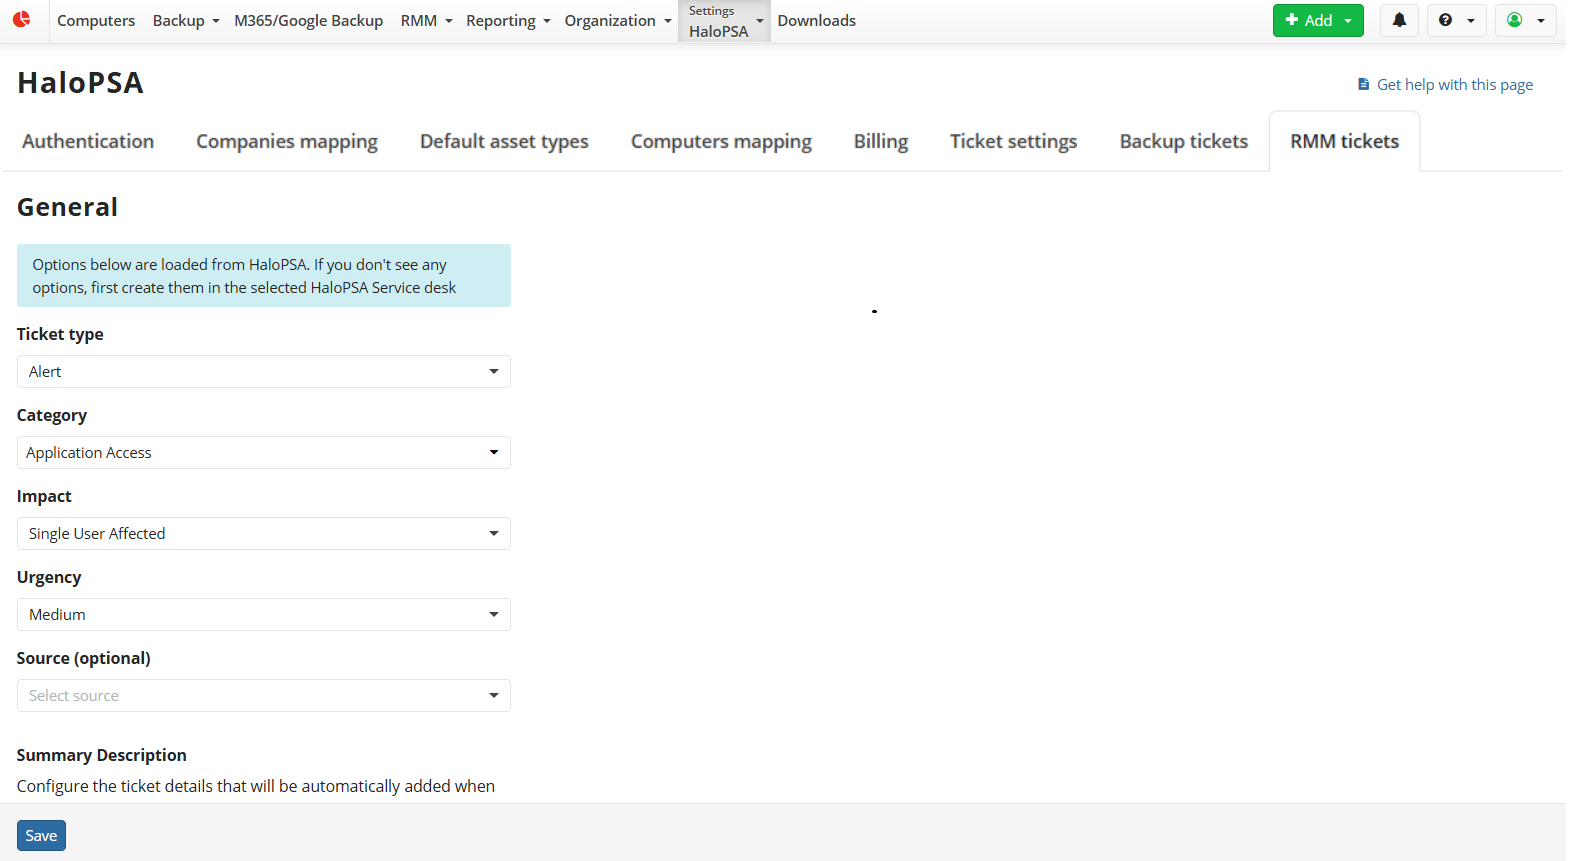
- Select a service board on which the RMM tickets will appear.
- Select type, subtype and item parameters for the RMM tickets in HaloPSA.
- Specify the summary title for the ticket that will be created each time when the alert is generated. The summary must not exceed 100 characters. Excessive characters are truncated. This is a HaloPSA restriction. Use macros to add the values of the specified variables:
- %ALERT_DATE%
- %PRODUCT_VERSION%
- %PROVIDER%
- %COMPANY%
- %COMPUTER_NAME%
- %DISPLAY_NAME%
- %STATUS%
- %ALERT_TYPE%
- %MESSAGE%
- %FULL%
RMM Ticket Settings
Select how the RMM tickets will be marked.
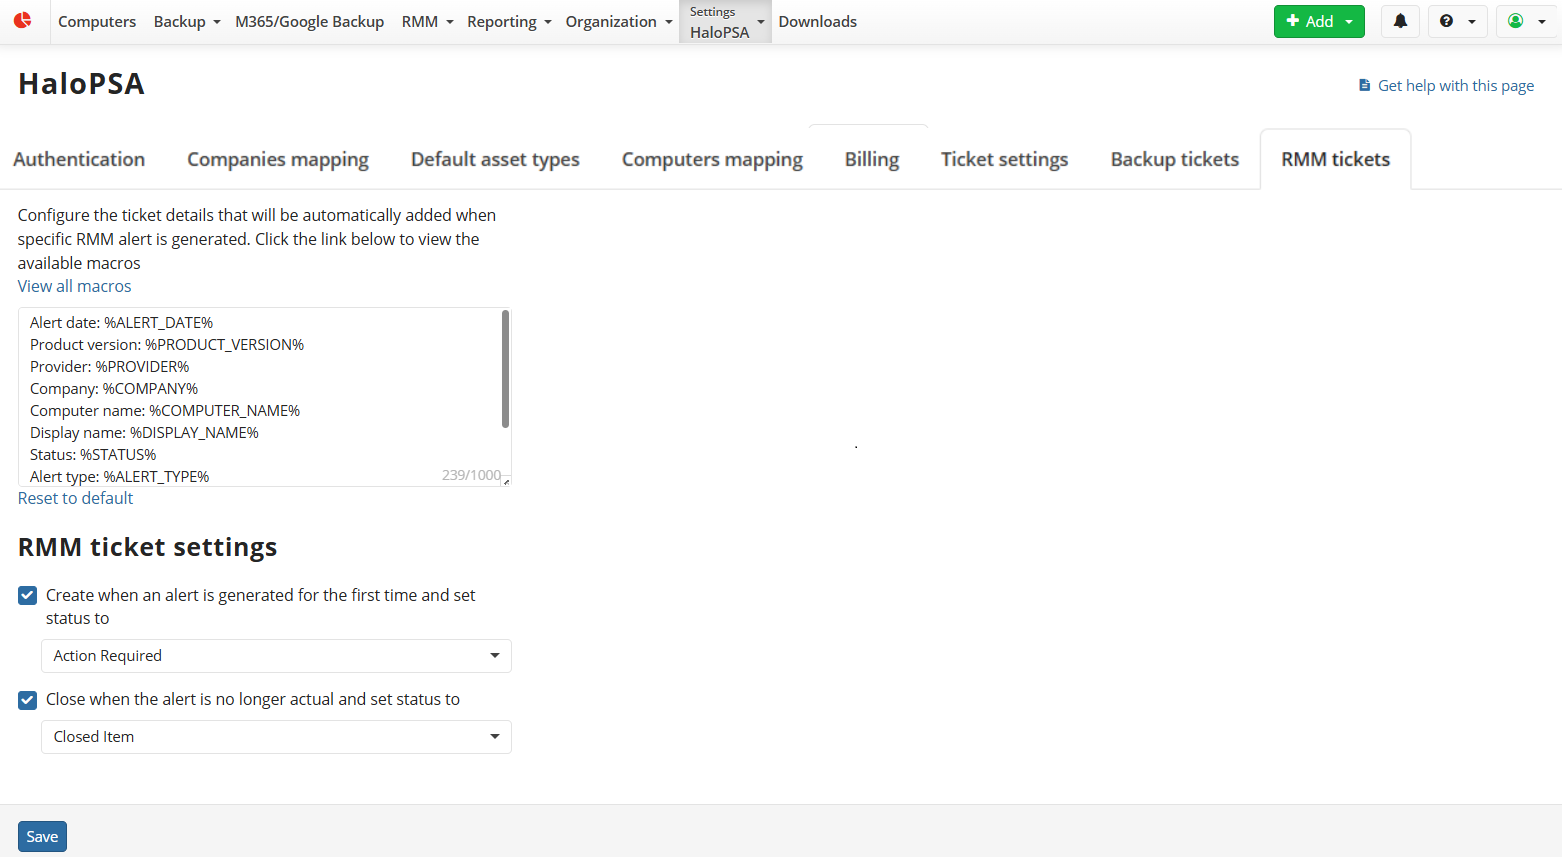
- Assign status if the alert is generated for the first time.
- Assign ticket status if the alert is no longer actual.
Ticket statuses should be configured in HaloPSA in advance.