Add Backup Storage in Google Cloud via Service Account
Google Cloud Storage allows you to use service accounts to authenticate your application. Service account credentials include a unique email address, a client ID, and at least one public-private key pair.
This chapter covers the following topics:
- Create Service Account
- Add Google Cloud account in Managed Backup Service
- Add Google Cloud account (Legacy)
Create Service Account
To create a service account, proceed as follows:
- Log onto the Google Cloud Platform Console.
- In the navigation drawer, select API & Services.
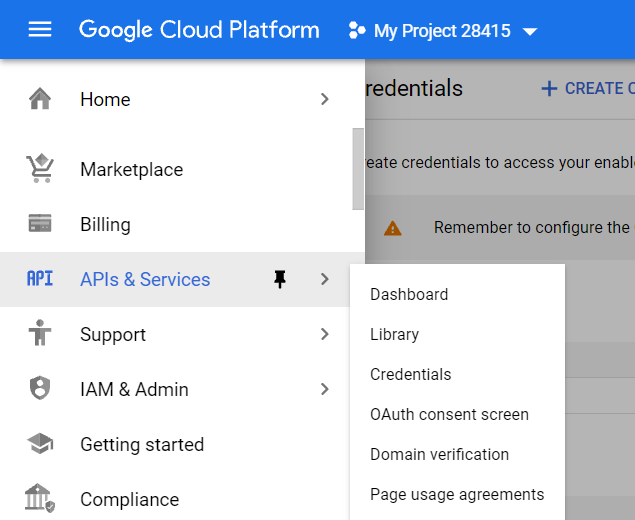
- Select Credentials.
- Click Create credentials, then select Service account.
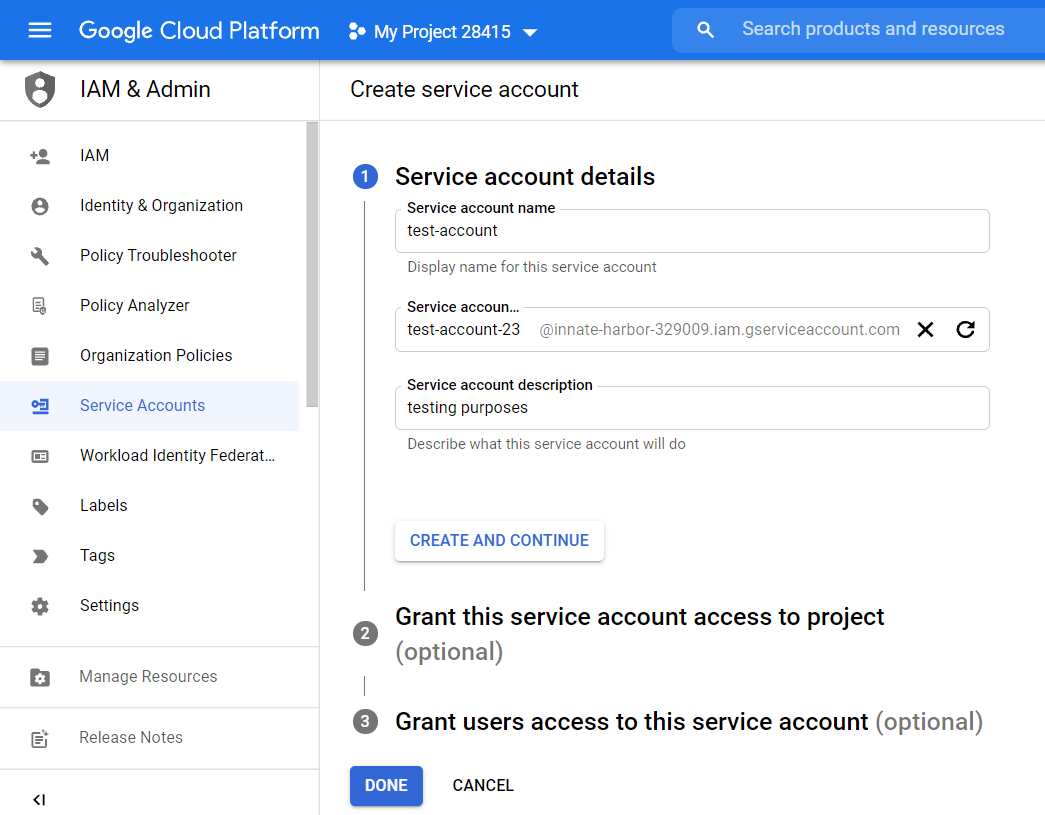
- Follow the service account wizard steps, fill all required data, assign roles, grant access to required users. Click Done.
- The service account information appears in the Service Accounts group of the Credentials section.
- Select the required service account to download a key, then click Edit.
- Switch to the Keys tab.
- Click Add Keys, then select Create new key.
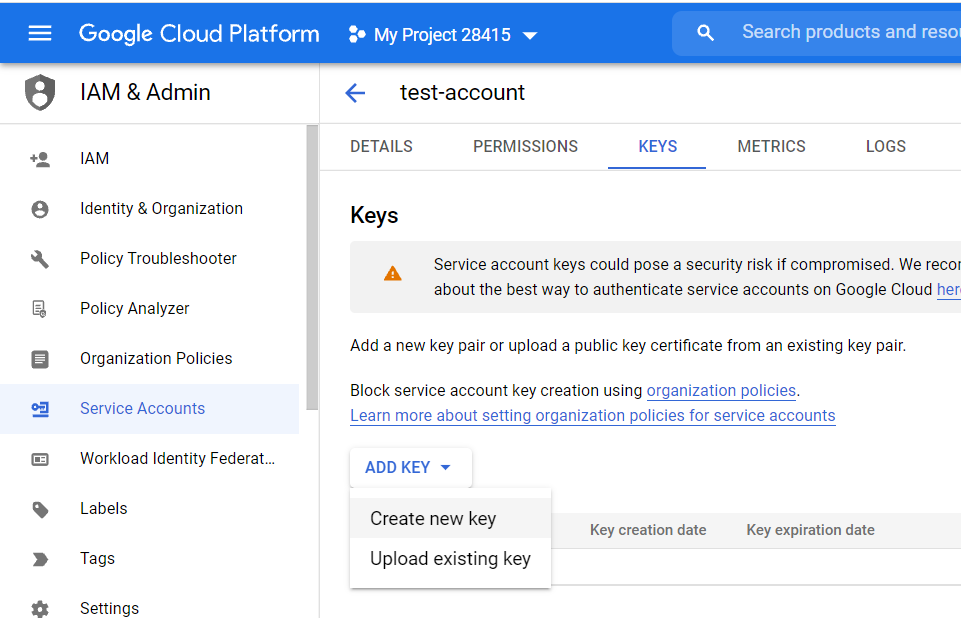
- In the Create private key for account dialog box, select the P12 option.
- Download the private key and write down the displayed password to a safe place.
Add Google Cloud as Backup Storage
To add a Google Cloud storage in the Management Console, proceed as follows:
- Open the Management Console.
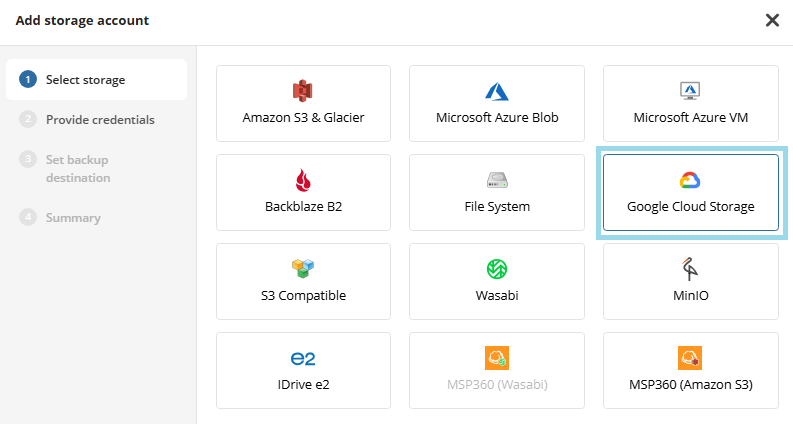
- On Backup > Storage Accounts, click + to open the Add storage account wizard.

- Select Google Cloud Storage. Click Next.
- Specify the display name for the storage account, service account email, binary key, and project ID. Click Next.
- Display name. The name of the storage is displayed on the Storage Accounts tab. Users will not see the display name
- Service account email. The service account email appears on the Details tab of the service account menu
- Binary key. The P12 key that was downloaded on the step 10 of the Create Service Account section.
- Project ID. To find it, select the required project in the upper horizontal bar, then copy it from the ID column

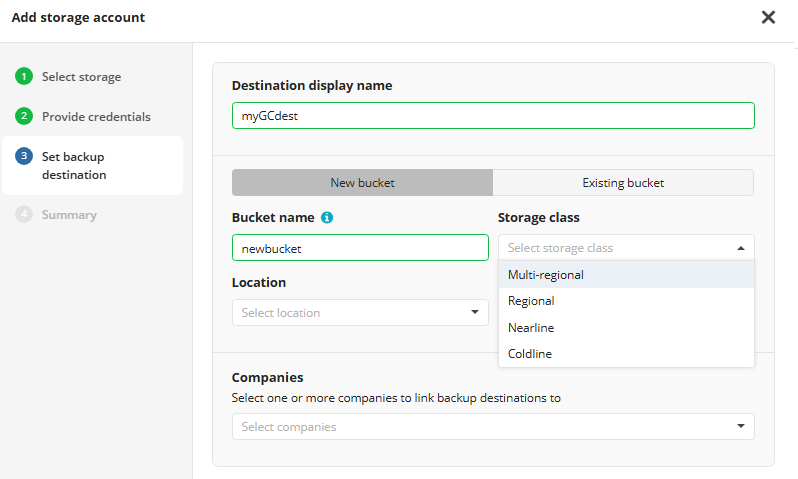
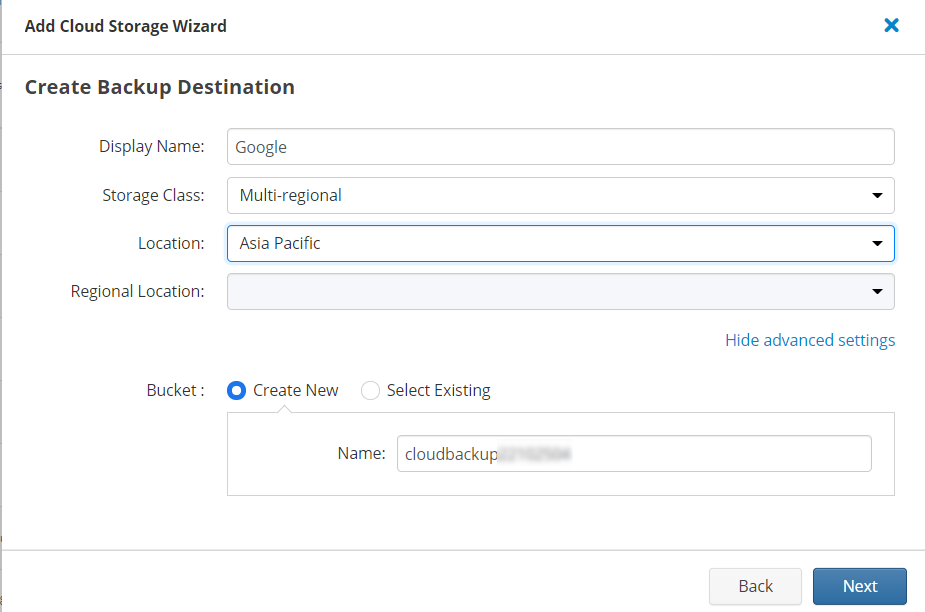
Set backup destination. In the Destination display name field, specify the display name for the backup destination, specify the bucket, which will be displayed as a backup destination, then select whether you will use an existing bucket or create a new one:
- Select the New bucket option to create a new bucket. Name the bucket. Select storage class, location, and regional location where the new bucket will be created.
- Select the Existing bucket option to use the existing bucket, then select it in the drop-down list. Also you can select an external bucket you have access to.

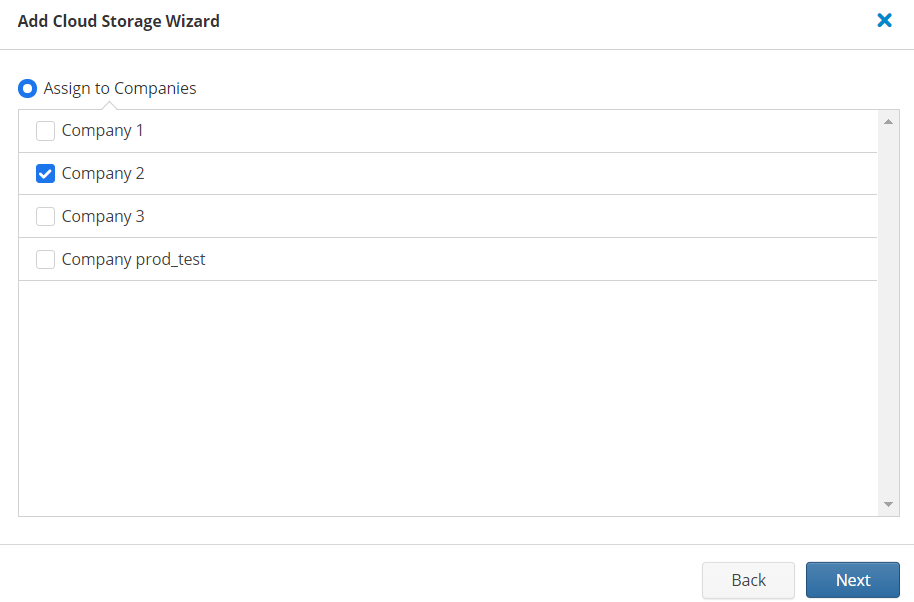
Select the companies or users to assign to the storage account.
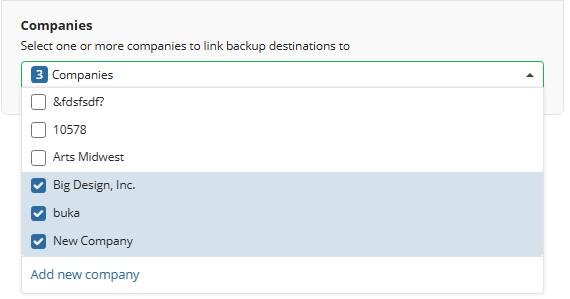
Note that it may take a while to assign companies and users to the storage account
- Click Next.
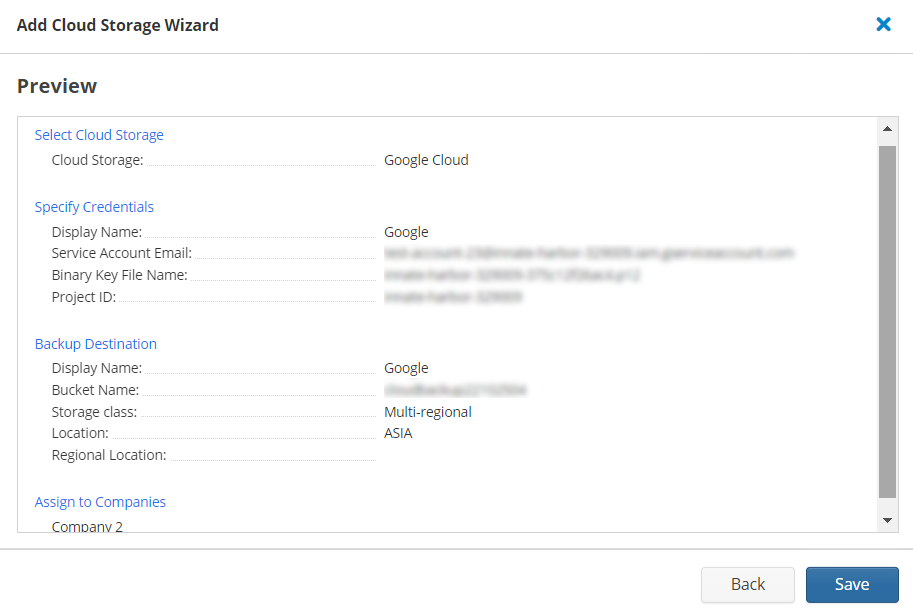
- View the storage account summary, then click Save.
Added Google Cloud storage account appears in the grid.
Refer to Manage Storage Accounts for more information on how to manage the added Google Cloud storage account storage account.
Add Google Cloud Storage Account (Legacy)
To add a Google Cloud storage in the Management Console, proceed as follows:
- Open the Management Console.
- In the Backup menu, select Storage Accounts.
- Click Add Account.
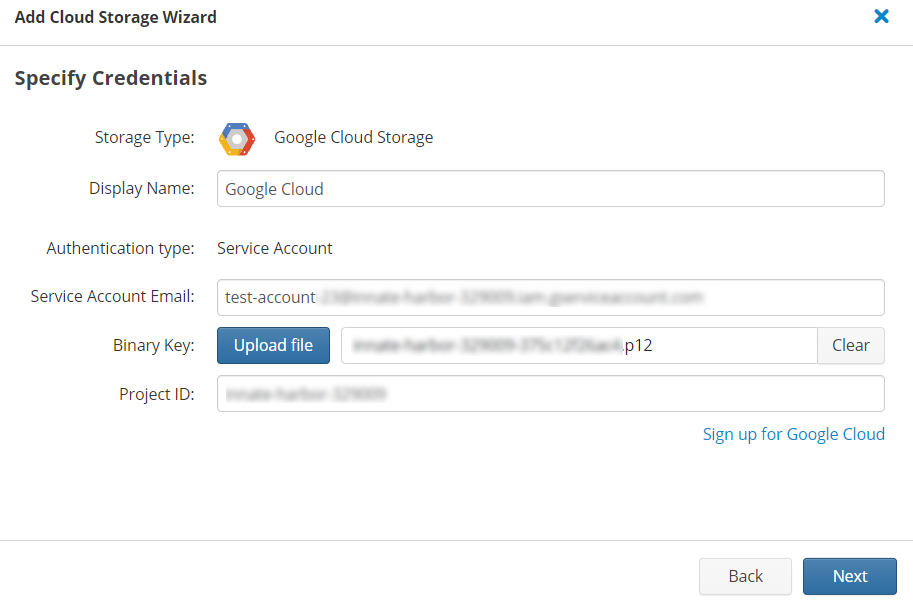
- Select Google Cloud and fill the required fields.
- Display name. The name of the storage is displayed on the Storage Accounts tab. Users will not see the display name
- Service Account Email. The service account email appears on the Details tab of the service account menu
- Binary key. The P12 key that was downloaded on the step 10 of the Create Service Account section.
- Project ID. To find it, select the required project in the upper horizontal bar, then copy it from the ID column
- Click Next.
- Create backup destination: select the required region, storage class, and location.
- By default, a new bucket is created. To select an existing bucket, click Show advanced settings, then select the existing bucket.
- Click Next.
- Assign the destination to required companies. Click Next.
- Review the storage account settings, then click Save.