Article ID: m0347Last Modified: 19-Jun-2025
Example: Create and Enable Backup Template
Create a template for a specific company with target computers running Windows.
Create Template
- Open Management Console.
- In the Backup menu, select Backup Template.
- Click Add template to create a backup template from scratch.
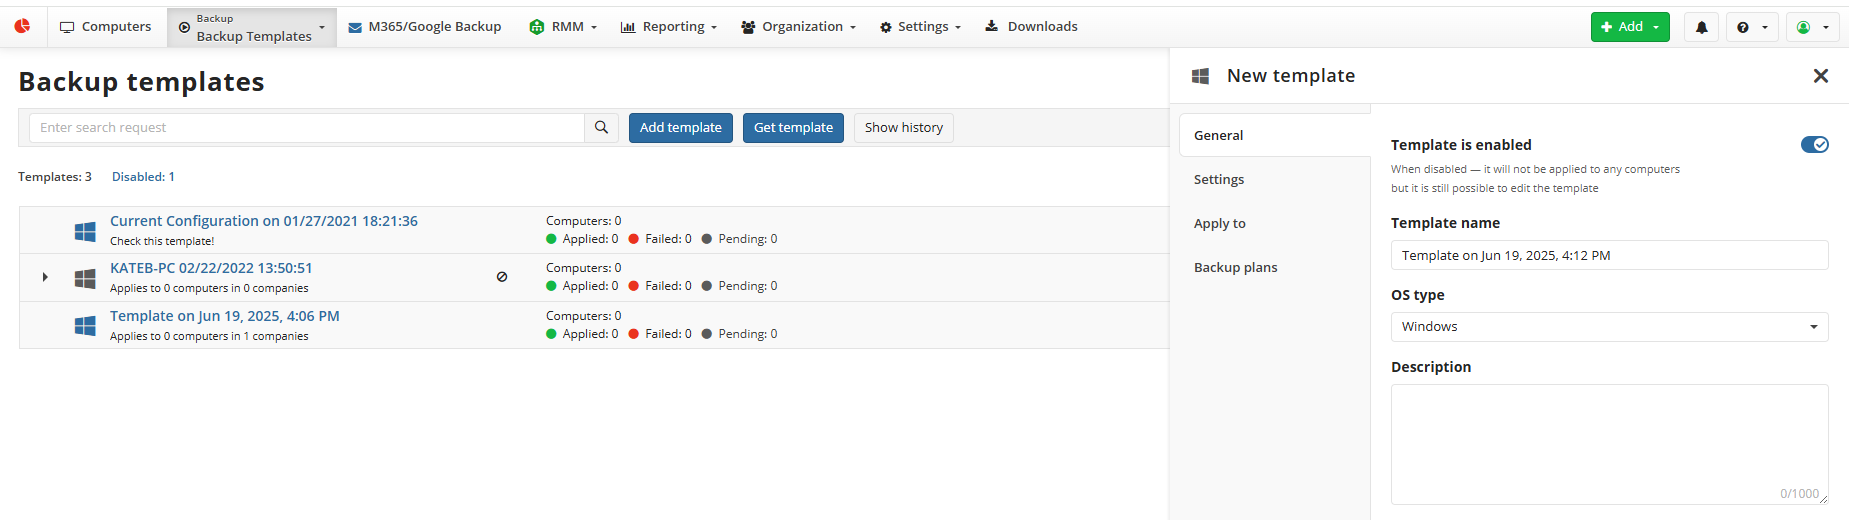
- In the side panel on the General tab, name the template. You can create the template in disabled mode, and then enable it once it is complete. Enabled template will be applied immediately.

- In OS Type select the operating system the target computers are running. It is recommended to create separate templates for different operating systems. 6.
- Provide a description (optional).
- Switch to the Settings tab. You can protect Management Console with master password, set interface language, bandwidth, and configure proxy, if needed.
- Enable Bandwidth, by default it is unlimited.

- Switch to the Apply To tab, then select Computers in Selected Companies.
- Click Select Companies, then select a company buka from the list. Click Save to select the company. In this example the computer Uno is excluded from the template scope.
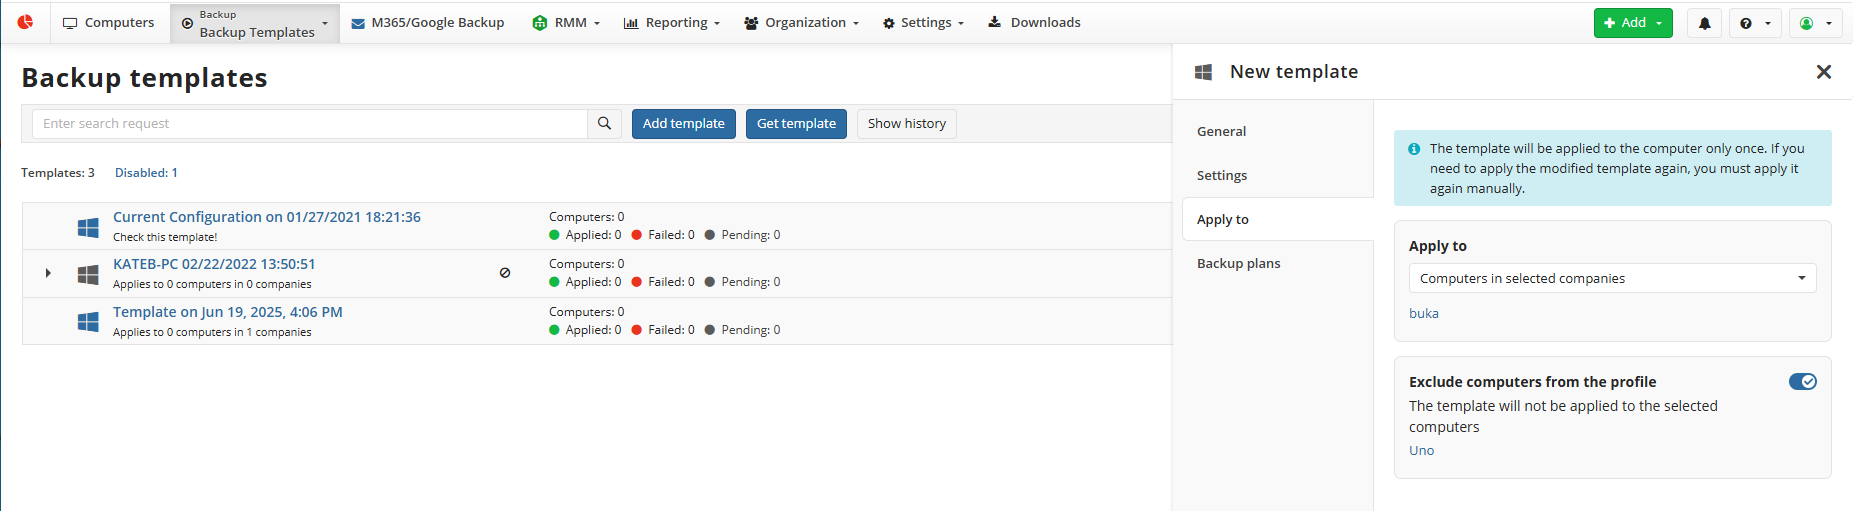
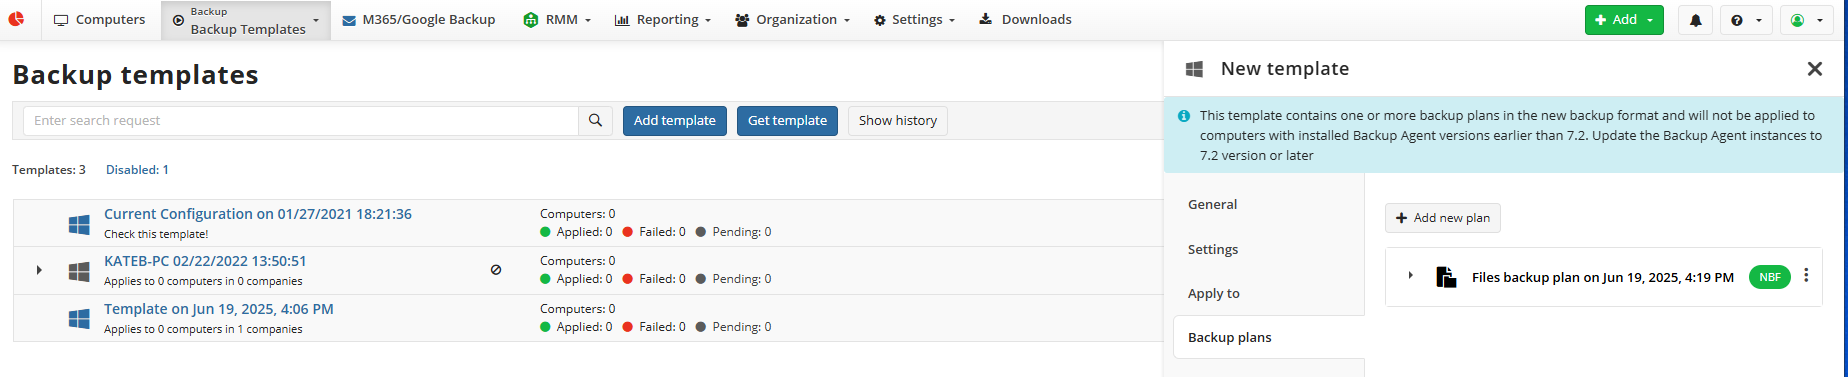
- Switch to the Backup Plans tab to create a file backup plan included in this template.
- Click + Add New Plan.
- Select File Backup.
- It is recommended to update the Backup Agent version on all computers to create backups in the new backup format. The support for the new backup format is introduced in Backup Agent 7.2 for Windows and later.
- In the Create Files Backup Plan wizard, name the plan, then click Next.
- On the Where to Backup step, select the backup destination in the list. Click Next.
- Specify advanced options, then click Next.
- On the What to Backup step, specify a path to the users' Documents folder to back it up on all computers.
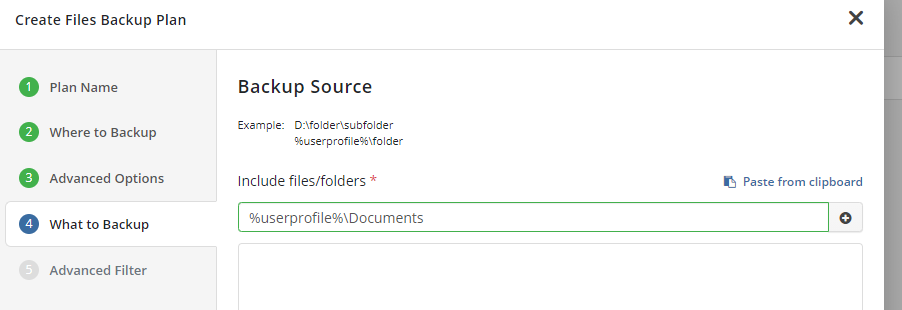
Click + to add the path to the plan. You can also add necessary paths from the clipboard, e.g.:
- %userprofile%\Documents
- %userprofile%\Pictures
Proceed with the backup plan wizard.
Click Save to complete the wizard.
The backup plan is added to the template.
- Click Create. Confirm the creation of the template in a disabled state by clicking Save.
Enable Template
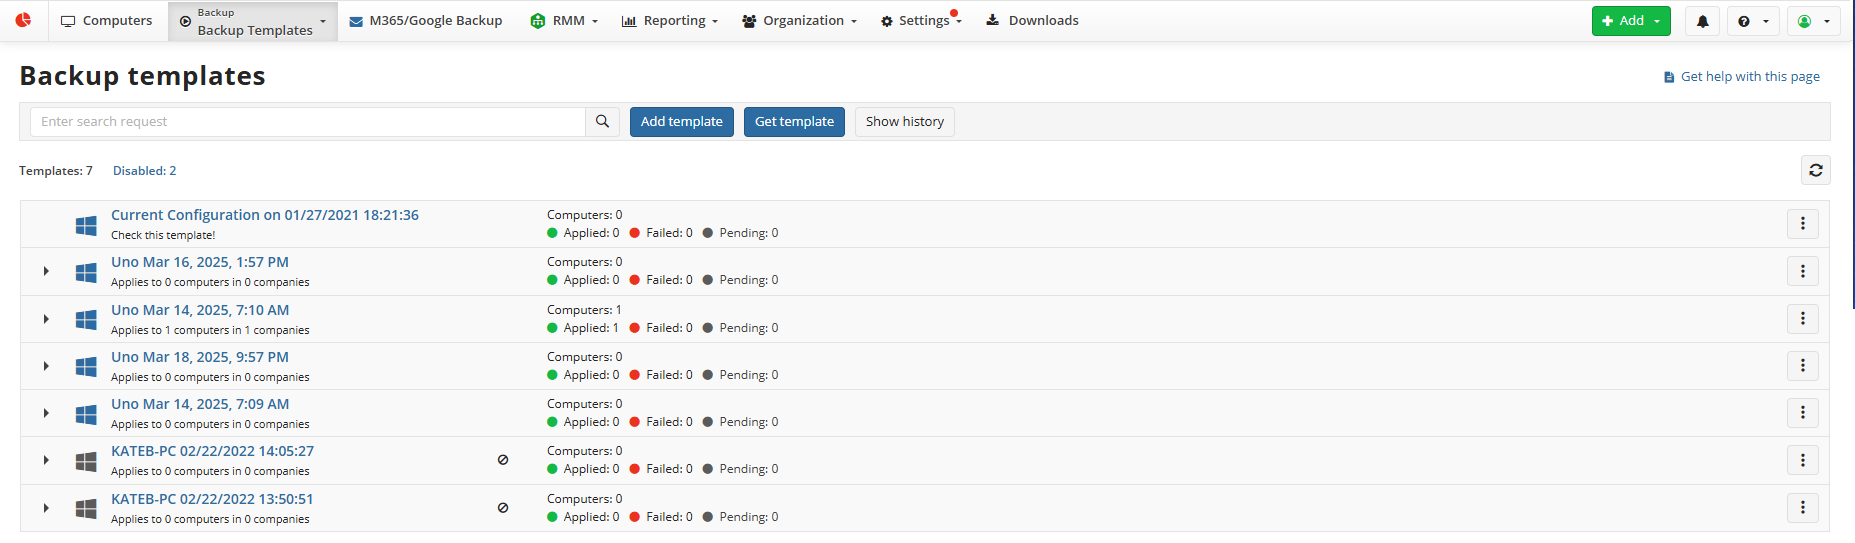
In the Backup menu, select Backup Templates.
Select required template, then expand actions in the template record to select Edit template.
Enable the template.
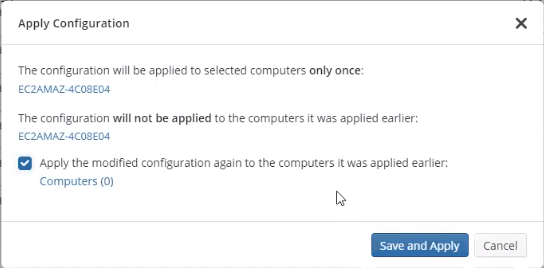
- Click Save. You will be notified that the template will be automatically applied to all computers included in the template only once.
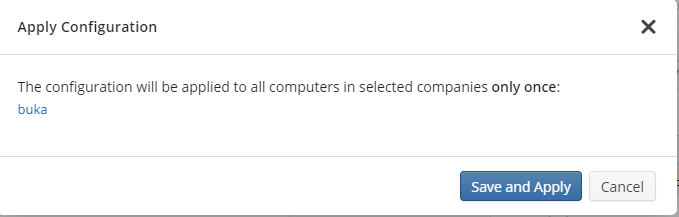
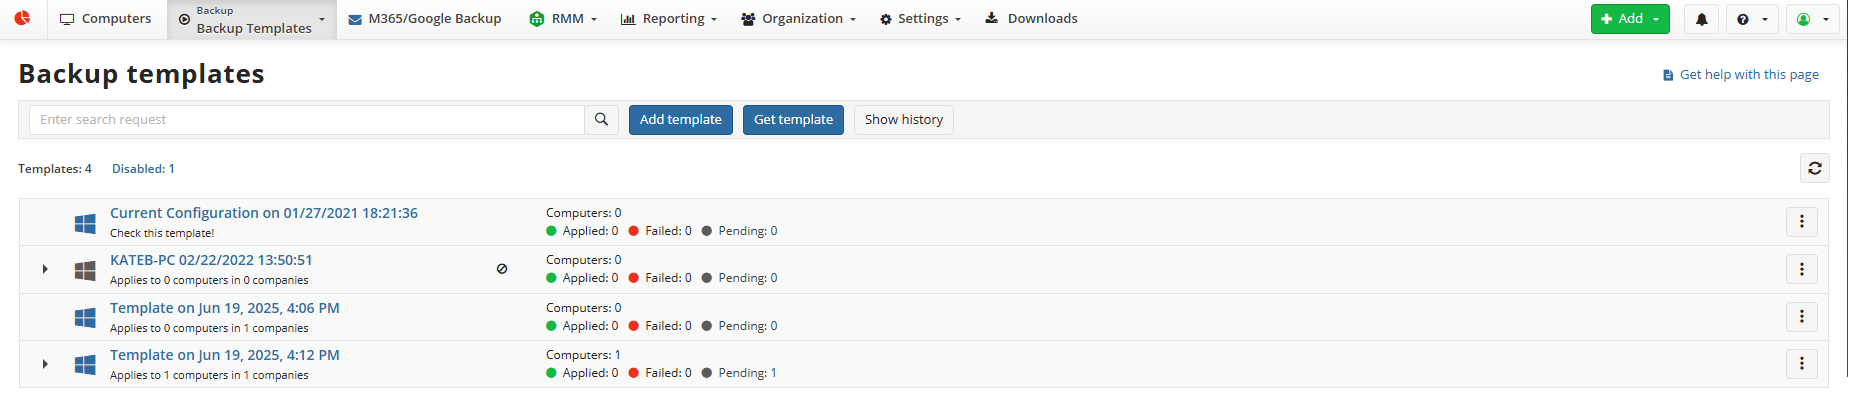
- Click Save and Apply. Check the status of template deployment:
- Applied. Displays the number of computers the template is applied successfully
- Failed. Displays the number of computers the template could not be applied
- Pending. Displays the number of computers with the state that prevents the template deployment. Navigate to Computers > Remote Management, then check if these computers are online and the Backup Agent version is up-to-date.
In case you change this template, it will be applied automatically only to new computers. For computers this template was already applied to, you will need to apply this template manually on the last step.