Sign Up for Wasabi
Managed Backup offers the full support of Wasabi as the storage destination. Wasabi is a cloud-based object storage service for a broad range of applications and use cases. Wasabi is designed for individuals and organizations that require a high-performance, reliable and secure data storage infrastructure at an affordable cost.
This chapter covers the following topics:
- Sign Up for Wasabi Service
- Create User Account
- Create Bucket
- Create User
- Add Wasabi Storage Account in Managed Backup
Sign Up for Wasabi Service
To sign up for Wasabi Service, proceed as follows:
Open https://wasabi.com/.
Click Try Free.
Provide required information and select required storage size.
Check your inbox for an invitation message from Wasabi.
Create User Account
To create a user account, proceed as follows:
- Open an invitation message from Wasabi.
- In the message body, click Create Account.
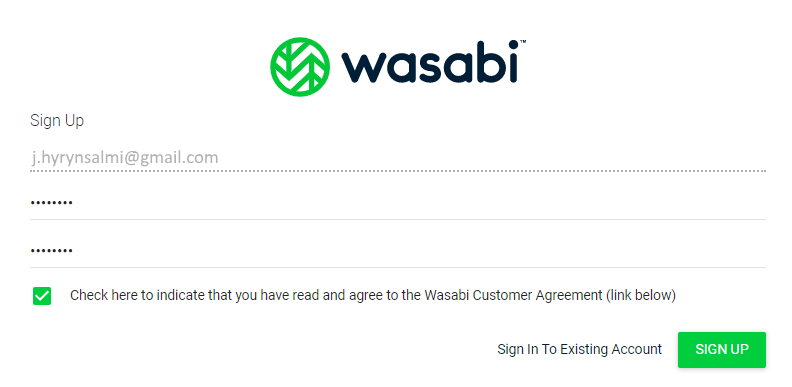
- In the browser tab, specify a password, then confirm it.
- Read Wasabi Customer Agreement, then select the agreement check box.
- Click SIGN UP.
Create Bucket
Once you create a storage bucket, you can upload objects. You can create up to 1000 buckets per one account.
To Create Bucket
To create a bucket, proceed as follows:
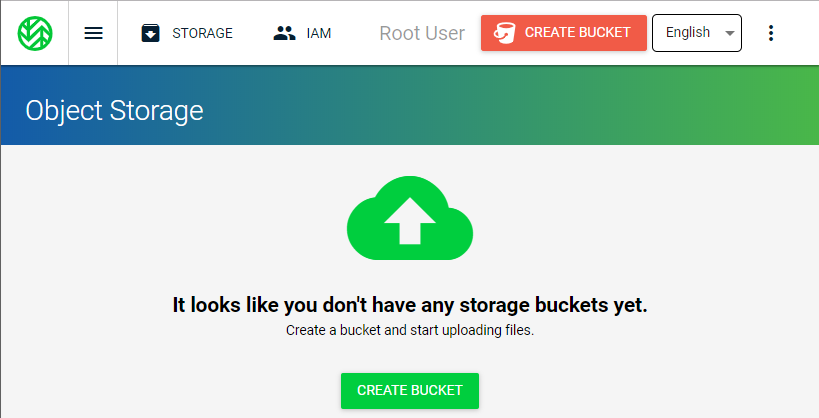
- On the Wasabi Management Console, click CREATE BUCKET.
- In the Bucket Name field, enter a unique DNS-compliant name for the new bucket.
- In the Region drop-down list, select a destination region.
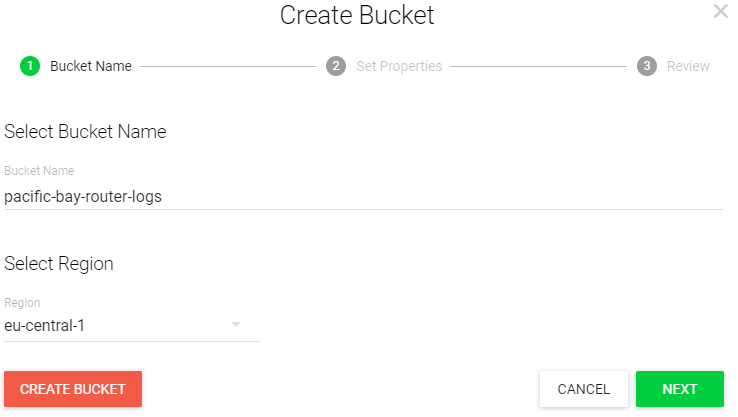
It is highly recommended to select the region that is geographically close to your location for better connection results
- Click Next to specify bucket settings or Create Bucket to finish the wizard.
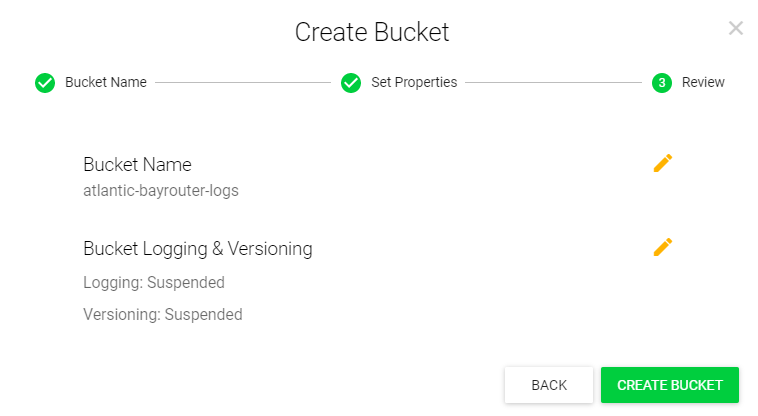
- Specify versioning and logging settings, then click Next.
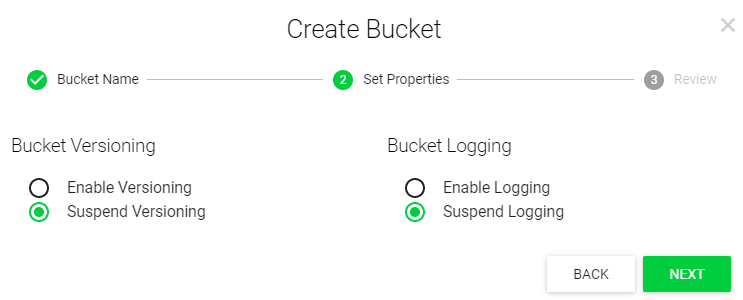
Recommended settings:
- Versioning: suspended
- Logging: suspended
- Review your settings. If everything is correct, click Create Bucket.
Create User
Once a Wasabi account is created, the default user is always Root User. It is recommended to keep the Root User account for service management tasks. The best practice is to create a new IAM role for each user, including users granted with administrative privileges.
To Create User
To create a user, proceed as follows:
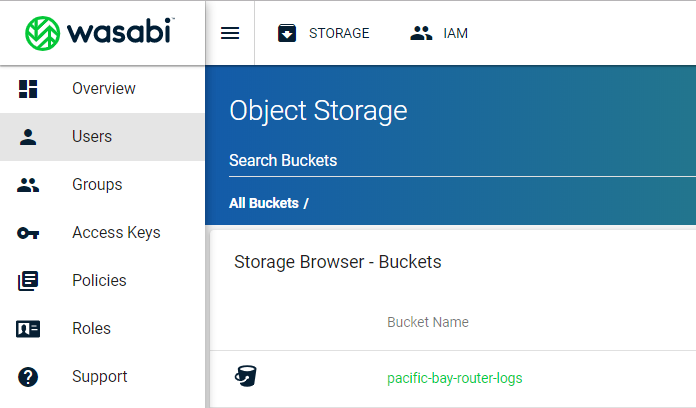
- Open Wasabi Management Console.
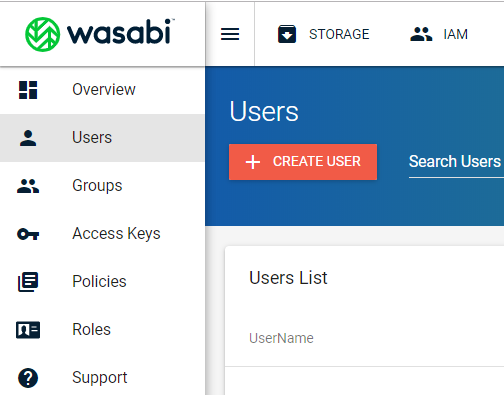
- In the left menu, select Users.
- Click Create User.
- Specify user name and access.
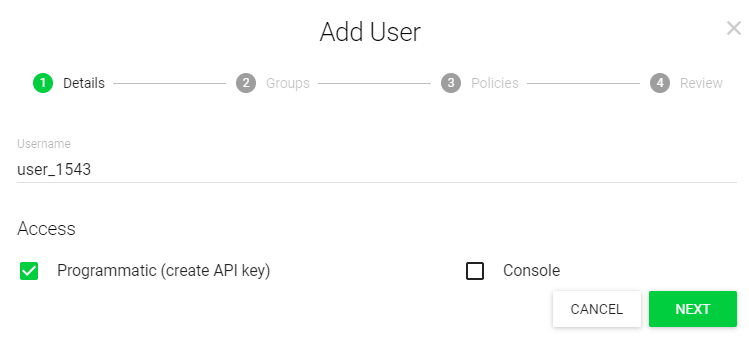
The following access options are available:
- Programmatic (required for Managed Backup)
- Console
Once the Programmatic check box is selected, a user receives an access key and secret keys, which are used to access two resources: IAM and Storage via third-party means (AWS CLI, CloudBerry, Cyberduck or any other S3 application).
Once the Console check box is selected, you must specify a password that a user will use to sign in to Wasabi. As an option, you can select Require Password Reset check box which indicates a user must reset a password and change it to a custom one. In this case, a user will be prompted for a new password upon the first Wasabi sign-in.
- Click Next.
- Click Next to go to the next step.
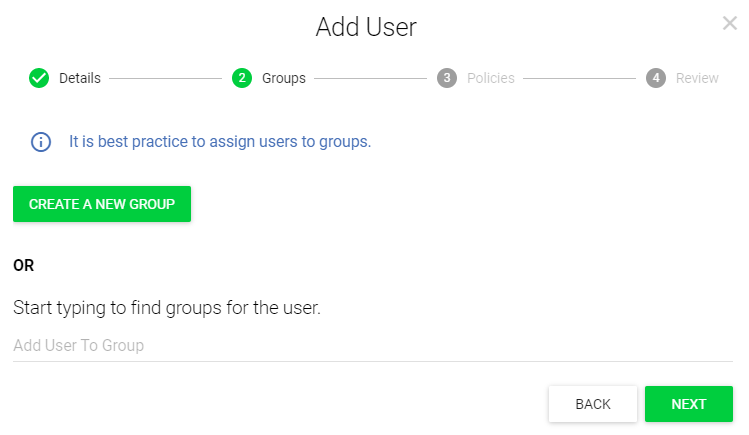
- Assign policies for the new user. To select a policy to be assigned, click +.
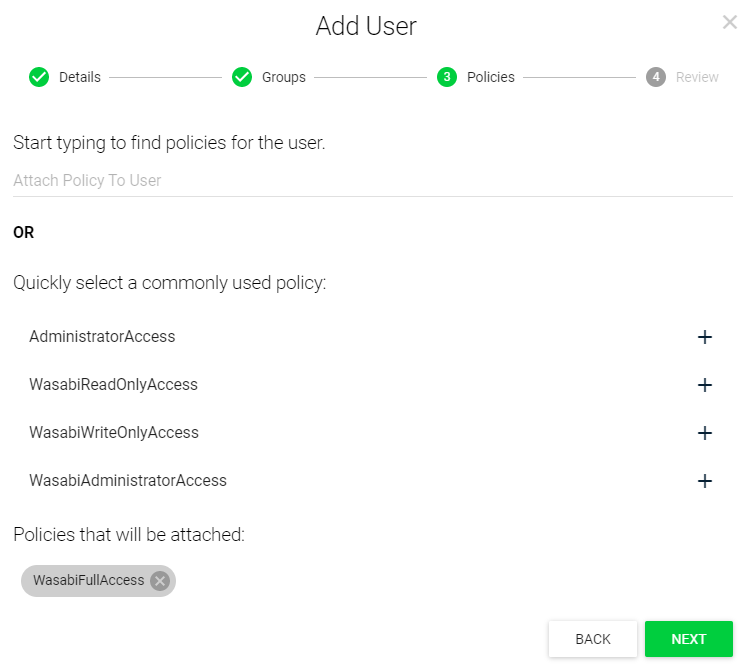
Recommended settings:
- WasabiReadOnlyAccess
- WasabiWriteOnlyAccess or
- WasabiFullAccess
For minimal user policy refer to the following article.
- Click Next.
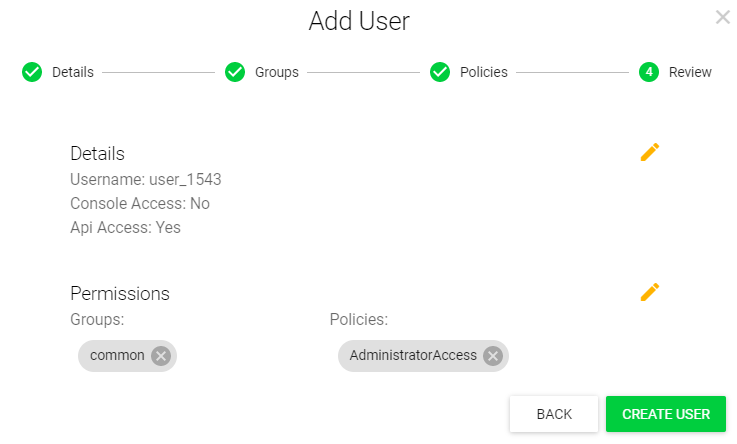
- Review settings that have been specified on previous steps, then click Create User.
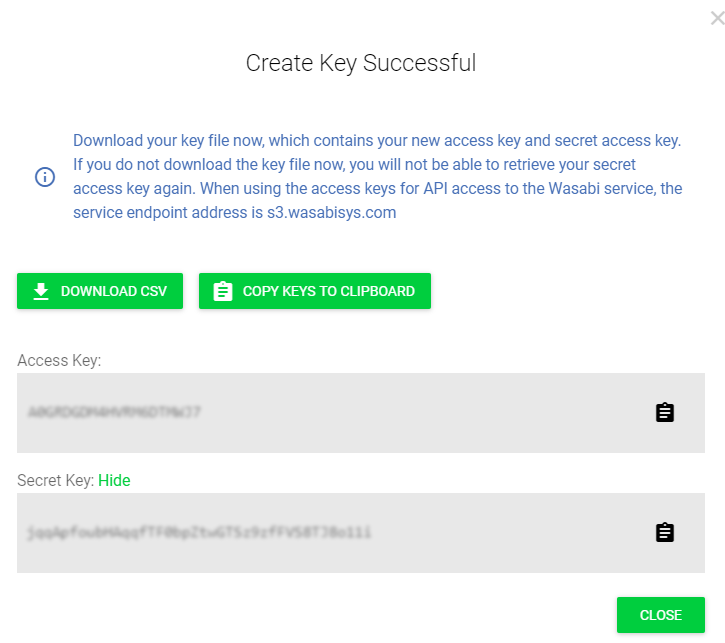
- Once the user is created, access and secret keys are generated. Export them to a CSV file or copy to clipboard, then click Close.
To learn more, refer to Wasabi Management Console Getting Started Guide
Add Wasabi Storage Account in Managed Backup
To add Wasabi storage account into Managed Backup, refer to the Manage Storage Accounts chapter.