Computer-Level Agent Settings
You can specify custom settings for each instance of Backup Agent for Windows on a specific computer where this Agent is installed. These settings will override Global Agent Options and company-level settings for the Backup Agent and will be used as defaults during the backup plan execution.
To configure the Agent settings, proceed as follows:
- Open the Management Console.
- In Computers menu, or Backup > Computers find the computer you want to configure the Agent settings for.
- Click the computer name or the configure icon to open the side panel.
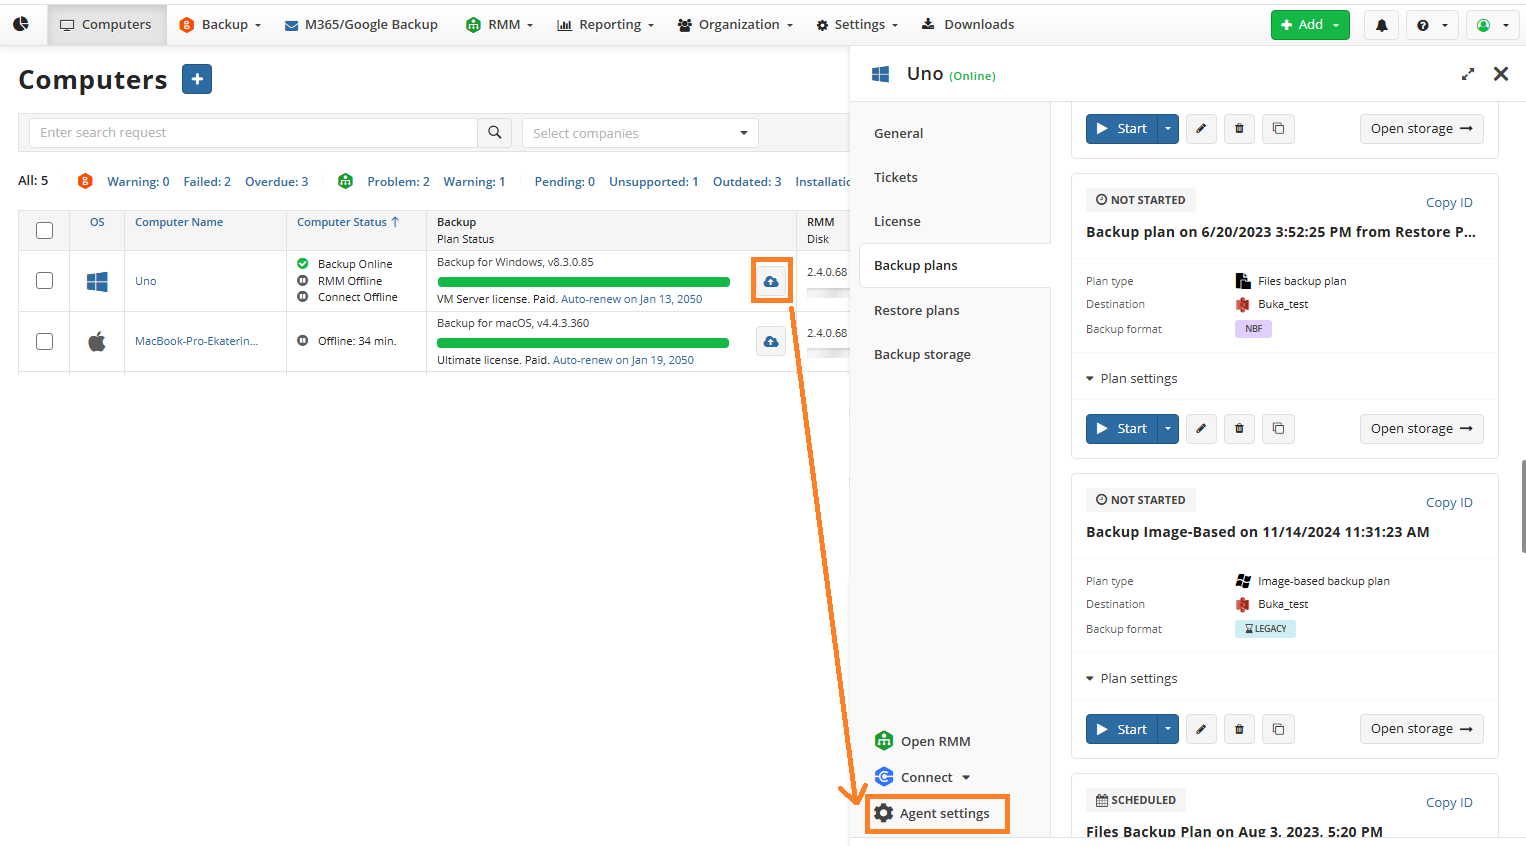
- Click Agent settings.
- Configure required settings and save them. Configured Agent settings will be applied to the Agent instance once it goes online.
General Tab
On the General tab, you can configure the following Backup Agent settings:

- Protect Agent with master password. Select this checkbox if you intend to protect Backup Agent with a master password. You will have to enter this master password every time to open the Agent. Provide a master password and confirm it.
- Protect CLI with master password. Select this checkbox to protect command line interface with the master password
- User interface language. Select user interface language. By default, English (United States) is selected.
Connection Tab
Configure retries to restore connection to the Backup Agent if the connection is lost..
- Number of attempts. Specifies how many attempts to connect to the network the application is allowed to make.
- Time between retry attempts (msec). Specifies how soon the application should make another attempt to connect to the network after the previous attempt fails (milliseconds).
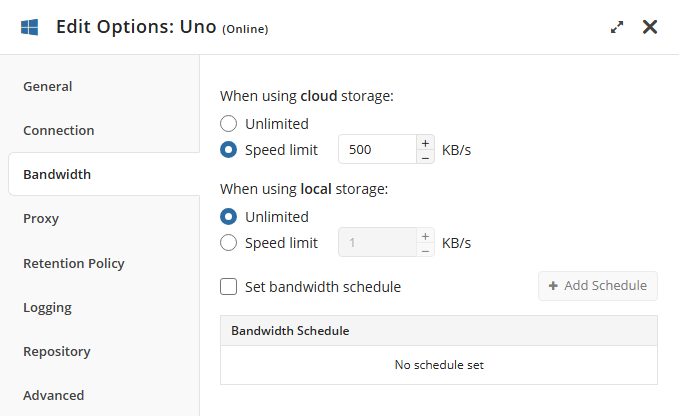
Bandwidth Tab
Bandwidth is the maximum rate of data transfer across a given path. In Backup Agent for Windows, the bandwidth is used as follows: once a backup plan is running and the backup service is accessed, the bandwidth is divided equally between all running plans.
The sharing approach takes into account the location of plan execution: local storage or cloud storage. Once recalculation is completed, a new bandwidth value is assigned to each running plan. When a plan terminates or fails, the backup service recalculates the bandwidth allocation and distributes updated values to the remaining running plans.
If the total bandwidth is 500 kB/s and 5 backup plans are running, each plan receives 100 kB/s. When one plan finishes, the bandwidth is redistributed among the remaining 4 plans, and each receives 125 kB/s.
It is not recommended to limit bandwidth to less than 250 kB/s, as connection issues may occur.
Configure bandwidth settings when using cloud or local storage.
Proxy Tab
Select the proxy usage settings. The following options are available:
- Do not use proxy. By default,the Do not use proxy option is set.
- Auto-detect proxy settings. We do not recommend enabling auto-detection for proxy settings, because the application may be unable to properly detect proxy servers defined for other user accounts than the one under which the backup service is running.
- Manual proxy configuration. To manually configure a proxy server, you need to specify its address and port. If the server requires authentication, you also need to specify the corresponding domain and user credentials.
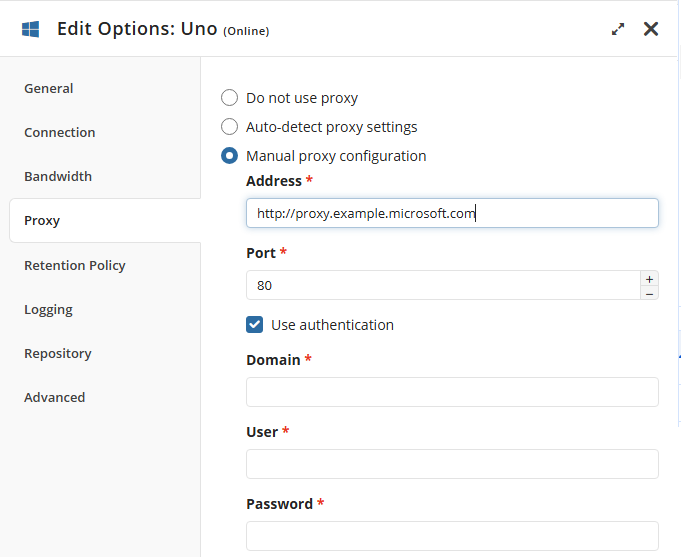
If you select the Manual proxy configuration option, specify the proxy server address and port number. For example, if the proxy server's address is http://proxy.example.microsoft.com (https is not currently supported) and the port number is 80, the setting in the Proxy Host box should appear like this: proxy.example.microsoft.com port 80.
If necessary, select Use authentication and provide credentials for connection.
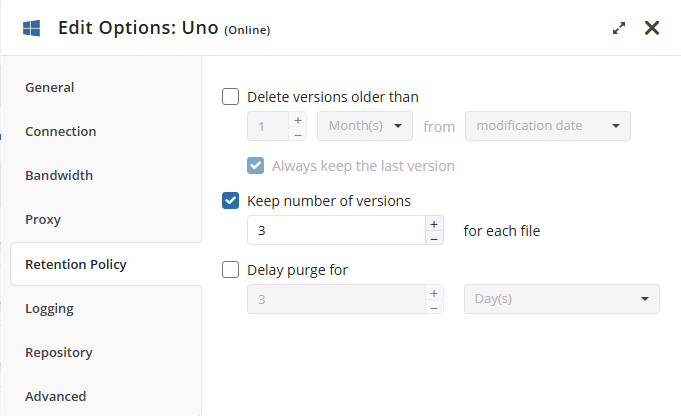
Retention Policy Tab
Select the default retention policy settings for backup plans on this Backup Agent instance.
Logging Tab
- Logging Level. By default, the logging level is Low. You can select the desired logging level and specify the directory where logs will be stored.
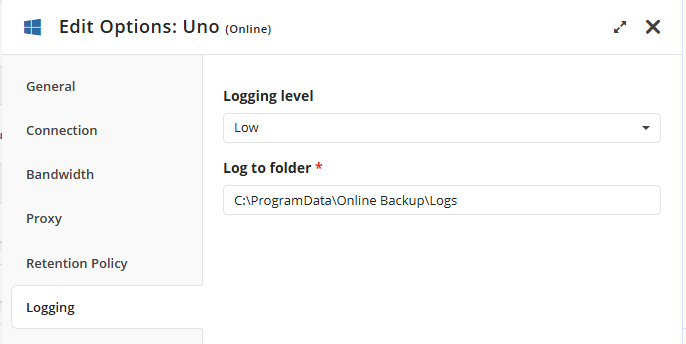
In case of application failure, you can send these logs to our Support Team to help identify the cause of the issue. For this reason, we do not recommend disabling logging.
Repository Tab
Use this tab to synchronize the repository. The repository is a database that contains aggregated data about user activity. It can be accessed directly and allows selective data extraction for storage, reducing the number of direct requests to application components. This reduces the number of requests sent to cloud storage and helps lower storage costs.
No internal repository changes affect user storage contents.
You can also shrink and/or relocate the repository if it becomes too large using the corresponding options on this tab. Additionally, you can configure the application to display an alert when the repository size reaches a specified percentage of total disk space.
Advanced Tab
The following sections are available on this tab:
- Performance
- VSS
- Memory Options
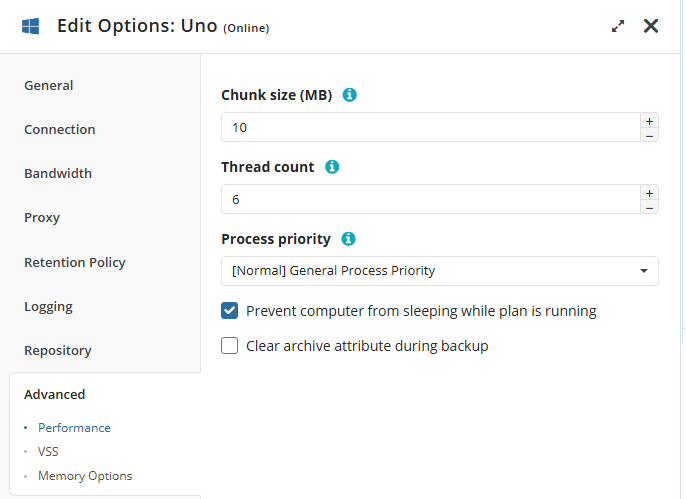
Performance Options
The following performance options are available here.
- Chunk size (MB). While processing your backups in memory, Backup Agent breaks down files into chunks of a certain size. You can increase the speed of processing large objects (such as image-based backups) by specifying a custom chunk size
- Thread count. Specify the number of threads used for concurrent processing of a single backup.
- Process priority Depending on your requirements, you can assign a lower or higher priority to MSP360 (CloudBerry) Backup relative to other applications running on the system.
- Prevent the computer from sleeping while a plan is running. Enable this checkbox to avoid premature termination of a backup/restore process because of your computer switching to the sleep mode.
- Temporary folder (optional). Specifies the directory for storing temporary data during processing SQL Server database backups.
- Clear the archive attribute during backup. Enable this option to make Backup Agent automatically clear the Archive Bit attribute for the processed backup files. Windows uses this attribute to indicate whether or not a file has been archived.
VSS Options
On this tab, you can view Volume Shadow Copy (VSS) information and set the maximum size of shadow copies.
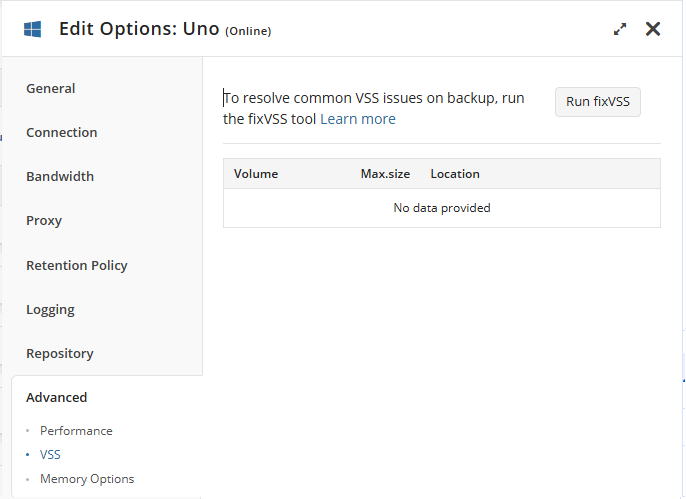 You can also run the fixVSS tool to automatically resolve common VSS issues.
How it works:
- Stopping Services
- Stops the Volume Shadow Copy (VSS) service
- Stops the Microsoft Software Shadow Copy Provider (swprv) service
- Re-registering Critical DLLs that VSS relies on:
- Registers the core OLE (Object Linking and Embedding) components.
- Registers OLE Automation support.
- Registers the VSS Proxy Stub DLL.
- Attempts to re-register the VSS service (though this is not a standard Windows command; it may be a script).
- Reinstalls the Software Shadow Copy Provider DLL.
- Registers the Event Class DLL.
- Registers the Event System DLL.
- Registers the Standard WMI Provider.
- Registers the VSS UI component.
- Registers different versions of MSXML (used for XML processing).
- Fixing OLE permissions to prevent error "Unexpected error querying for the IVssWriterCallback interface.
- Re-registering VSS Service and Restarting Services
- Preforms another attempt to register VSS (if the first one failed).
- Starts the swprv service.
- Starts the VSS service.
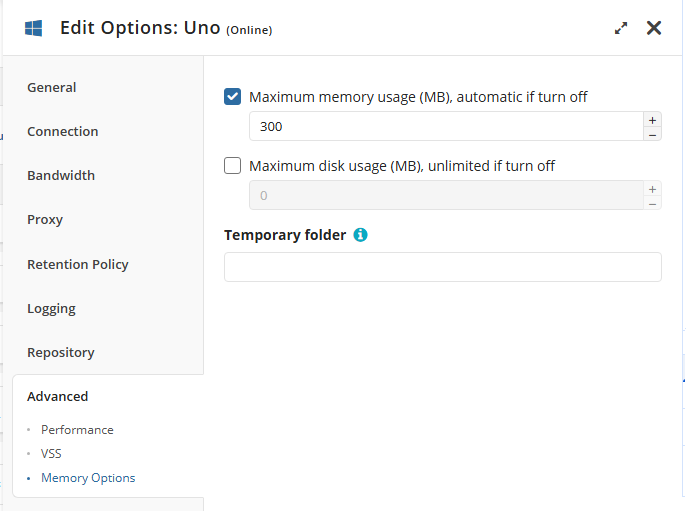
Memory Options
On this tab, you can either allow the Backup Agent to automatically manage memory and disk space allocation for backup processing or set custom limits for memory and disk usage.
You can also specify a custom directory where the Backup Agent will store temporary data during backup processing.