Proxmox Virtual Machine Restore Plan
Backup for Windows offers restores of Proxmox virtual machine and Proxmox container backups to Proxmox Virtual Environment (VE).
Create Restore Plan
To create a new restore plan, click the Restore icon in the horizontal menu bar.
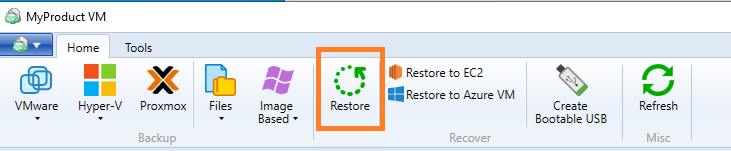
The Restore wizard starts.
Select Backup Plan to Restore
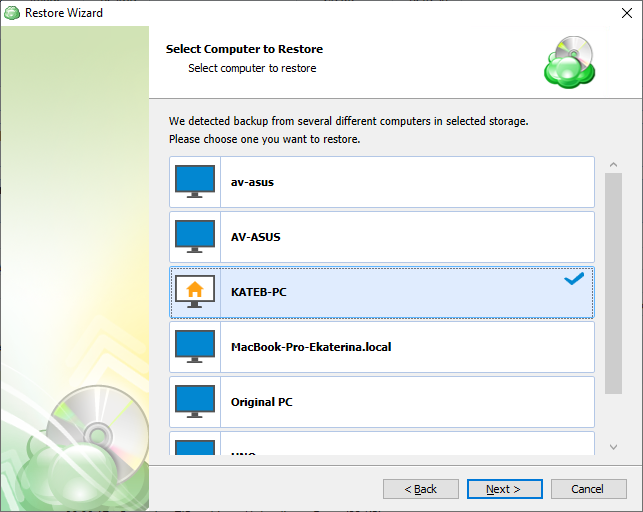
Select a backup storage account that contains the dataset to restore, then select the computer associated with the backup plan to restore.
Select Type of Data to Restore
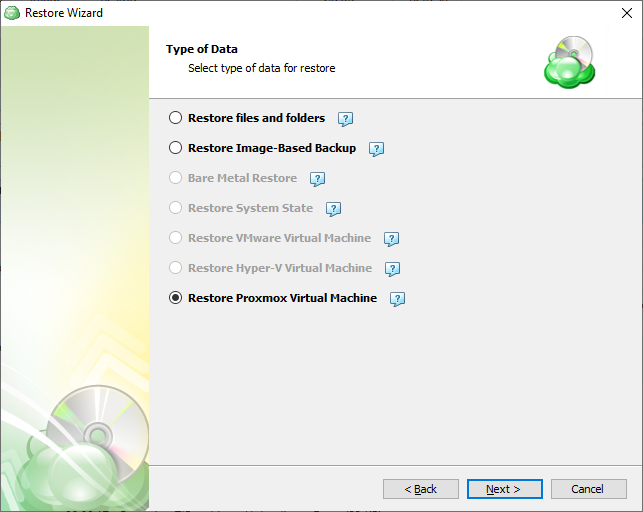
Select the Restore Proxmox Virtual Machine option to restore VMs and containers.
Select Backup Plan to Restore
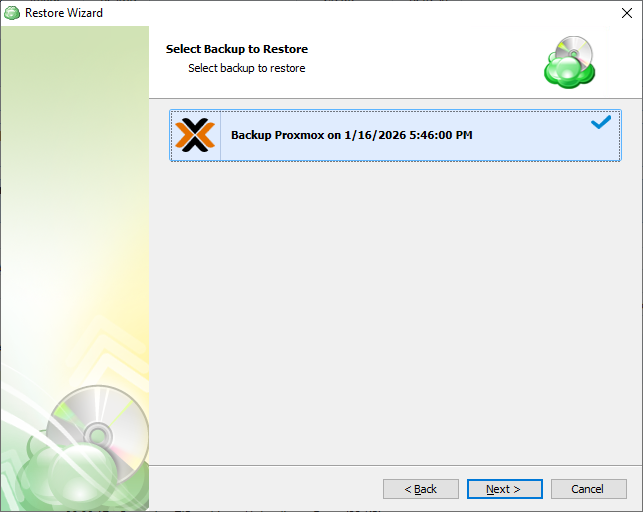
Select a backup plan that contains the dataset to restore. Entries are named after backup plans previously created and executed successfully.
Click Next.
Select Restore Point
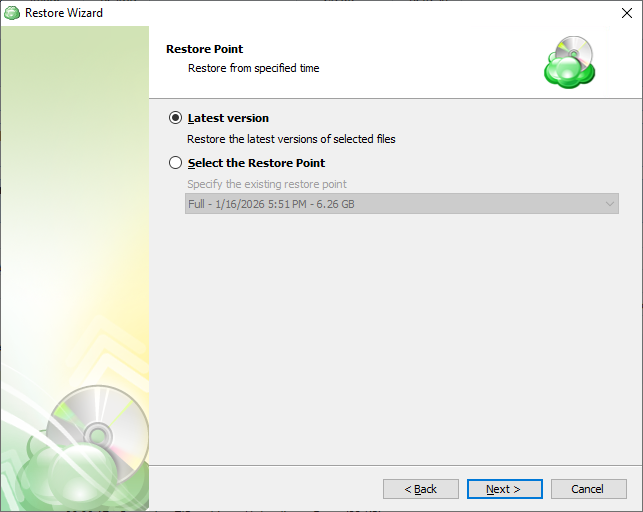
Select the required restore point for the plan. You can select the latest available restore point or select the required one manually from the list.
Click Next.
Restore Source
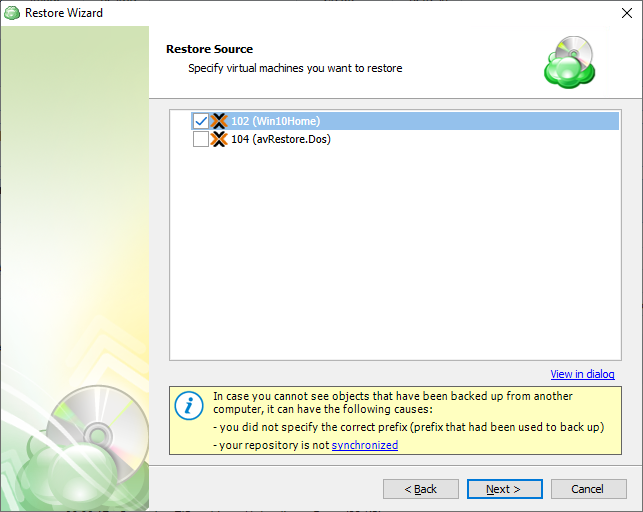
Select the virtual machines and containers to restore from the list.
Restore Type
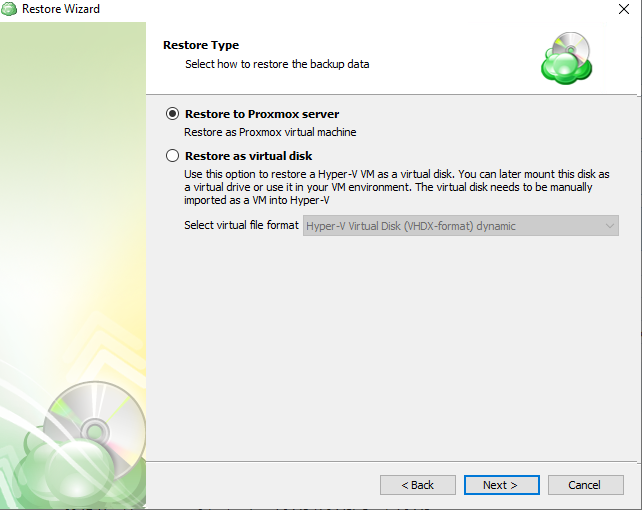
This step displays all possible restore types that are available for backups currently stored in backup storage. Select Restore to Proxmox server. For instructions on how to restore a Proxmox VM as a virtual disk, refer to the following article.
Click Next.
Select Proxmox Host Server
Select the Proxmox host server where you want to restore the selected virtual machine. Enter the Proxmox host server access information in the format that is most convenient for you.
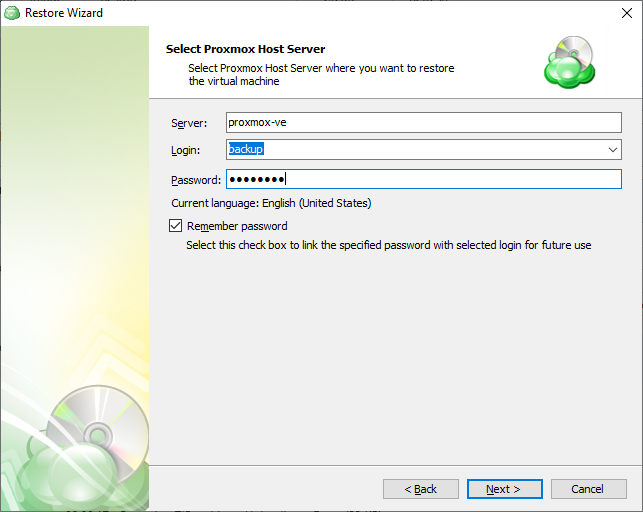
If the credentials are invalid or the Proxmox host server cannot be accessed, you will not be able to proceed to the next Restore Wizard step.
Click Next.
Restore Options
Select the target datastore for the restored VMs from the list of available datastores, then configure the restore options.
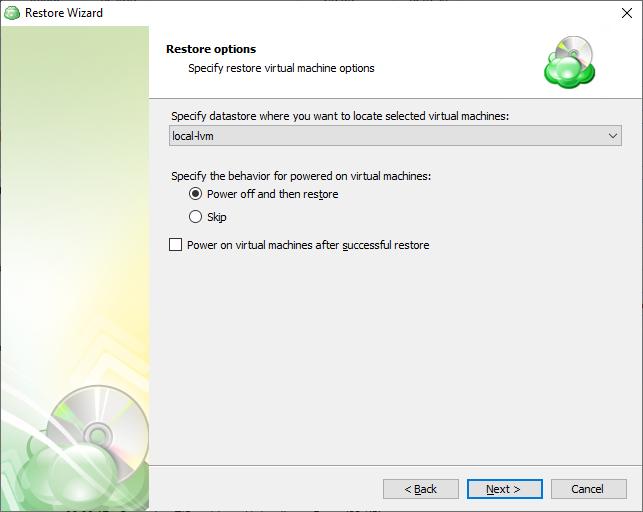
The following restore options are available:
- Configure the action for running virtual machines. You can power the VMs off and then restore or skip the restore if a virtual machine is up and running.
- To run the restored virtual machines after the restore plan completes, select the Power on virtual machines after successful restore check box.
Click Next.
Restore Virtual Machines As
By default, a new machine will be created. Specify the names for the restored VMs if required. The name should meet the DNS naming standards.
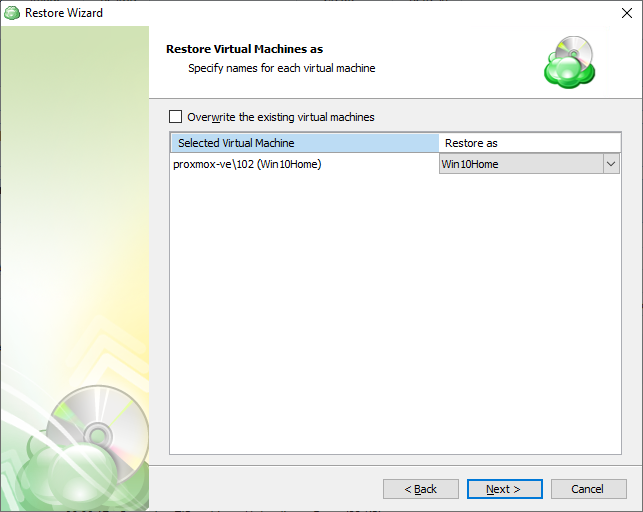
To overwrite the existing virtual machines on the target datastore, select the appropriate checkbox.
Click Next.
Schedule Your Restore Plan (Optional)
If you chose to save the created restore plan for further use, select schedule options.
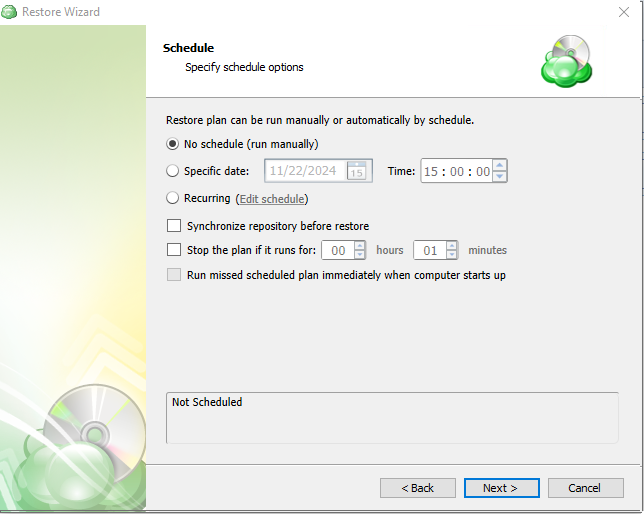
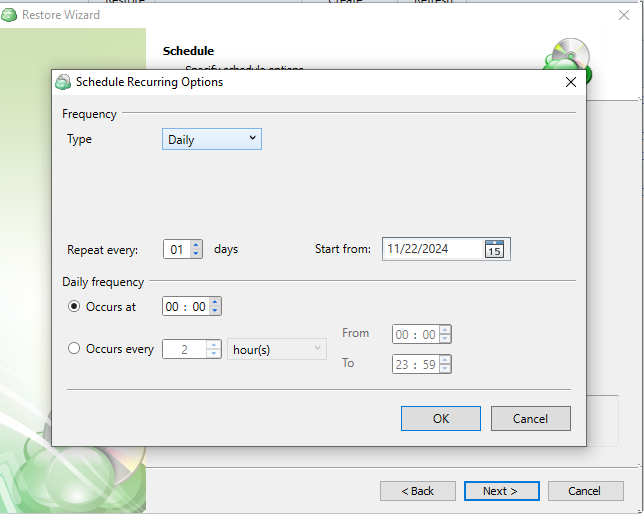
Click Next.
Pre-/Post Actions (Optional)
Specify actions to be executed before or after the restore plan completion.
Starting from Management Console version 5.0, pre- or post-actions for Backup Agents can be restricted by provider. To learn more about the pre-/post-action settings, refer to the Global Agent Options and Companies chapters.
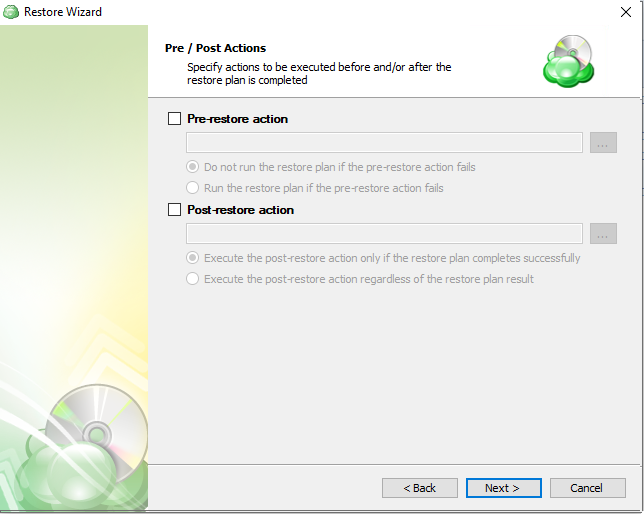
Click Next.
Notifications and Logging
Specify email notification settings and options for adding records to Windows Event Log.
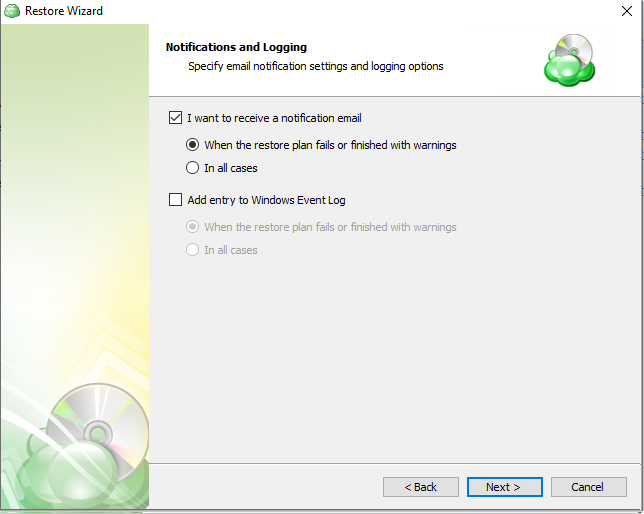
Refer to the Notifications and Logging article for details.
Click Next.
Check Network Shares (Optional)
If you specified one or more network locations on the previous wizard pages, you can make the wizard verify access to these locations.
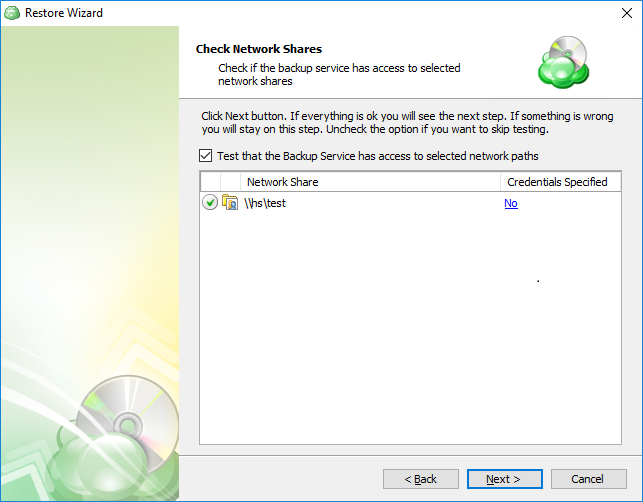
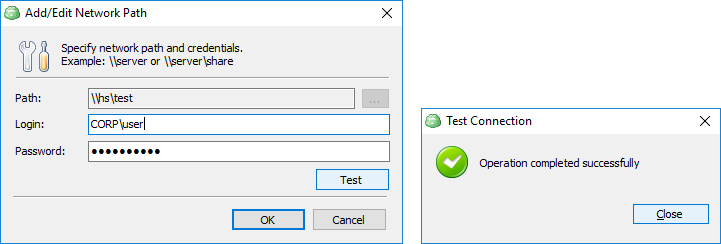
Click Next.
Summary
Check and manage your restore plan.
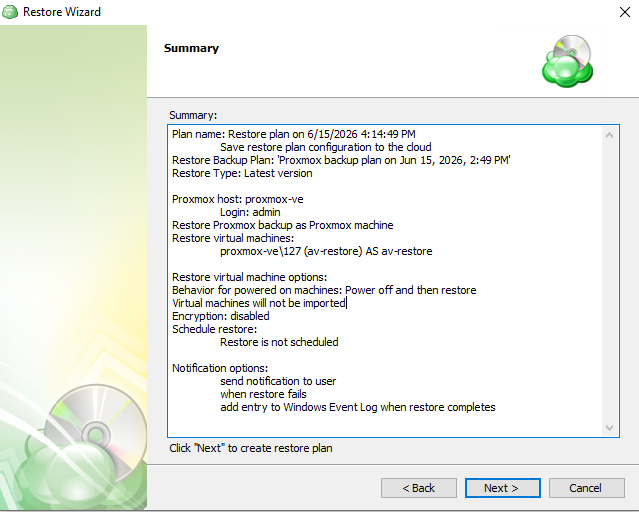
Click Save to create the restore plan.
Complete Restore Plan Creation
Once you have reviewed your selections on the Summary step, click Next to create the restore plan.
The final step in the wizard will confirm that the Restore Plan has been created successfully. If the plan was scheduled, you can opt to run it immediately by checking the Run restore now checkbox and clicking Finish.Otherwise, the plan will be set to run at the next scheduled time.