Proxmox Backup Plans (BETA) in Backup Agent
Managed Backup now extends its powerful data protection capabilities to Proxmox Virtual Environment (VE) with a new beta version. A VM Server license is required to perform Proxmox virtual machine backup.
The Backup Agent provides the following options for selecting VMs within a Proxmox host:
- All existing virtual machines.
- All currently running virtual machines.
- A custom set of pre-selected virtual machines.
Beta version limitations for backups:
- In the initial beta release, all disks attached to a selected VM are included in the backup. Granular disk selection is a planned feature for a future update.
- Synthetic full backup functionality is not available in the first beta but is on the development roadmap
- Only one Proxmox backup or restore job can run at a time; concurrent execution is not supported.
Features and specifications are based on the initial beta release and are subject to change as the product develops.
Network Configuration
On the Windows computer hosting the agent, inbound traffic on TCP port 8007 must be allowed through the local firewall. If this port is blocked when a backup plan runs for the first time, the operation will fail with error code 1962. The Managed Backup GUI will promptly detect this and provide a solution in the error message to quickly enable the required port.
No configuration is required on the Proxmox host itself. All backup and restore settings are managed entirely within the Backup Agent interface,
It is strongly recommended to use a backup datastore located on physically separate storage from the host's VM disks.
Proxmox User Permissions for Backup
To perform backup and restore operations, the backup service requires a Proxmox user account with specific permissions. It is a security best practice to create a dedicated user for backup purposes rather than using the root account.
The recommended set of privileges can be granted by assigning the following roles to the backup user at the root (/) level of the Proxmox datacenter:
| Role | Purpose |
|---|---|
| PVEVMAdmin | Grants administrative permissions for virtual machines, necessary for snapshot creation and VM configuration access |
| PVESDNUser | Provides read-only access to the Software-Defined Network (SDN) configuration, required for proper operation |
| PVEDatastoreAdmin | Allows reading datastore contents and allocating space, which is essential for backup and restore tasks |
For detalis on how to add permissions, refer to the following KB article.
Alternative: For simplicity in testing environments, you may assign the user the built-in PVEAdmin or Administrator role, which includes all necessary permissions. However, for production, adhering to the principle of least privilege with the specific roles above is recommended.
Create a Backup Plan
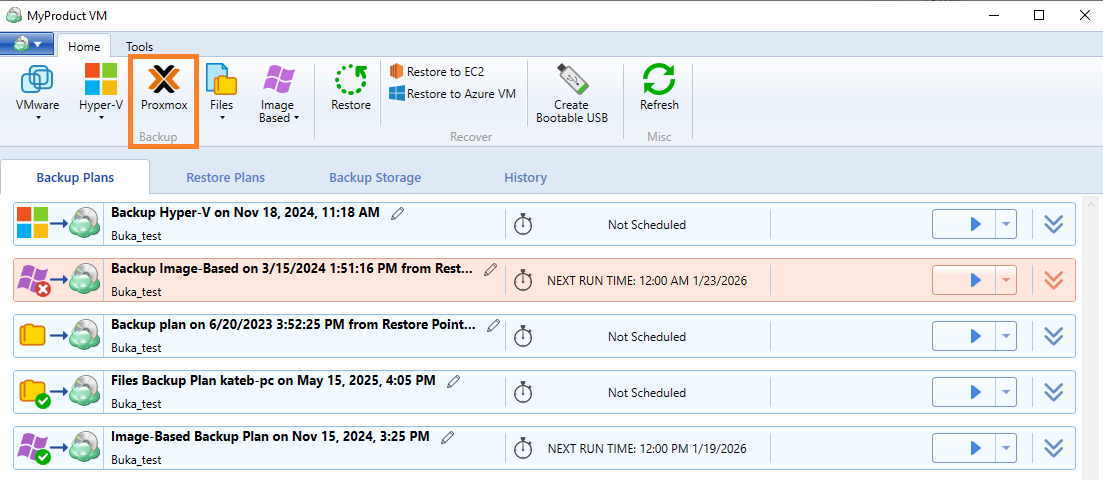
To create a new Proxmox backup plan, click the Proxmox in the horizontal menu bar.
The Backup Wizard starts. Select a destination for the backup, and then name the plan.
Connect to the Proxmox Host Server
Enter Proxmox Host Server access information. You can select whether to remember the password for future use.
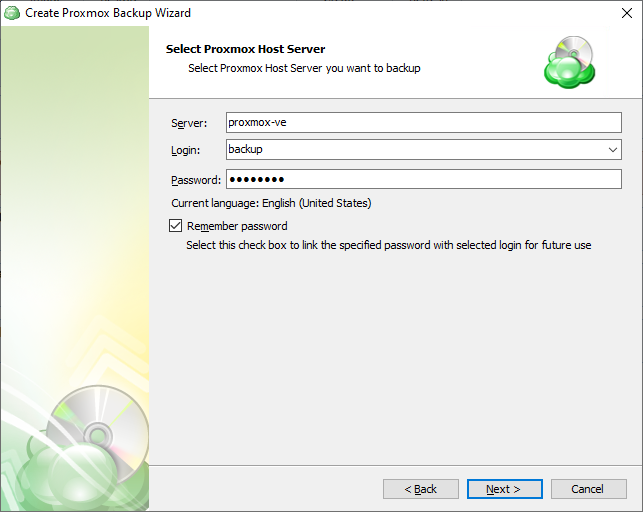
A Proxmox hostname examples (often an FQDN) are pve-server01.home.local, proxmox.mydomain.com, or a simple functional name like pve-lab. Also the IP address of the Proxmox host server can be used. Local IP addresses can be used only if the backup is created on the computer connected to the LAN containing these addresses.
Do not copy hostnames directly from the Proxmox GUI (e.g., https://pve-server01.home.local:8006). Instead, use the base hostname such as pve-server01.home.local.
In case credentials are invalid or the Proxmox host server cannot be accessed, you will not be able to proceed to the next Backup Wizard step
Select Virtual Machines
Next, select the Virtual Machines you wish to back up.
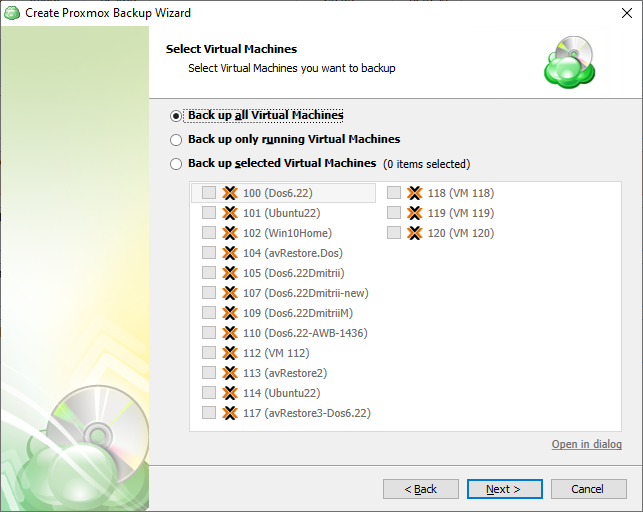
- Back up all Virtual Machines: will backup all VMs regardless of current state. This is recommended only for small environments.
- Back up only running Virtual Machines: Only backs up VMs currently in “Running” status.
- Backup up selected Virtual Machines: Allows you to backup a group of VMs by selecting them from the list below. This allows for greater control of mixed status VMs and for larger environments where it is beneficial to split the backup into multiple plans.
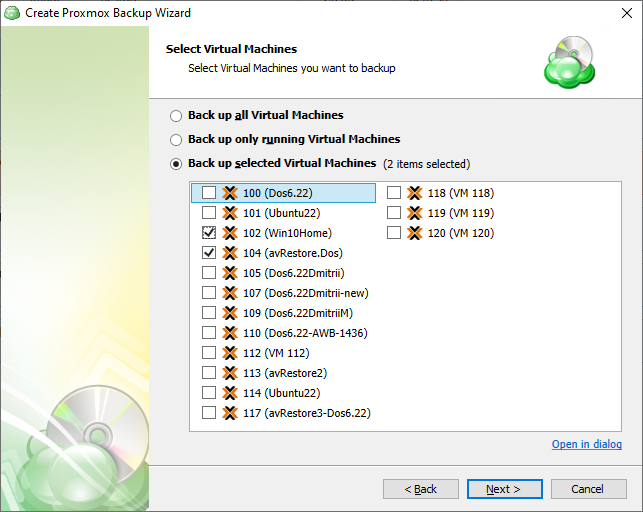
Note that if you switch the backup option from the Back up selected Virtual Machines to any other, the previously made selection is kept for the case if you change your mind and select back the Back up selected Virtual Machines option, but the selected option will be applied regardless the VM selection
Encryption and Compressions
After you have selected which VMs to backup, the next step is to set the encryption options. Although the compression option is not exposed in the Proxmox backup plan user interface, Proxmox backups are compressed automatically.
You can protect your backup by encrypting its contents. Managed Backup supports AES encryption with key sizes of 128, 192, and 256 bits. A larger key size provides stronger encryption but may increase the time required for processing your backup. For more details on AES encryption, refer to the Advanced Encryption Standard.
If you choose to save your backup plan configuration to the destination storage, be aware that the encryption password is not stored in the configuration file for security reasons. Ensure that you save this password securely, as it will be required to restore the backup's contents.
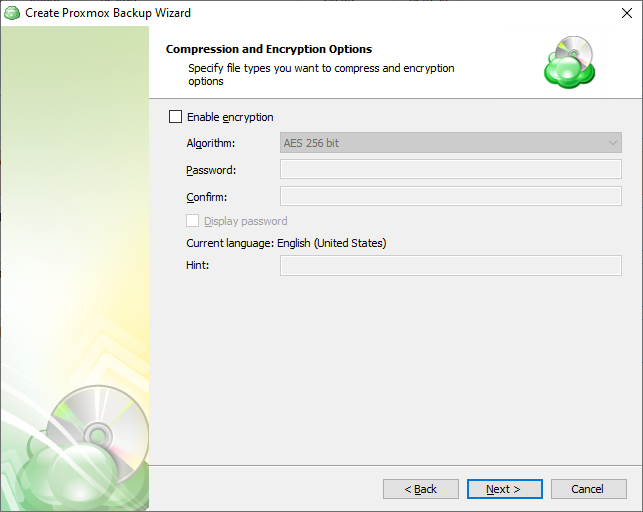
Encrypting the backup adds an additional layer of security to the data at the expense of increased processing resources during the backup process. Several types of encryption are available, with the most secure selected by default
Complete Backup Plan Creation
Proceed with backup wizard. The final step of the wizard will confirm that the Backup Plan was successfully created. If you select the “Run backup now” box, the application will initiate it immediately upon exiting the wizard, otherwise it will run at the next scheduled time.