Manage Backup Data Using Azure Lifecycles
You can efficiently manage your backup data in Microsoft Azure storage by utilizing the lifecycle rule mechanism. This method of data deletion is significantly faster and more efficient than deleting items individually from Azure storage.
The deletion process may take several days, depending on your storage account settings. The progress of deletion cannot be monitored, but you will receive an email notification once the process is complete
Supported Azure Storage Account Types:
The lifecycle management is supported for the following Azure storage account types only:
- Standard general-purpose v2
- Premium block blobs
For more information on Azure lifecycle management, refer to the Optimize costs by automatically managing the data lifecycle chapter at docs.microsoft.com {% endhint %} To use Azure lifecycle management for backup data deletion, you need to specify Azure Active Directory (AD) credentials from a Microsoft Entra ID account.
Specify AD Credentials
To use lifecycle rules, ensure you have an administrator account in Microsoft Entra ID with either the Owner or Contributor role for the Azure subscription that includes the storage you are using. Follow the steps as described in the Get Started with Microsoft Azure chapter:
Specify AD Credentials
To set up the Microsoft Entra ID (formerly Azure AD) credentials, proceed as follows:
- Open the Management Console.
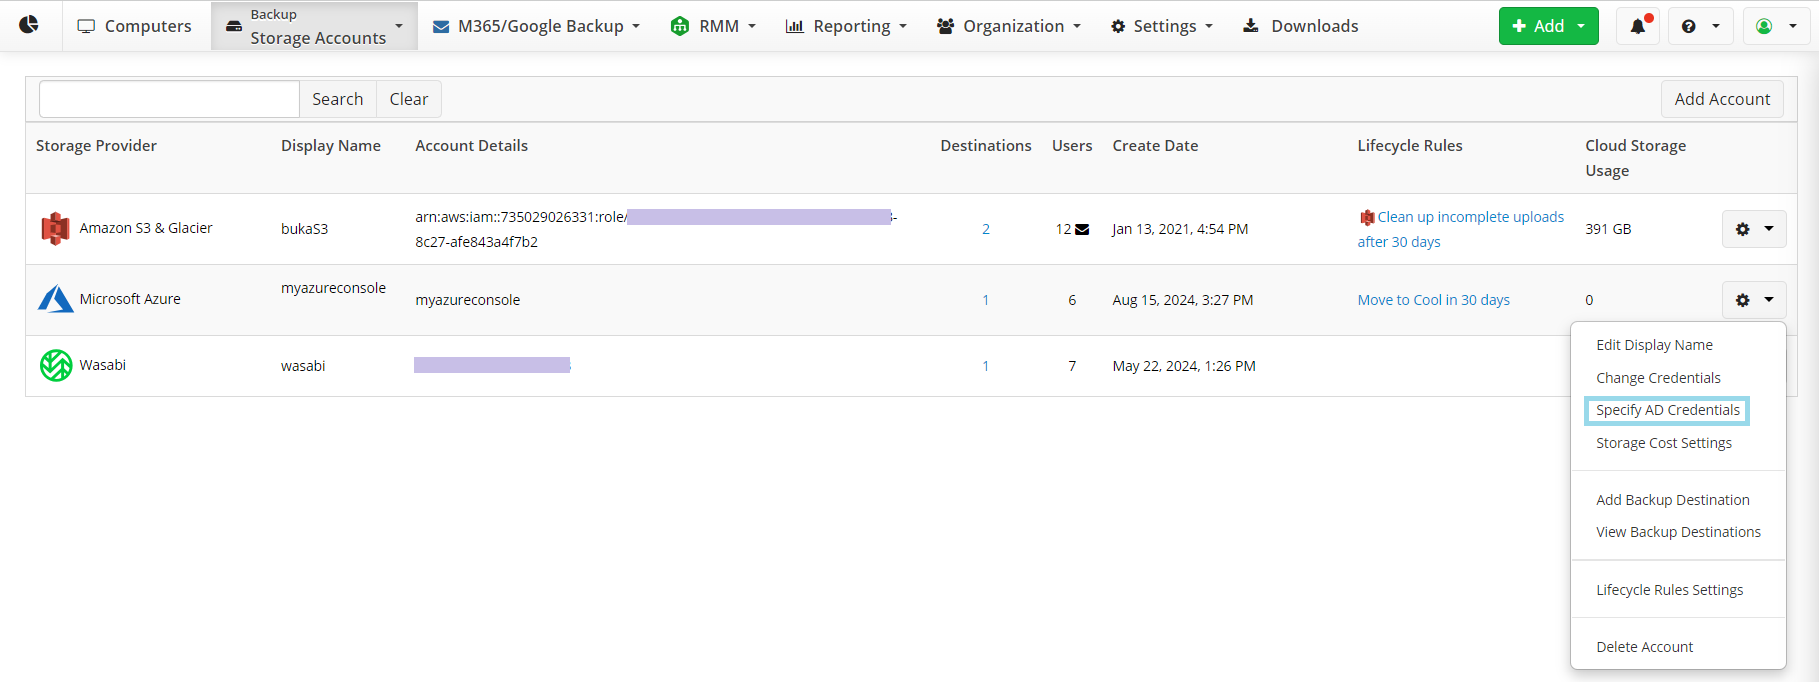
- In the Backup menu, select Storage Accounts.
- Find the required Azure storage account and click the gear icon.
- Select Specify AD Credentials.

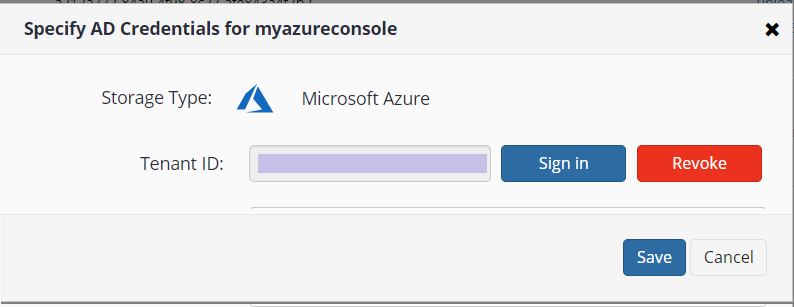
- Sign in with an administrator account in Microsoft Entra ID with either the Owner or Contributor role.

- Click Save.
Now you are ready to configure Lifecycle Rule Settings.