Products: Managed Backup (Agent), Managed Backup (Web)
Article ID: m0752Last Modified: 19-Mar-2026
Add Wasabi Storage Account
Add Wasabi Storage Account in Management Console
To add Wasabi storage account to Managed Backup service:
- Open the Management Console.
- On Backup > Storage Accounts, click + to open the Add storage account wizard.

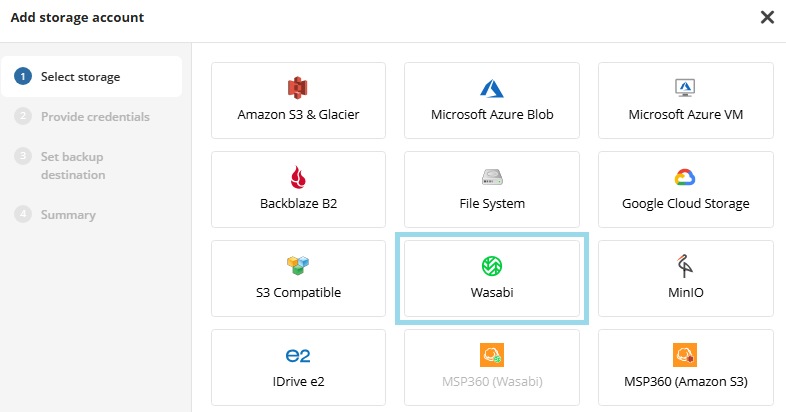
- Select Wasabi. Click Next.
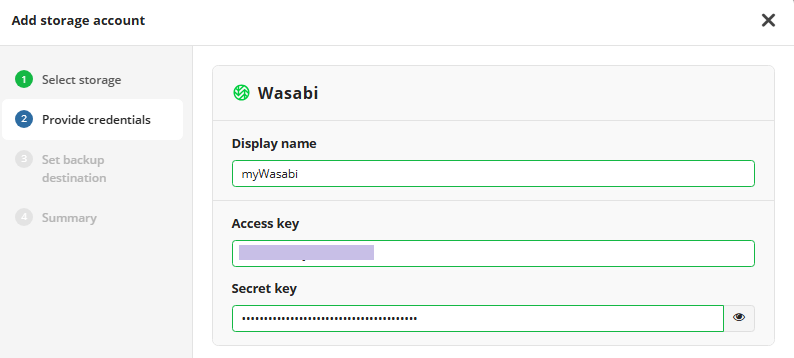
- Specify the display name for the backup destination, access and secret keys to access the specific endpoint associated with the specific region in the storage. Click Next.
Specify the bucket. In the Destination display name field, specify the bucket name which will be displayed as a backup destination, then select whether you will use an existing bucket or create a new one:
- Select the Create New option to create a new bucket. Name the bucket. Select the region to create the new bucket. Object Lock (Immutability) feature is enabled by default. Disable it if this functionality is not needed.
- Select the Select Existing option to use the existing bucket, then select it in the drop-down list. Also you can select an external bucket you have access to. For the buckets with Object Lock turned on, you can enable Object Lock for GFS backups (formerly Object Lock (Immutability)) feature. Otherwise this functionality will be permanently disabled.
Select the companies or users to assign to the storage account.

Note that it may take a while to assign companies and users to the storage account
- Click Next.
- View the storage account summary, then click Save.
Added Wasabi storage account appears in the grid.
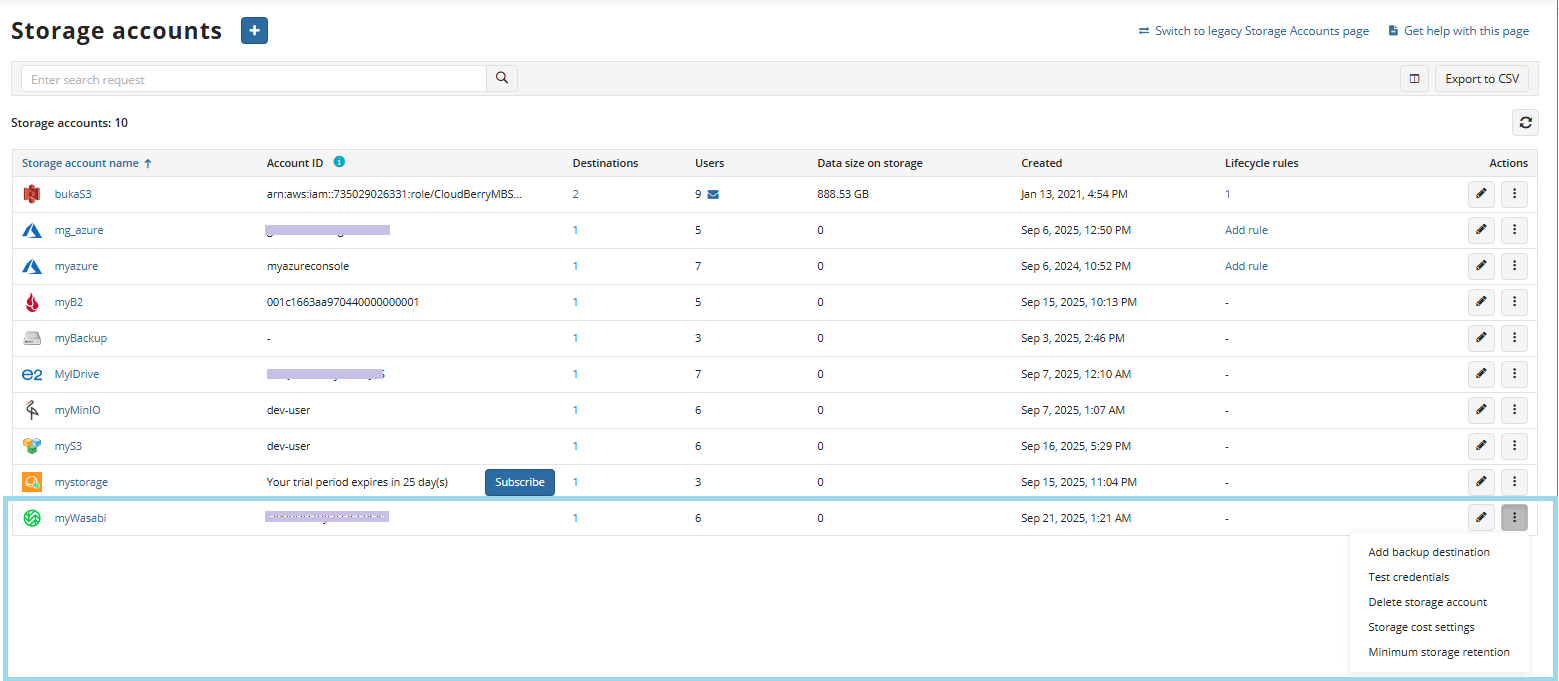
Refer to Manage Storage Accounts for more information on how to manage the added Wasabi storage account.