Add Network Share to Back Up
This chapter describes how to add a network share to the backup scope for Managed Backup beginners. In case you want to add a network share as a backup destination, refer to the File System Storage Accounts article.
- Add network share to backup in Management Console.
- Add network share to backup in the Backup Agent.
- Back up EFS-encrypted files on shared network resources.
1. Add Network Share to Backup in Management Console
On the What to back up step of the backup wizard, you can add a network share to be included in the backup plan.

Use Advanced options to add a network share to include its content to backup scope:

- Expand Advanced options and click Add network share
- Provide the path to the network share in the following format:
\\<server name>\<share name>
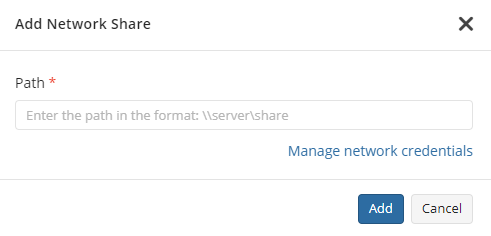
- Click Manage network credentials and provide the credentials of the account who have access to the network share.
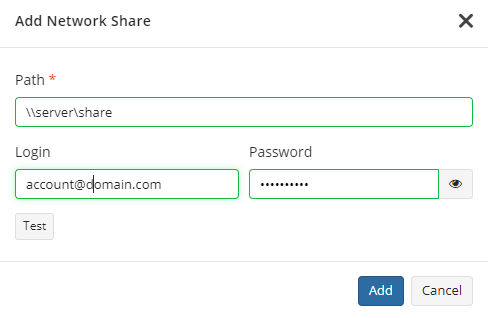
- Click Test to check whether the network share is accessible.
- Click Add
- Select files to back up on the added network share.
Consider that Managed Backup does not detect file changes based on content. Instead, it detects file changes by checking the modification date and uses this to determine whether a new copy of the file needs to be backed up.
Click Next.
Edit Network Share for Backup in Management Console
To add a new Local file backup system account or manage existing local file backup system account
- Open the Management Console.
- On Computers, expand actions and select Edit > Edit Network Credentials.

- Edit existing network credentials for the share.
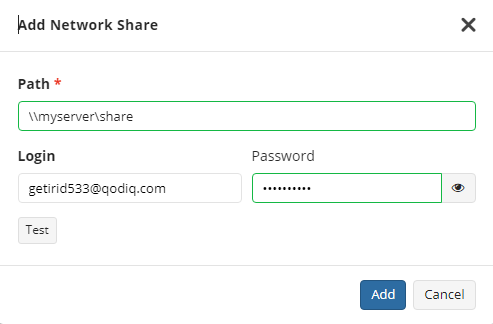
- Click Test to check whether the network share is accessible.
- Click Add to save the changes.
2. Add Network Share to Backup in the Backup Agent
On the Backup Source step of the backup wizard, you can add a network share to be included in the backup plan.
Use Advanced options to add a network share to include its content to backup scope:
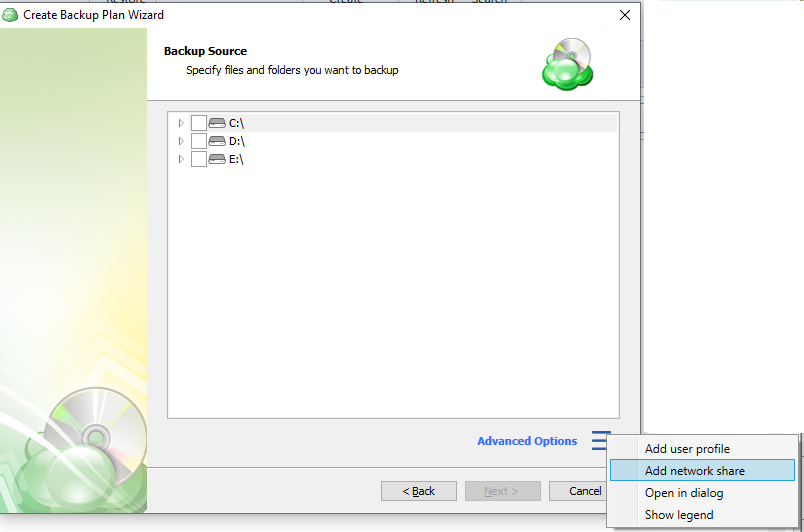
- Expand Advanced options and click Add network share
- Provide the path to the network share in the following format:
\\<server name>\<share name>
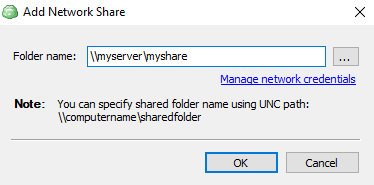
- Click Manage network credentials and provide the credentials of the account provide the credentials of the account who have access to the network share.
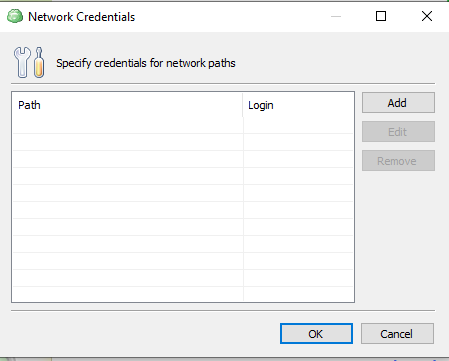
- Click Test to check whether the network share is accessible.
- Click Add
- Select files to back up on the added network share.
Click Next.