Add Computer for Image-Based Backup
This chapter describes the first steps of Managed Backup beginners. Read this to add your first computer to create your first image-based backup:
- Sign Into Management Console.
- Add a Computer.
- Authorize the Computer.
- Configure Email Service (optional).
- Create First File Backup.
1. Log in to Management Console
As you signed up for a free trial, check your inbox for an email message with instructions on how to log in to the Management Console. This email has the You’ve signed up for MSP360 Managed Backup subject and contains your initial password.
Click the link in the email to access the Management Console.
To add a computer, proceed as follows:
- Open the Management Console as a provider or an administrator who can manage the company that will contain the computer or all companies.
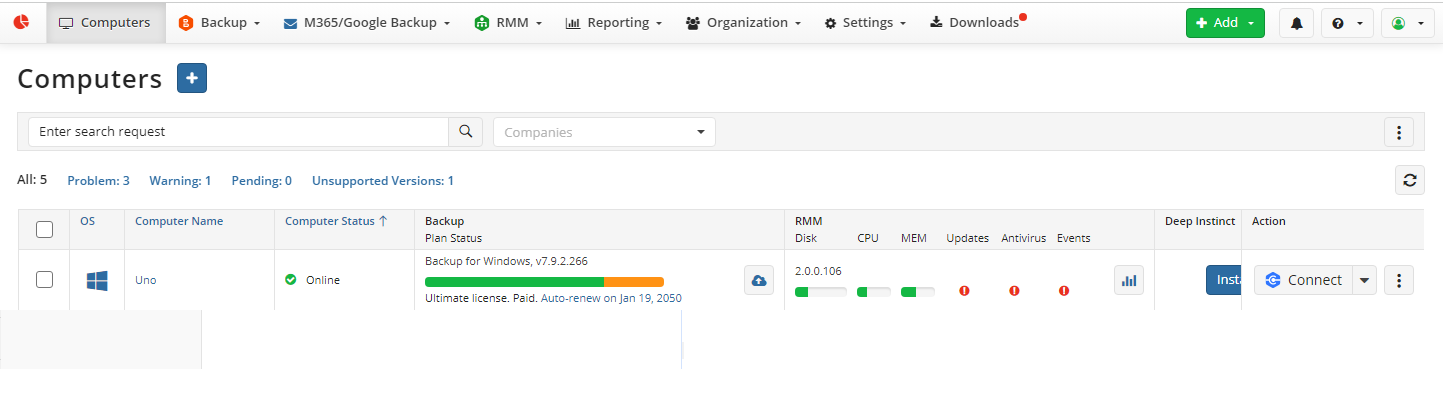
- On the Computers click +.
Proceed with Add Computer wizard as described below
Prepare Configuration to Add Computer
- On the Pre-Configuration step, select the MSP360 product to install on the computer. Later you can add other products, if you want.
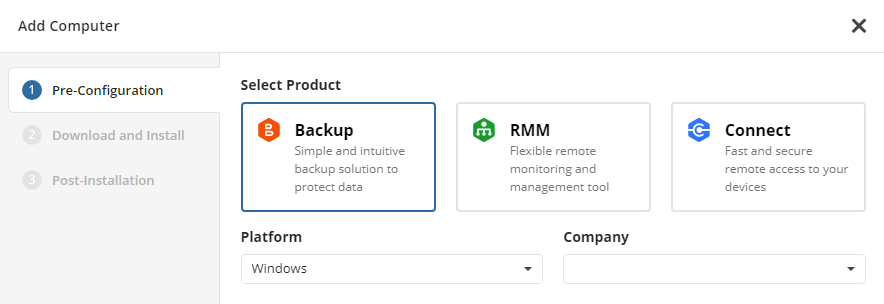
- Select the operating system of the computer.
- Select the company you are planning to add this computer to. Expand the Company to select one of the existing companies or to create a new one. To add an existing company, click on the company name.
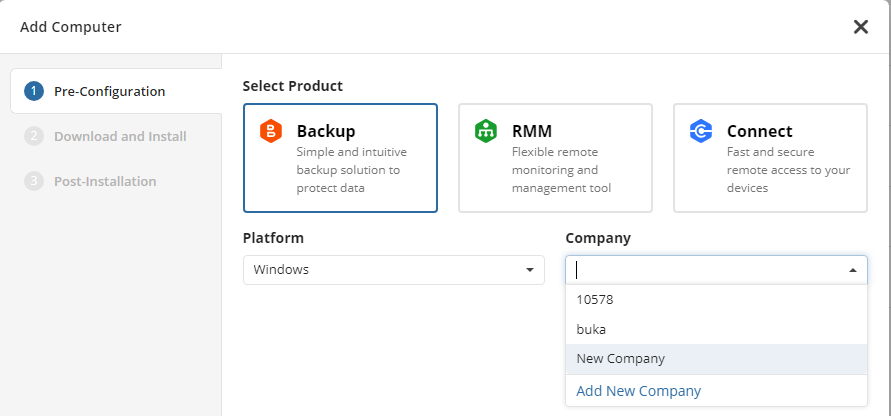
To create a new company click Add New Company and specify the new company name. You can configure your new company later as described in Companies.
- Click Next to select the installation method.
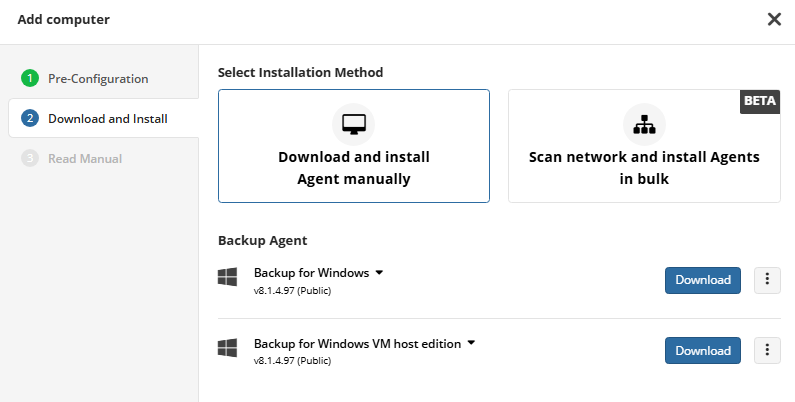
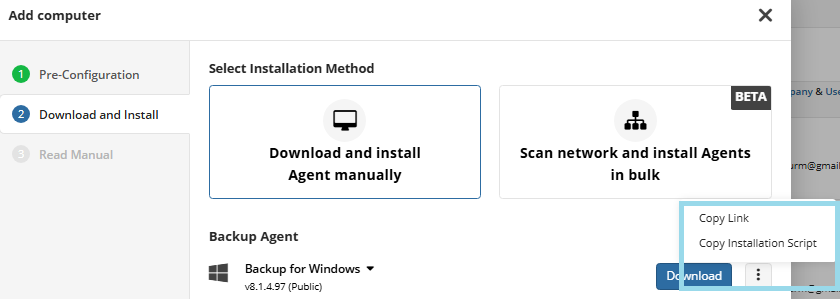
Select Installation Method to Add Computer
On this step you can select the installation method. You can perform downloading and installation manually with Download and install manually or use beta version of Discover and Deploy tool with Scan network and install agents on bulk.
Download and install manually
- Select the package to install on the computer. In case there are no generated builds, click Generate after the build you are going to install. Wait while the build will be generated for you. By default, the public build is suggested to be installed. You can see the newest version of the product and can make it public by the Make Public button. As soon as the newest version becomes public it will be available for all users. In case you already have generated builds and the Enable Sandbox option for the download panel is enabled, you can add the newest version to your sandbox to test it before making it public. To add the newest version to sandbox, click the Make Sandbox button.
You can copy the installation script to execute it on the added computer or copy the link to download. To perform these operations use the actions next to the Download button.
- Download and install the package on the target computer. To perform these operations use the actions next to the Download button. To install this script on the target computer, run PowerShell with administrator rights on it, then execute the copied script. This computer, except for computers that are already included in another company, will be included in the specified company. If the installation script is executed on a computer that is already included in another company, Agent will be installed, but the original company remains unchanged.
- Click Next. On the Post Installation step you will see the instructions on how to complete the procedure.
Note, in some cases you will need to refresh the Computers page to see the new computers. Use the Pending filter to quickly find added, but not yet authorized computers. You should authorize the computer before you will be able to manage it. Close the wizard if all required builds are downloaded. The Backup Agent must be installed in the default location.
3. Authorize Computer
You need to authorize the computer to associate the customer’s computer with the newly installed Agent.
Once the selected Agent is installed on the computer, refresh the Computers page to see the new computers. Use the Pending filter to quickly find computers that have been added but are not yet authorized.
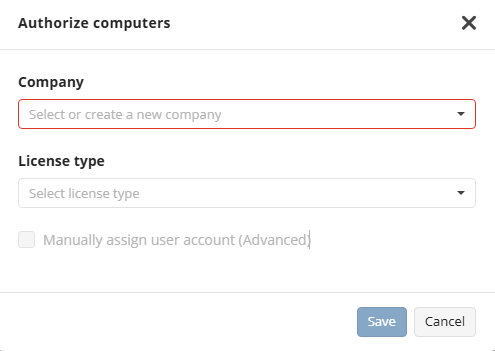
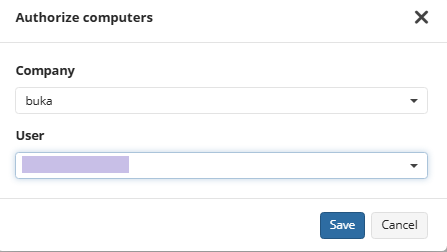
- In the Computers grid find the computer. In the Company & User Account column, click Authorize or click Pending next to the computer name.

- Select the existing company or create a new one to add the computer. In case you create a new company you can configure the new company later. Now you only set a name for the new company.
You can manually associate the computer with the user.
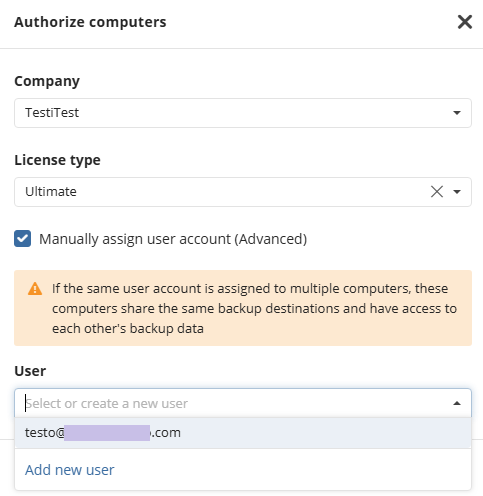
If the user is not already added, select Add new user. If you are using backup it is recommended to add real users to avoid any inconsistency. Users created automatically can be used for RMM and Connect Agents.
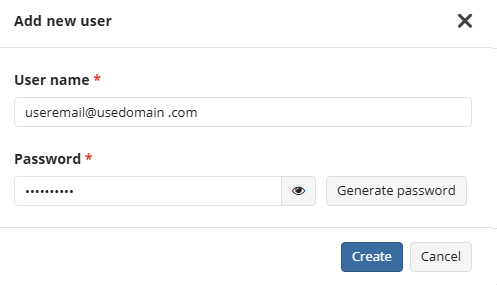
Save provided data. The new user will be added and enabled by default.

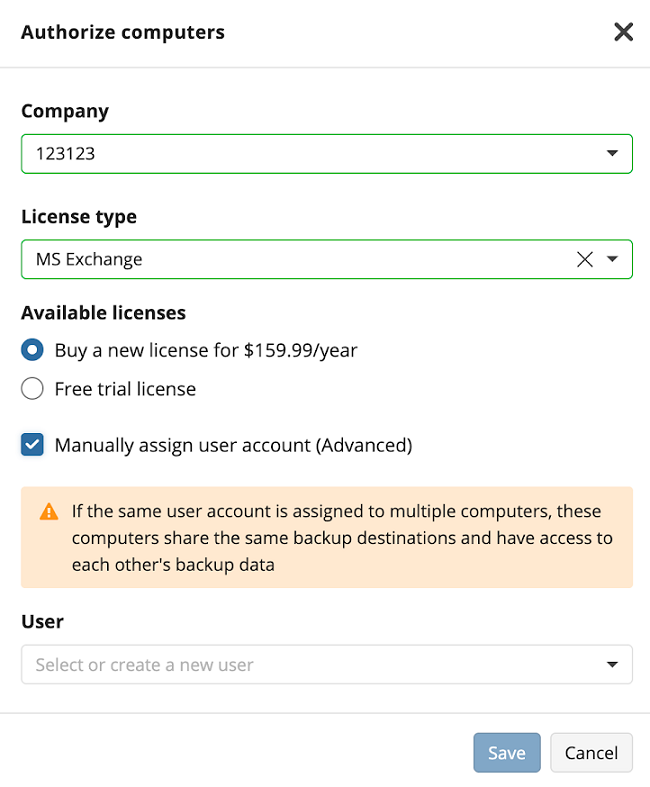
It is not recommended to use the provider account for backup purposes. Consider, if the same account is assigned to multiple computers, these computers will share the same backup destinations and backup data access will also be shared between these computers
If you want to select an existing user, the selected user should be enabled and included in the selected company. Check the user status on the Organization > Users.
If this is the first authorization after installing the Backup Agent, you can set the license type for the Backup Agent to use on this computer.
4. Configure Email Service
By default, when you add your first computer, Email Service is configured as follows:

In case these default settings do not match with your requirements, you need to configure the Email Service. In Management Console, navigate to Settings > Email Service to specify an email address your end users receive notifications from and select the email service. This step is mandatory.
Verify the email address and click Save Changes.

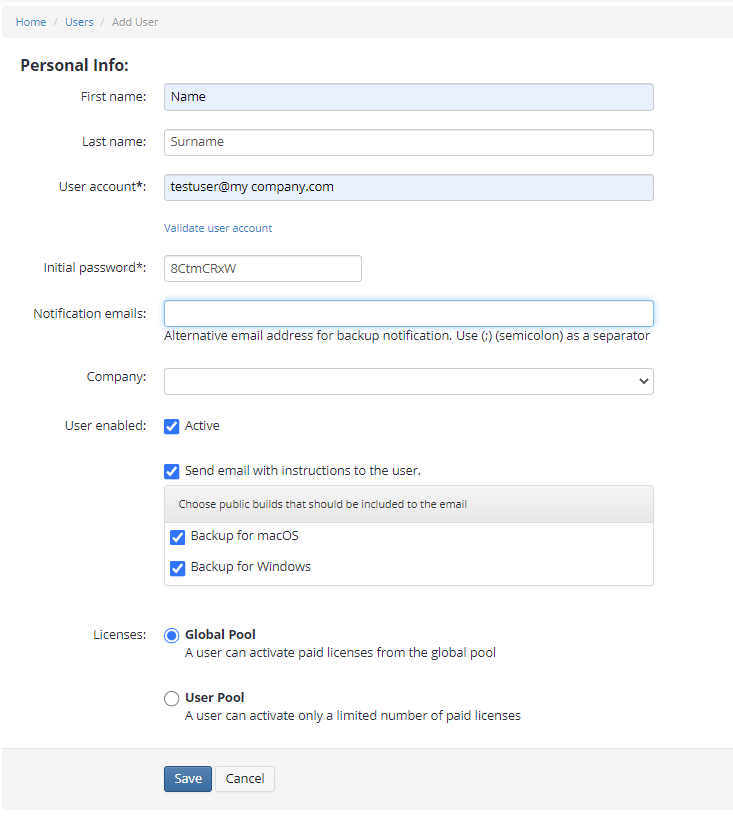
- Fill in the form, in the Public builds that should be included in email group, select the required Backup Agent installation packages. You can assign the new user to the company (read about company creation in the Create Company paragraph), or create a new company with another backup destination, if necessary.
- Once you are done, click Save.
Create Image-Based Backup
As you are done, proceed to create a new image-based backup.