Instant Restore to Hyper-V in Management Console (BETA)
Managed Backup allows you to perform an instant restore of image-based backups directly to a Hyper-V virtual machine.
During an instant restore, the virtual machine is created and started before all backup data has been fully restored. This allows you to access and use the VM almost immediately, minimizing downtime.
The remaining data is retrieved from the backup storage on demand while the VM is running. Frequently accessed data is loaded first, and the rest is transferred in the background according to the virtualization environment's caching and I/O mechanisms. This enables the VM to remain operational throughout the restore process until all data has been fully restored.
Before You Begin
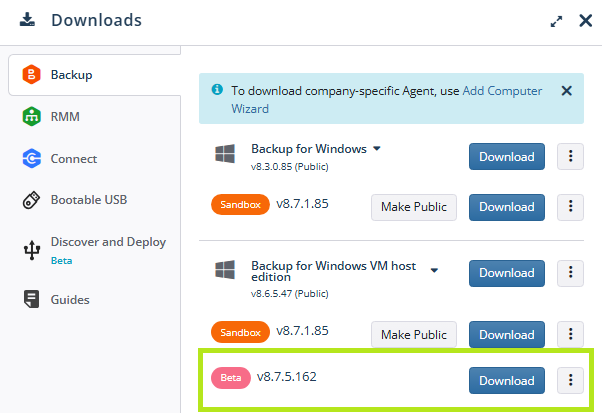
This functionality requires the private beta installation package to be installed. Click Request beta functionality to receive Backup Agent 8.7.5 for Windows private beta installation package for temporary testing. When the beta installation package becomes available, it will appear on the appropriate Downloads tab.
Hardware requirements for instant restore are higher, with a minimum of 16GB of RAM. Instant restore to Hyper-V also requires temporary disk space equal to the size of the VM. This space is released after the restore is complete.
Start Instant Restore
To start a new instant restore, proceed as follows:
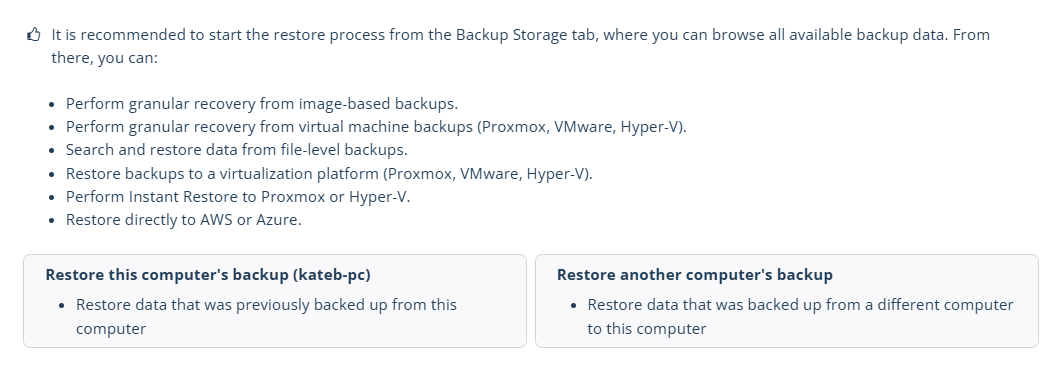
- On the side panel, click +Add new plan and select a restore option from the backup storage browser for this or another computer. You will be redirected to the backup storage browser to find the required backup and configure the restore options.
- Restore this computer's backup. With this option selected, the backup storage browser will open with all backup destinations assigned to this computer.
- Restore another computer's backup. With this option selected, you will be prompted to select another computer, and then the backup storage browser will open with all backup destinations assigned to this computer and the selected computer.
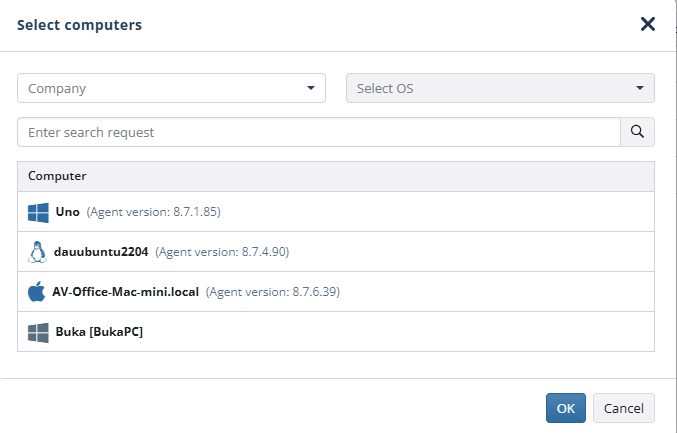
- If the Restore another computer's backup option is selected, select another computer from the list and click OK.
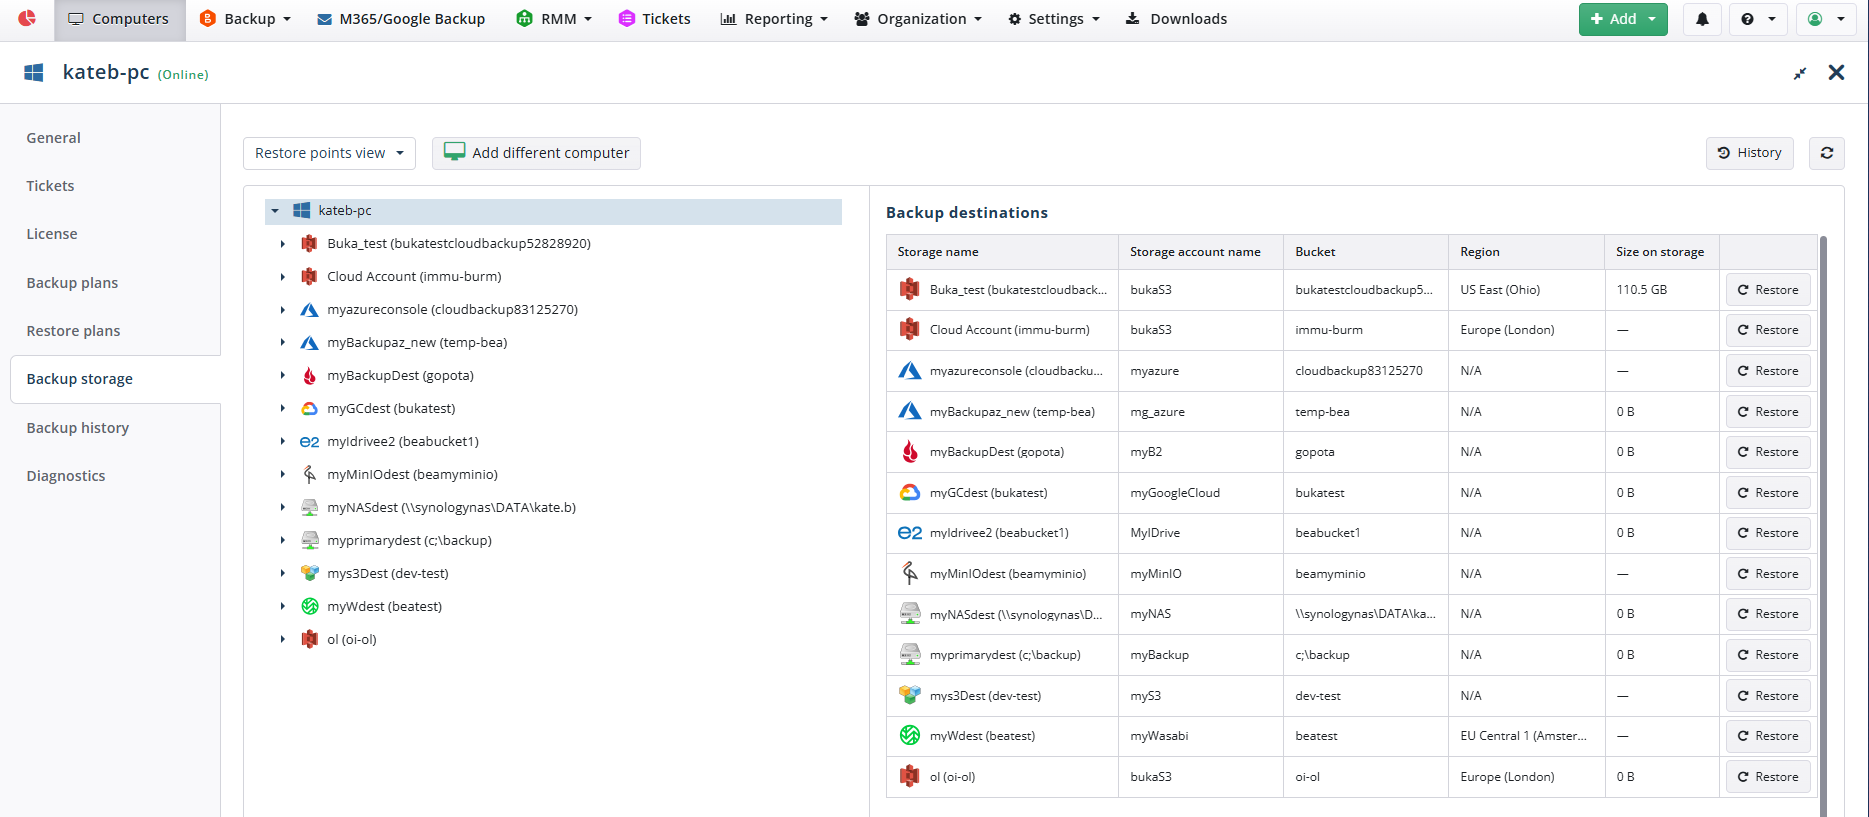
- Expand the backup destination that contains the required backup from the list and select the required backup plan. If the data on the selected computer was backed up using different backup prefixes, select the correct prefix.
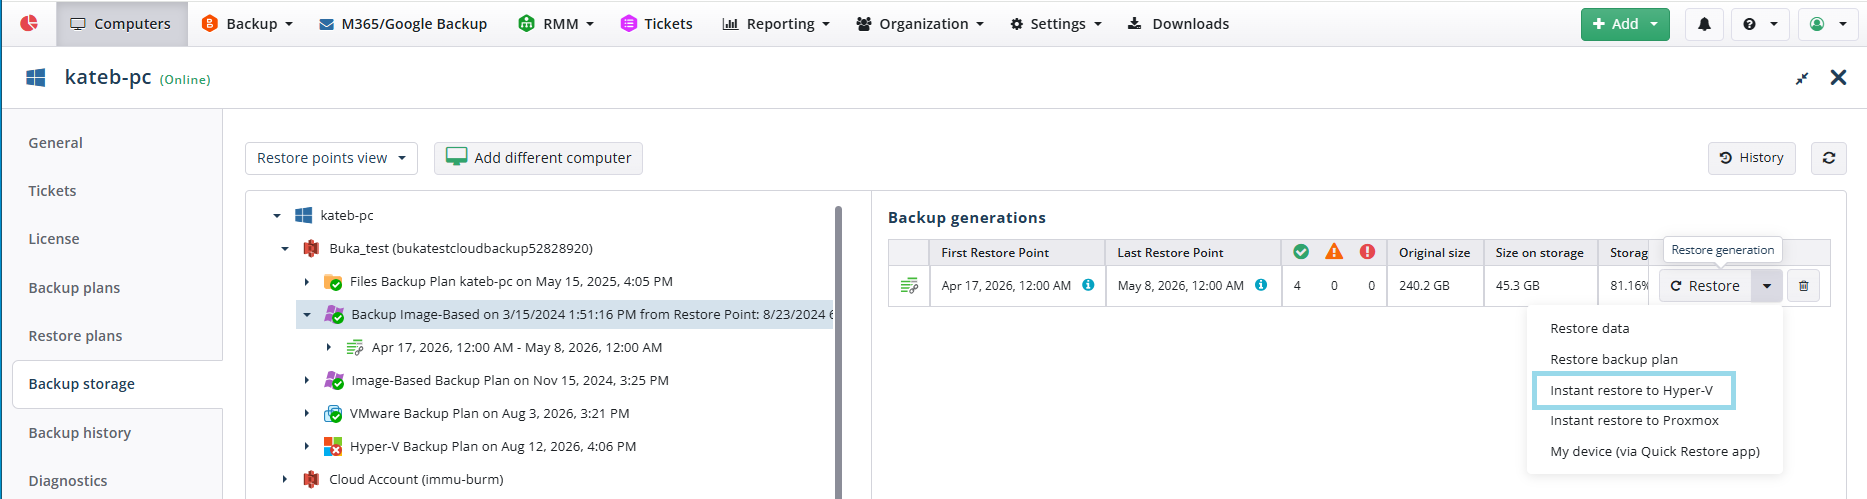
- Click the required backup plan. In the right panel, expand the Restore control next to the required generation and select Instant restore to Hyper-V.
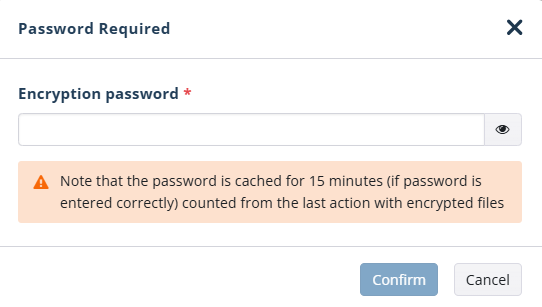
- (Optional) Provide the password to decrypt your encrypted backup. If the backup was not encrypted, this step is omitted.
- Configure the restore. The following should be configured:
- Hyper-V machine name. You can type a new name or select an existing virtual machine. In this case, the Overwrite existing virtual machine option should be selected.
- Destination folder that will contain the virtual machine.
- Number of virtual processors and memory settings.
- Virtual network.
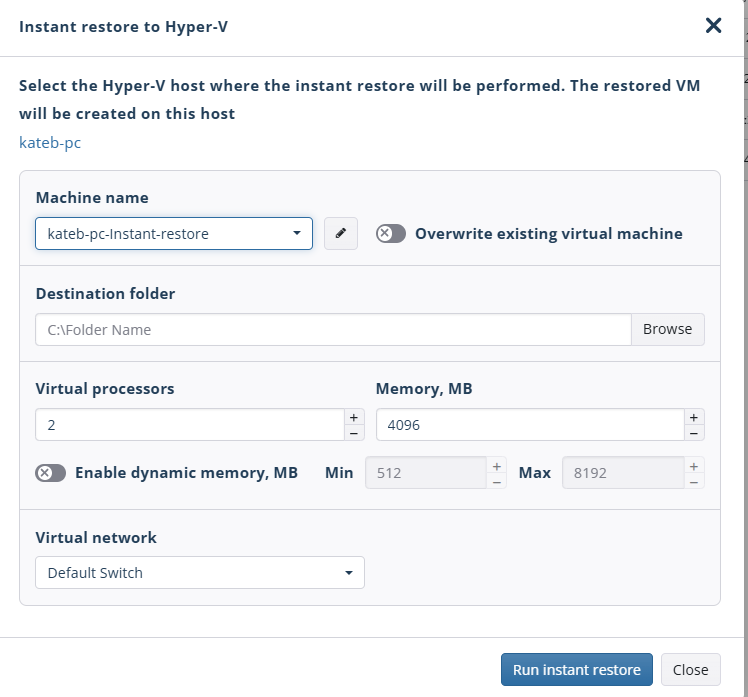
- Once the restore is configured, click Run instant restore. The restore process starts.
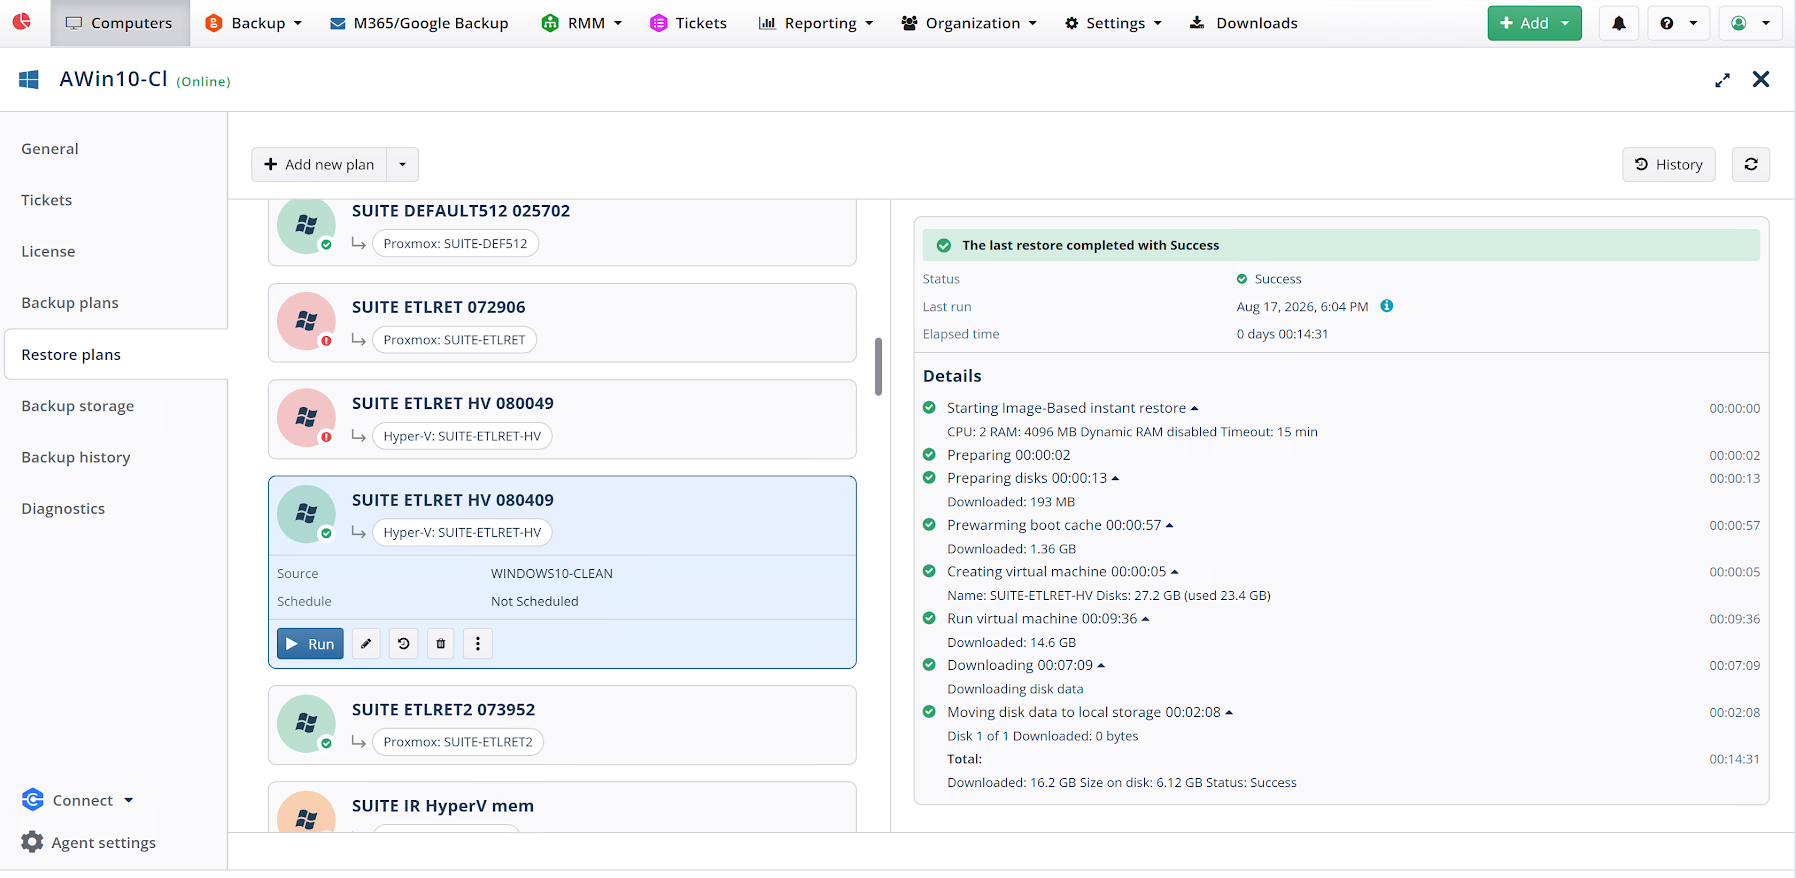
To monitor the instant restore process, navigate to Backup > Computers, click the name of the computer whose backup is being restored, and expand the restore plan on the Restore plans tab.
| Top |