Products: RMM Agent
Article ID: m0312Last Modified: 28-Sep-2024
Install RMM Agent
Generate New Build
First, make sure you have the latest RMM Agent version available for installation. To do this, proceed as follows:
Open the Management Console.
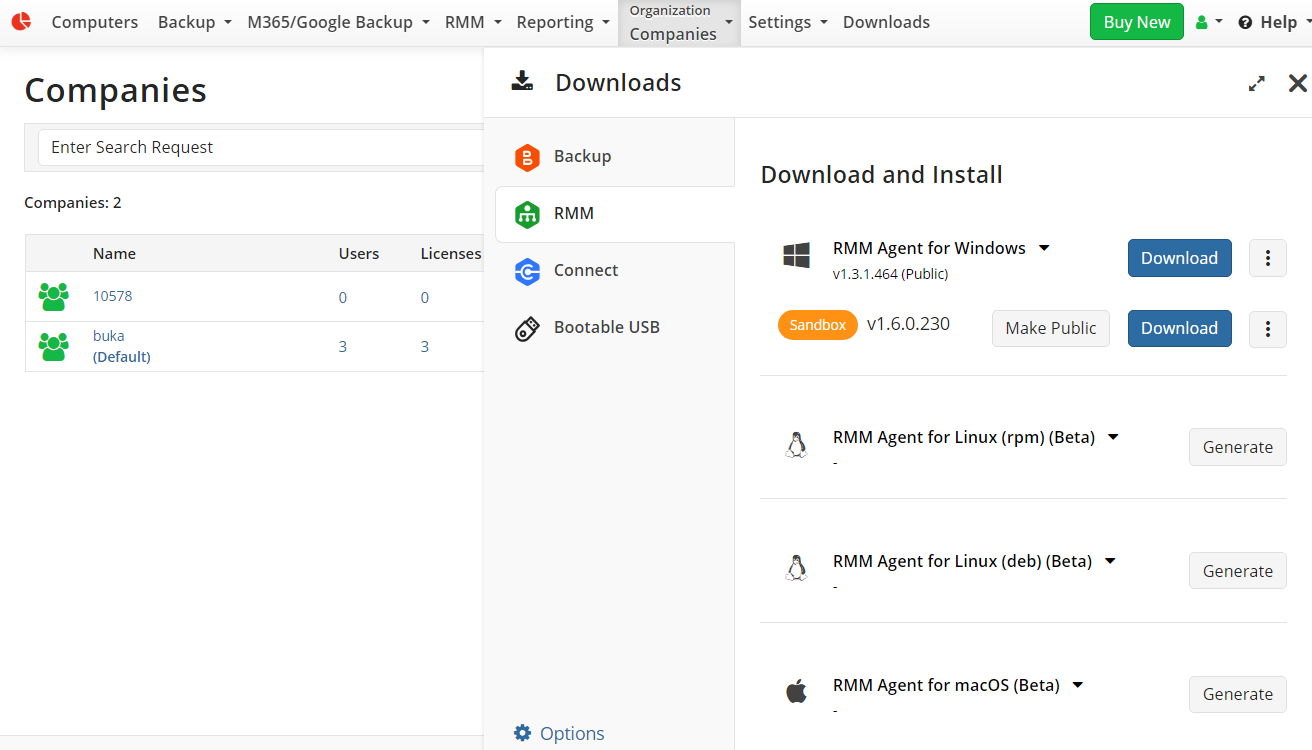
Select Downloads.
Open RMM Agent tab.
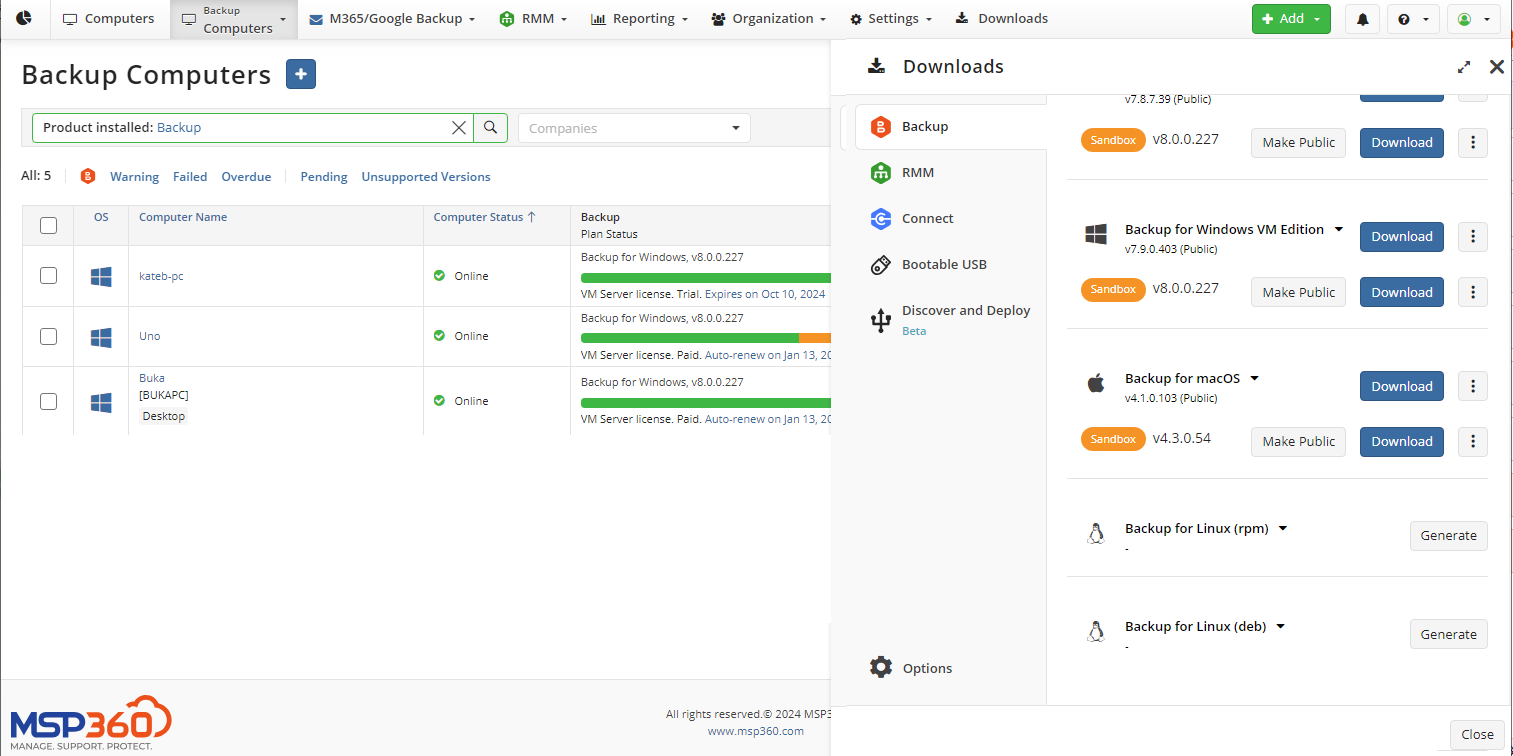
- Find the RMM Agent that suits your operating system (deb or rpm). Click Download. If you see the Update Public to Newer {version}, this means the latest version is available. Click Make Public. Once the latest version appears in the Builds tab, click Download.
System Requirements
Make sure the target computer meets the RMM Agent system requirements.
Supported OS: Supported operating systems (only x86_64):
- Ubuntu 12.04/.../22,
- Debian 10.x, 11.x
- SUSE Enterprise 12 SP2/15
- openSUSE 15.x,
- Red Hat 7.x, 8.x, 9.x
- Fedora Linux 33, 34, 35, 36, 37
- CentOS 7.x, 8.x
- Oracle Linux 7.x, 8.x, 9.x
Local RMM Agent Installation
To install the RMM agent to the local computer only, proceed to the Downloads menu in Management Console.
Open the Management Console.
Select Downloads.
Open RMM Agent tab.
- Find the RMM Agent that suits your operating system (deb or rpm). Click Download.
- If you see the Update Public to Newer {version}, this means the latest version is available. Click Make Public. Once the latest version appears in the Builds tab, click Download.
- Run the installation file.
Once installed, the RMM Agent icon appears in the system tray.