Install Backup Agent Using Windows GPO
Group Policy is a feature in Microsoft Windows that enables centralized management and configuration of operating systems, applications, and user settings within an Active Directory (AD) environment.
A Group Policy Object (GPO) is a collection of settings that define what users and computers can or cannot do—such as enforcing password complexity, restricting access to folders, or deploying software remotely.
This article outlines the steps for using GPO to perform a remote installation of the Backup Agent.
Prerequisites
To use the Group Policy Management, you must:
- Have the Group Policy Management feature installed on a computer running Windows Server that is joined to the domain.
- Have permissions to edit settings, delete, and modify security on the GPO.
Group Policy software deployment does not support .exe files. You will need to use a script and group policy to deploy software with an .exe. This method requires the users to have administrator rights and the ability to run scripts
Steps for Deploying Backup Agent Installation Package
Step 1: Prepare a PowerShell Script
The following PowerShell script installs the Backup Agent. Authentication should be performed separately using a dedicated script:
powershell -ExecutionPolicy Bypass -WindowStyle hidden -command "& {[Net.ServicePointManager]::SecurityProtocol = [Net.SecurityProtocolType]::Tls12; if (-Not (Get-Module -Name msp360 -ListAvailable)) {iex (New-Object System.Net.WebClient).DownloadString('https://git.io/JUSAA'); Install-MSP360Module}; if (-Not (Get-MBSAgent -ErrorAction SilentlyContinue)) {Install-MBSAgent -URL 'YOUR_URL'}}"
Replace YOUR_URL with the link copied from the Management Console > Downloads next to the required Agent entry.
- The script checks whether the PowerShell module and the Agent are already installed. If both are present, the installation is skipped.
- Administrative privileges are required to run this script.

Step 2: Configure GPO Settings
- Open Windows Administrative Tools.
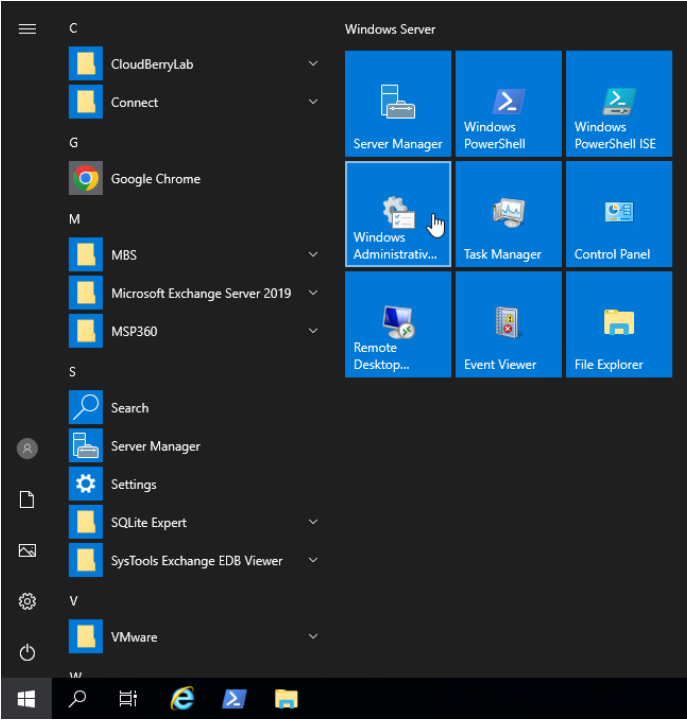
- Open Group Policy Management. This Windows tool will be used for remote deployment of Backup Agent software.

- Right-click on the Group Policy Objects, then click New.
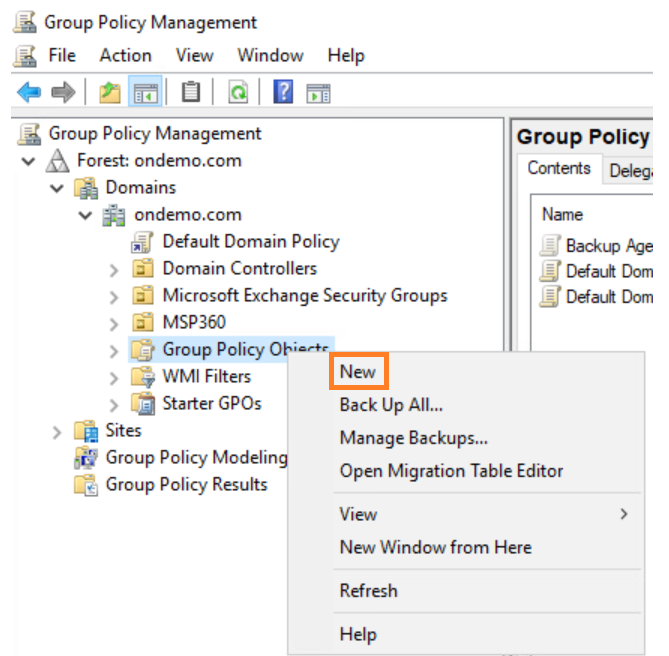
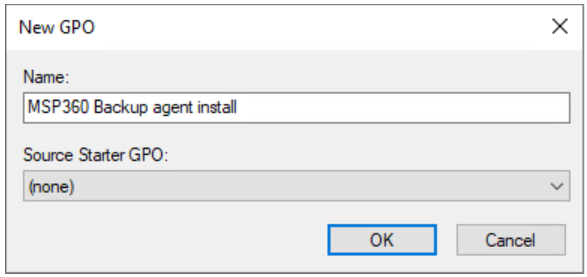
- Name the new policy.
- Right-click on the new GPO rule and select Edit.

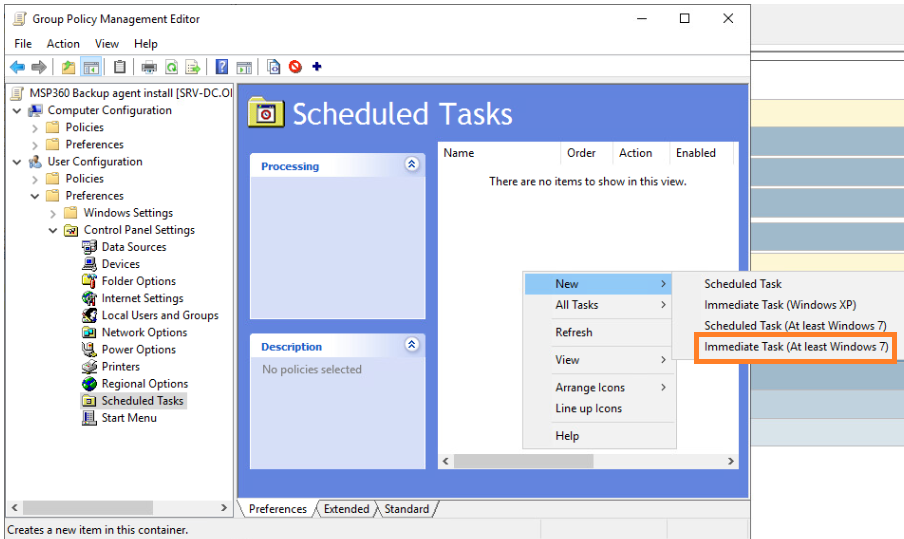
- In the left sidebar menu, navigate to User Configuration > Preferences > Control Panel Settings > Scheduled Tasks.
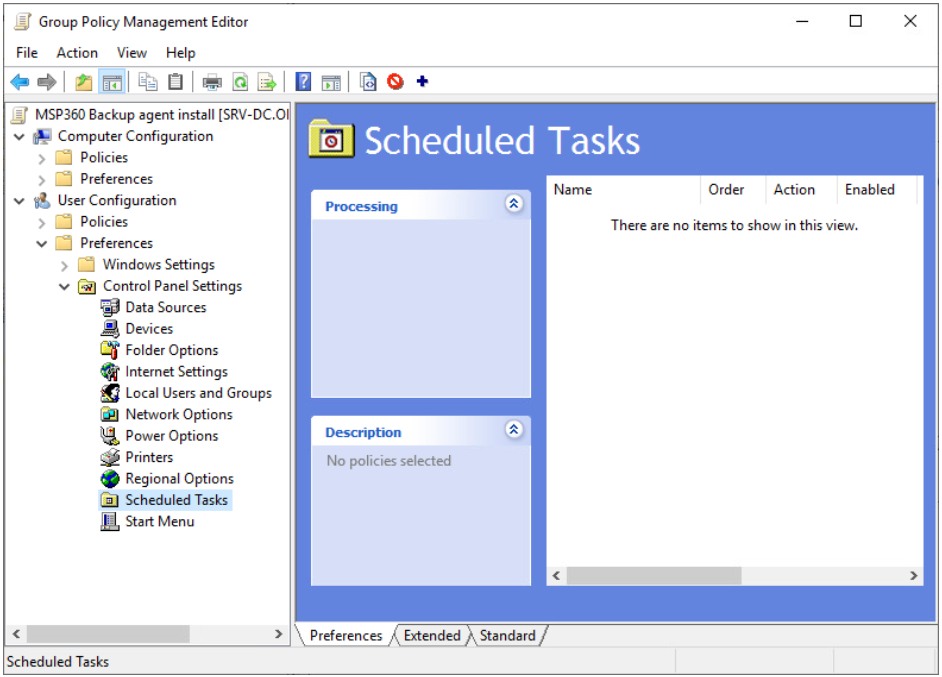
- Right-click inside Scheduled Tasks, and select New > Immediate Task (At least Windows 7).
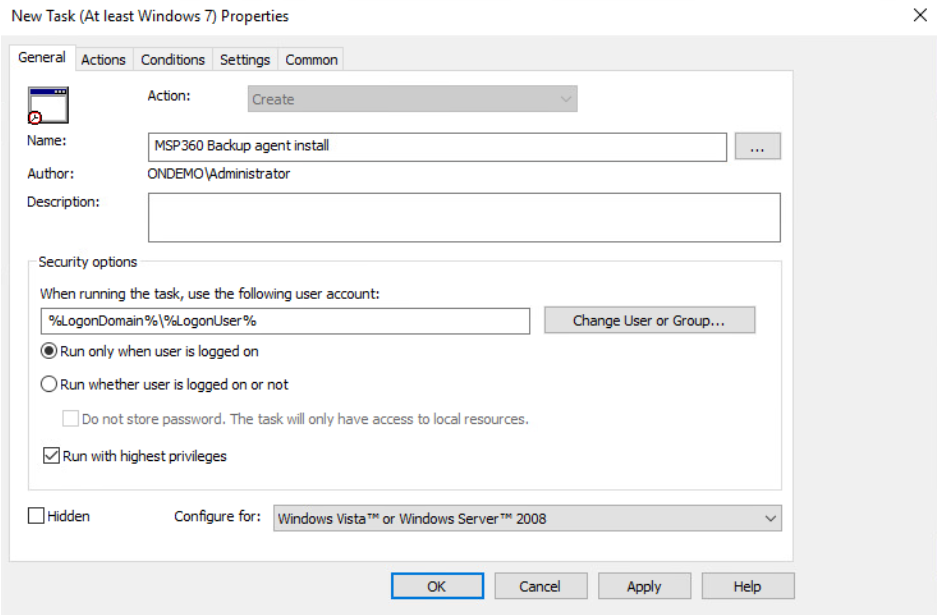
- In the New Task (At least Windows 7) Properties window, specify the name and enable Run with highest privileges.
- Go to the Actions tab and click New....
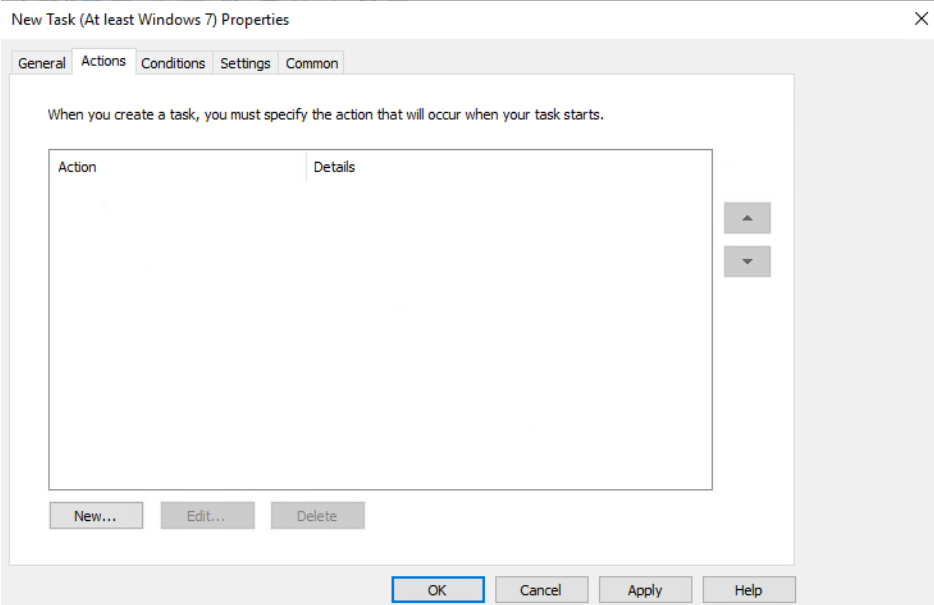
- Select Action: Start a program, and in the Program/script field, enter powershell and in the Add arguments(optional) field, paste the script created earlier, starting with -ExecutionPolicy…

- After that, click OK in the New Task window, and then click OK again in the New Task (At least Window 7) window.
In addition, you can append the script with a command that authenticates a user via user credentials:
- Open the installation folder.
- Run the following command:
Add-MBSUserAccount -User 'USERNAME' -Password (ConvertTo-SecureString -string 'USERPASSWORD' -AsPlainText -Force)
Where USERNAME - backup user name, and USERPASSWORD - backup user password.
- Once the Scheduled Task in the new Group Policy Object is created, exit the Group Policy Management Editor.
If the script will only install the Backup Agent, it can be used on all machines without any issue. If the command to authorize the Backup Agent with a backup user is included, it might require writing a separate script for each user/PC
Note that script should be run just once, as Windows GPO monitors subsequent installations of the same software builds
Remote AD Authentication via Management Console
To use this feature the Show Windows authentication (AD direct mode) option should be enabled in Settings > Global Agent Options in the Management Console.

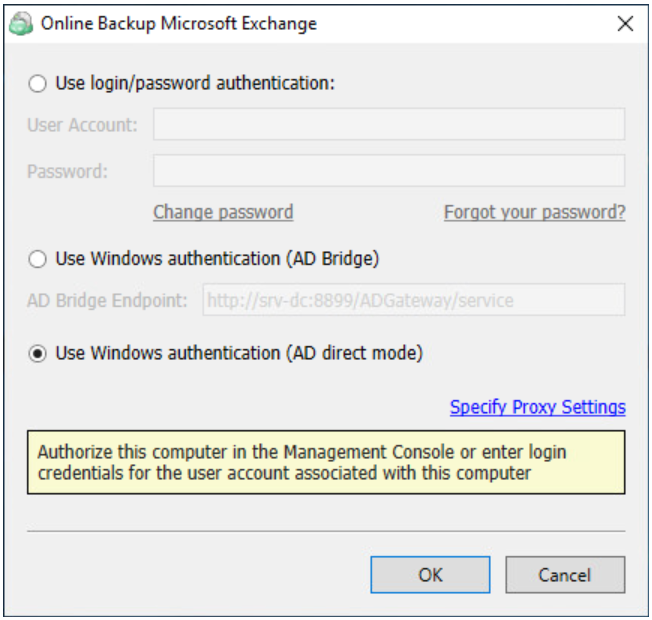
Once a user runs a Backup Agent for the first time, authentication is required. Provided with allowed options, they should select the Use Windows authentication (AD direct mode) option.
They will fail at first, expectedly.
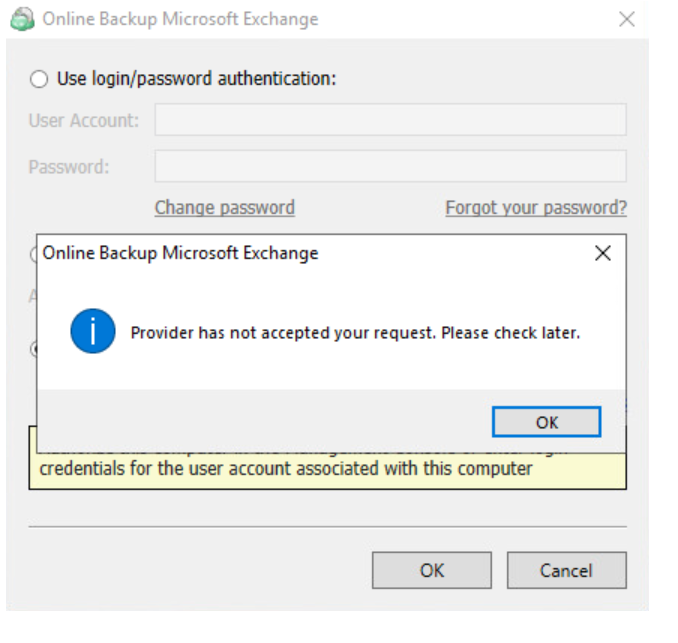
To rectify this issue, you need to accept their AD request from the Management Console.
Under Organization, click Users. Next, click AD Requests.

Click the little green tick icon and you're all done.

Now, when the user authenticates again, the Backup Agent will launch, allowing them to create backup and restore plans. You can also configure backup and restore plans remotely from the Management Console, which includes a browser-based Backup Wizard.
Remote Authentication with AD Bridge
To use this feature Show Windows authentication (AD Bridge) should be enabled in Settings > Global Agent Options in the Management Console. Select this checkbox to allow users to authenticate via AD Bridge.

Once a user runs a Backup Agent for the first time, authentication is required. Provided with allowed options, they should select the Use Windows authentication (AD Bridge) option.
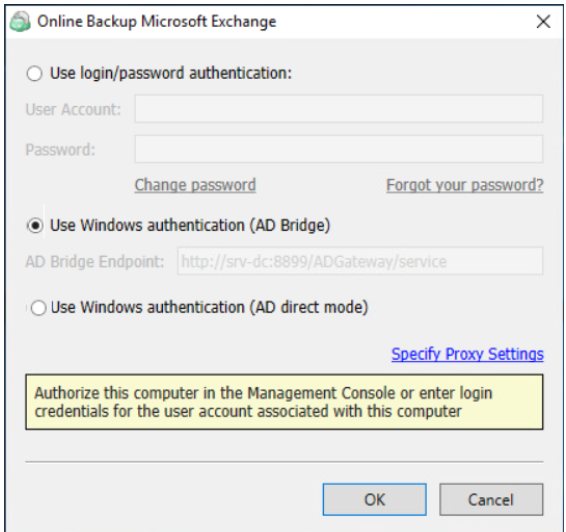
If the SCP endpoint is registered in your domain, the URL will appear automatically.
The following PowerShell script can be used to Install the Backup Agent and authorize via AD Bridge:
powershell -ExecutionPolicy Bypass -WindowStyle hidden -command "& {[Net.ServicePointManager]::SecurityProtocol = [Net.SecurityProtocolType]::Tls12; if (-Not (Get-Module -Name msp360 -ListAvailable)) {iex (New-Object System.Net.WebClient).DownloadString('https://git.io/JUSAA'); Install-MSP360Module}; if (-Not (Get-MBSAgent -ErrorAction SilentlyContinue)) {Install-MBSAgent -URL 'YOUR_URL'; Add-MBSUserAccount -WindowsAuth -ADBridgeEndpoint 'YOUR_ADBRIDGE_ENDPOINT'}}"
- Replace YOUR_ADBRIDGE_ENDPOINT with the URL of your AD Bridge service installed on one of the servers.
- Administrative privileges are required to run this script.