Install Backup Agent on Windows Server Core
Backup Agent can be installed on instances with Windows Server Core Edition OS.
Windows Server Core Editions save computing resources by cutting down on such features as graphical user interfaces and inessential services. Nonetheless, user data still needs to be kept safe.
This chapter covers the installation of the Backup Agent instance on a computer running under Windows Server Core.
Install and Configure Backup Agent
Install the Backup Agent for Windows Server.
- Switch to the directory where your Backup Agent installer is located. For example:
cd “C:\users\user\Downloads
- Run the installer:
installerName.exe /S
Note, the /S parameter provides the silent installation. In a few minutes, the software will be installed to C:\Program Files (x86)\Company\online backup
- Navigate to the installation directory. The Backup Agent command-line utility is cbb.exe:
cd C:\Program Files (x86)\Company\online backup
- Add your MBS account:
cbb.exe addAccount -e yourEmail@yourEmailService.com -p yourPassword
Create a Test Backup Plan
To make sure the installation succeeded, create a test backup plan.
To do this, proceed as follows:
cbb.exe addbackupPlan -n testPlan -d C:\users\user\Desktop -a testStorage
where:
- -n is the plan's name
- -d is the directory to be backed up
- -a is the cloud storage name (check the list of available storage accounts in Storage Account in Management Console)
Run the test backup plan:
cbb.exe plan -r "testPlan"
The plan will start and may take some time to complete.
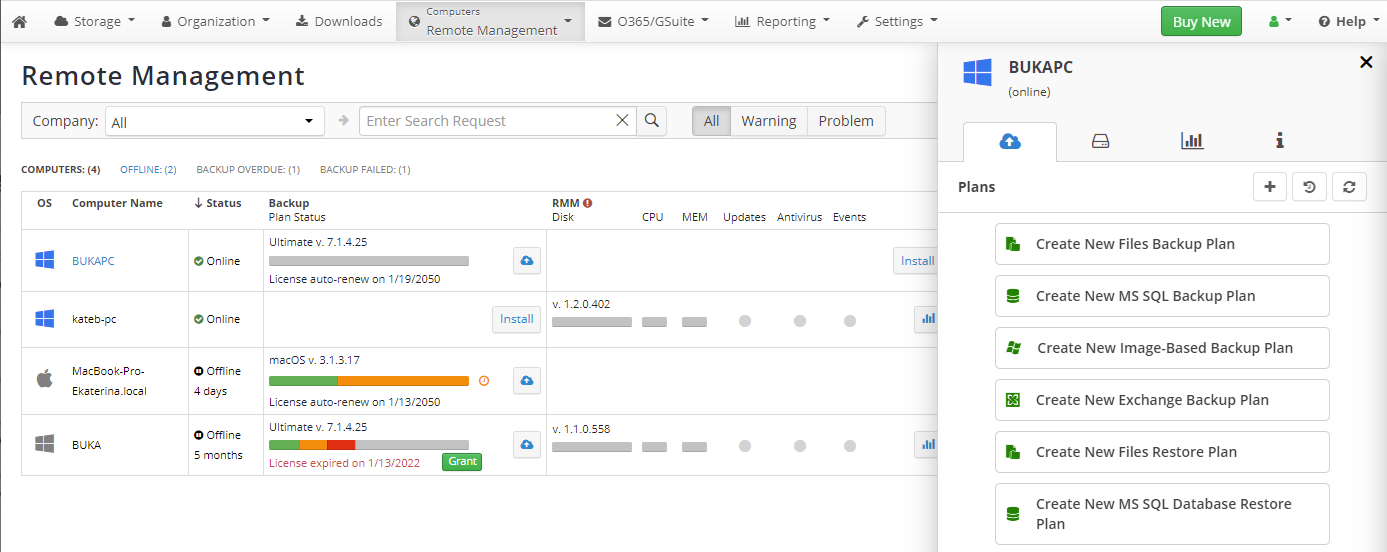
Alternatively, you can create and edit your backup plans in the Management Console using the Remote Management tool. To do this, proceed as follows:
- Open the Management Console.
- In the Computers menu, select Remote Management.
- Find the required computer, then click the Settings (gear) button.
- Select Show Plans.
- To create a new plan, click +.
To learn more, refer to the Manage Plans chapter