Connect to Computers

As of version 6.5.5 of Management Console, a new Connect Web user interface is introduced for connection to the remote computers. Alternatively you can use the access by desktop version. With new Connect Web, the following features are available:

  • Web access to Windows Remote Host with Connect 3.2 (for previous versions a classic user experience is the only available)
  • Web access to several remote host in parallel (in different browser tabs)
  • Web access in full screen mode
  • Control of screen and input devices
  • Enhanced file transfer. The size of files is not limited when you transfer files from a remote computer, and you can transfer files less than 2GB to remote computer.
  • Support for unattended access and joining to active user session using Direct (authorized) Access or by PIN / Dialog
  • Web access of multiple administrators in parallel
  • Chat with remote host in browser window
  • Remote sound support
  • Clipboard support
  • Text transfer even if the clipboard is not allowed
  • Backup Agent, if installed, can be started on the remote computer

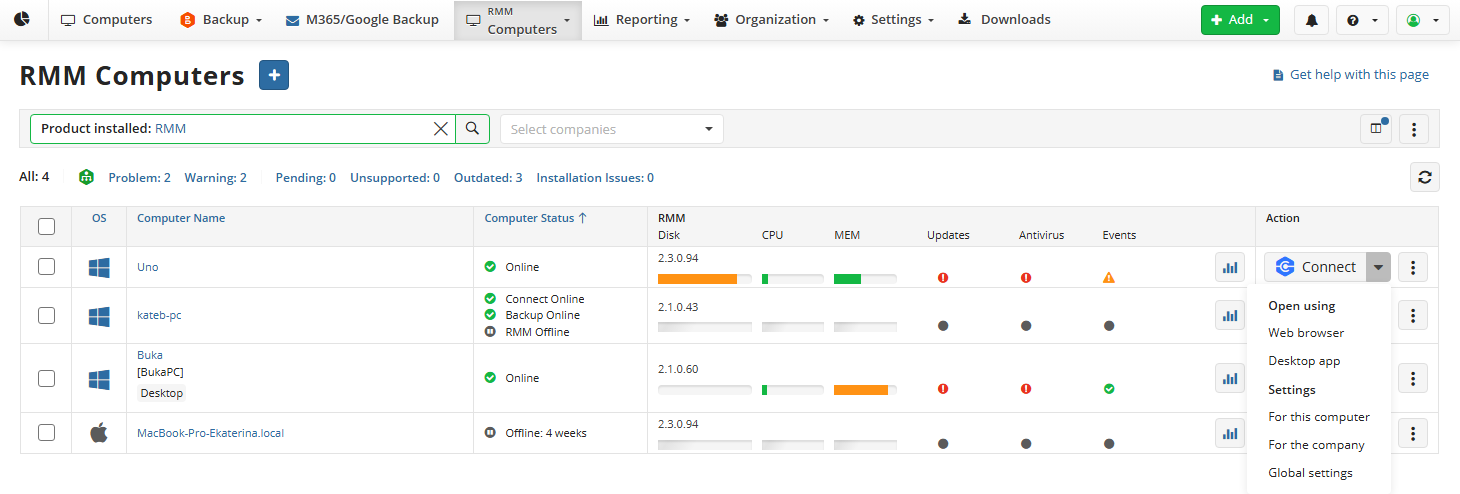
Create Connection Using Web Browser (Enhanced User Experience)

  1. Open the Management Console.
  2. On Computers, find the required one, then click the web browser icon in the Connect column to select Connect using web browser option. The connection appears in another browser tab.

Alternatively, you can establish connection using the action menu. To do this, click the action menu, and then select Connect...

  1. If unattended access is allowed on the remote computer and another user is not working on the remote computer, wait until the connection is established. If Use Custom Password option is selected, you will be prompted to enter the custom password. Now you can copy and paste the password to the Password field. Then you will be prompted to enter the Windows Logon credentials.
  2. If another user is already working on the remote computer, and Direct (authorized) access is not enabled on global or company levels, select one of the options:
    • Connect using Windows logon credentials. The remote user session will be terminated.
    • Join an active Windows session. The remote user will be prompted to allow the connection. The following approval options can be configured in Options > Incoming Connections with Join Windows session approval method:
      • PIN. You will be prompted to enter the received PIN code to connect
      • Dialog. Connection can be established without PIN if the connection is approved by the remote user
      • Dialog and PIN. You will be prompted to enter the received PIN code to connect if the connection is approved by the remote user

In case the remote user allows you join this active session, depending on the selected approval method you will receive the PIN code as a confirmation to use it for connection or will be joined without PIN. In case the remote user does not make any action, the connection will be declined by timeout.

Remote connection with Connect cannot be established if incoming connections are disabled on the remote computer. If this is the case, prompt the remote user to clear Prevent Incoming Connection check box on Options > Incoming Connections > Security.

Manage Connection Using Web Browser

To manage the established connection, use the menu on the top of the screen.

The following actions are available:

  1. You can pin or unpin the menu with the pin button

  1. Use CTRL+ Alt+Delete to access the following menu:
    • Lock. Stops others from accessing a computer until the user signs back in.
    • Switch User. Enables another user to use the computer without closing all applications and windows of the current user. These remain open in a suspended state -- not visible to the new user -- for when they switch back to the previous user.
    • Sign Out. Signs the user out of their account; closes all applications windows.
    • Change Password. Enables user to change password when using an offline account on their PC. Can't reset forgotten passwords here, however, as the user must know the current one to change it.
    • Task Manager. Brings up the Task Manager Windows tool for managing the running of the applications, processes and services.

    1. You can control remote microphone to communicate with remote user. Turn the microphone on, by default it is turned off.

  1. You can control remote sound. Turn the sound on and use slider to control it

  1. You can create chat with the remote user

  1. You can toggle to full-screen mode. To exit full screen mode, click Esc.

  1. To transfer files from remote computer and vice versa, you can use file transfer feature

  1. You can paste required texts and/or password on remote computer to the place you select by the cursor. This is possible even if clipboard sharing is not enabled. The only consideration is the keyboard language on the remote computer should be the same.

  1. You can start the Backup Agent on the remote computer, if the agent is installed on it, to manage backup or restore plans

  1. You can control screen and input devices on the remote computer. The following options are available:
    • Show black screen. The black screen on the remote computer ensure that nobody on the other side cannot see your work.
    • Block input devices. This will ensure that nobody on the other side cannot intervene with your work.

  1. In case of the remote computer uses multiple displays, you can swith between these displays to view required content.

  1. You can close the connection.

Create Connection (Classic User Experience)

  1. In the Management Console, select Computers.
  2. Select Remote Management.
  3. In the list of computers, find the required one, then click the plug icon.

Alternatively, you can establish connection using the Settings menu. To do this, click the Gear icon, select Connect..., and than select Join Using Connect.

  1. If unattended access is allowed on the remote computer and another user is not working on the remote computer, wait until the connection is established. If Use Custom Password option is selected, you will be prompted to enter the custom password. Now you can copy and paste the password to the Password field. Then you will be prompted to enter the Windows Logon credentials.
  2. If another user is already working on the remote computer, select one of the options:
    • Connect using Windows logon credentials. The remote user session will be terminated.
    • Join an active Windows session. The remote user will be prompted to allow the connection. The following approval options can be configured in Options > Incoming Connections with Join Windows session approval method:
      • PIN. You will be prompted to enter the received PIN code to connect
      • Dialog. Connection can be established without PIN if the connection is approved by the remote user
      • Dialog and PIN. You will be prompted to enter the received PIN code to connect if the connection is approved by the remote user

In case the remote user allows you join this active session, depending on the selected approval method you will receive the PIN code as a confirmation to use it for connection or will be joined without PIN. In case the remote user does not make any action, the connection will be declined by timeout.

Remote connection with Connect cannot be established if incoming connections are disabled on the remote computer. If this is the case, prompt the remote user to clear Prevent Incoming Connection check box on Options > Incoming Connections > Security. When the session is established, you can manage session using in-session menu.

https://git.cloudberrylab.com/egor.m/doc-help-mbs.git